To display data in a DataGridView on a Windows Form
- Add a new form to the Win Form Application project
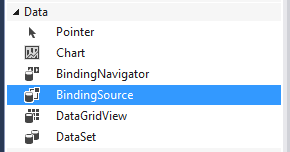
- Drag a BindingSource from the Toolbox to the form
- The bindingSource object appears below the form
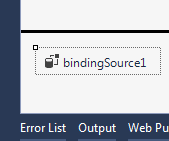
- Rename the Binding Source
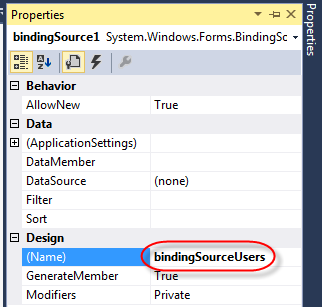
- Select the bindingSource1 object below the form
- Press F4 to display the Properties
- Change the Name property to reflect the purpose of the object
- Select the DataSource item in the Data section and click the Add Project Data Source… link
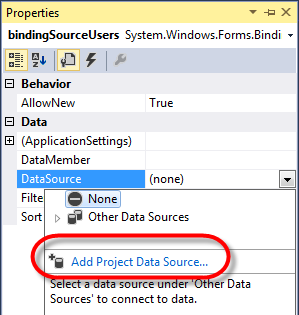
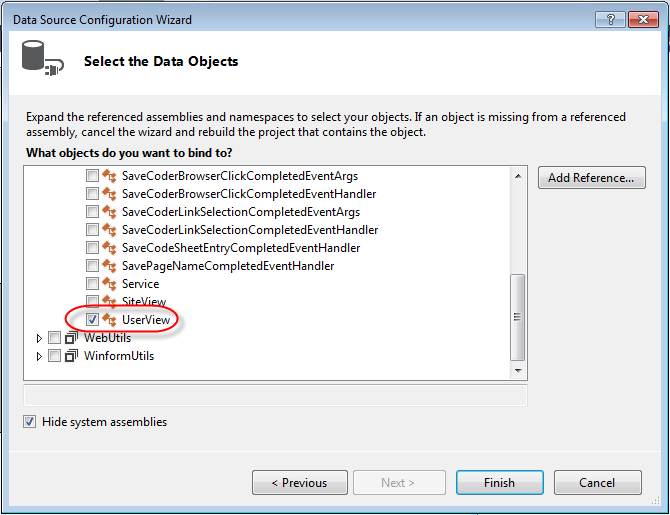
The name is misleading. At this step we are not selecting the source of the data, we are selecting the object that describes the data row. The DataGridView will generate the columns based on the object we will select here.
- To load the data from a class select Object as the Data Source Type and click Next
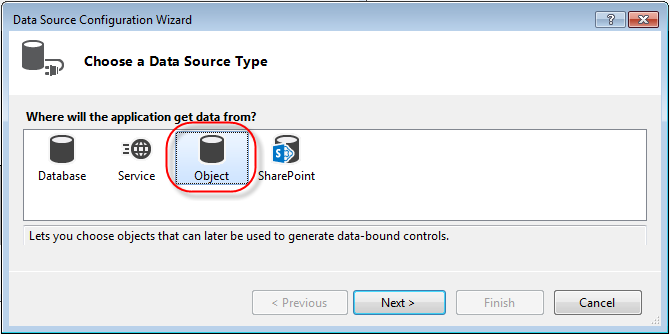
- Select the object that describes the data row you want to display
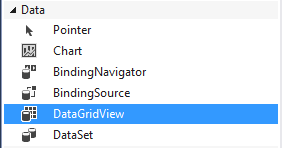
- Drag a DataGridView from the Toolbox to the form
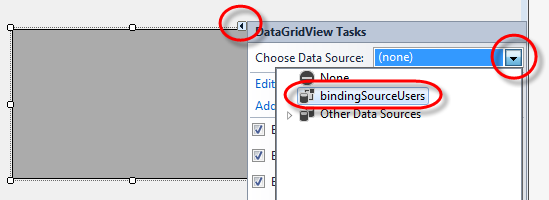
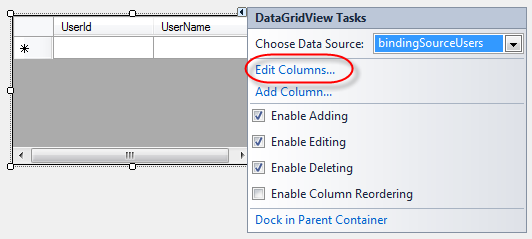
- Select the small arrow at the upper right corner of the DataGridView to open the Tasks dialog
- Click the down arrow next tot the Choose Data Source list
- Select the Binding Data Source that you added to the form
- Click the Edit Columns link to set the visibility of the columns
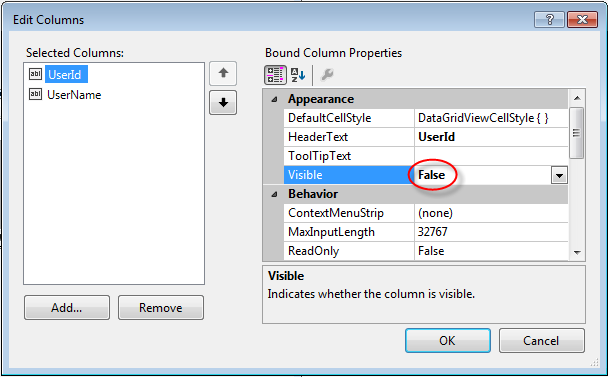
- To hide a column set the Visible attribute in the Appearance section to False
- To load data into the DatGridView add the following code to the constructor of the form. In this example the GetUsers() method returns an array of UserView objects
// Load the data into the DataGridView
bindingSourceUsers.DataSource = _business.GetUsers();
- To hide the row selector column on the left side of the data add the following to the constructor of the form. This option is not included in the property sheet of the DataGridView, so we have to set it in the code.
dataGridView1.RowHeadersVisible = false;