It really takes five minutes to set up WordPress.
If your site is hosted by an other Internet Service Provider the process can be slightly different than the steps below, but it should be similar enough to be relevant to your situation.
If your site is hosted by Winhost.com
- Log into your Winhost control panel at www.winhost.com
(When you set up your site they gave you a user name and you selected a password to access the account administration pages) - On the main menu select “Sites” to administer you web site

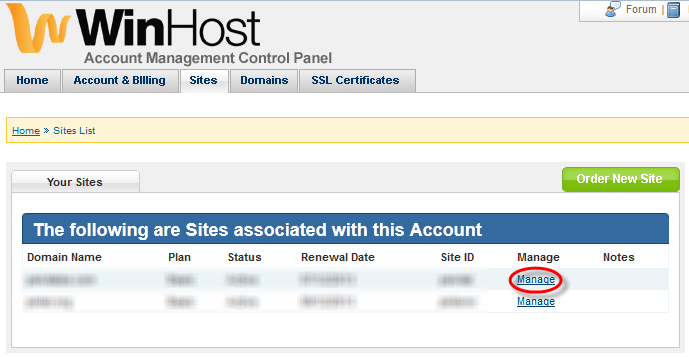
- On the Site List select the “Manage” link next to your site
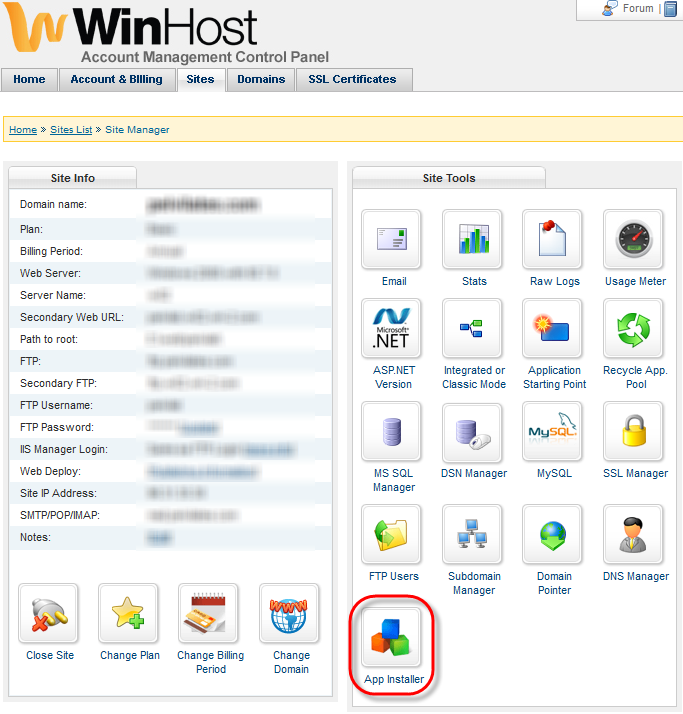
- On the Site Manager window select the “App Installer” icon
- In the list of applications scroll down to the bottom to WordPress and click

- Enter the name of the folder where you want to install WordPress,
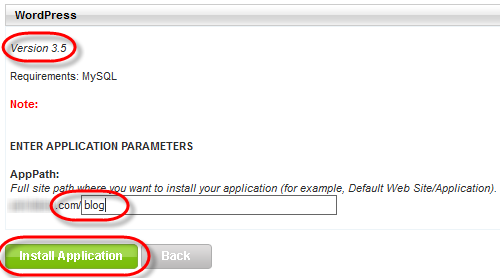
- Write down the full “AppPath” you entered. That will be the address of your WordPress site,
- Click the “Install Application” button,
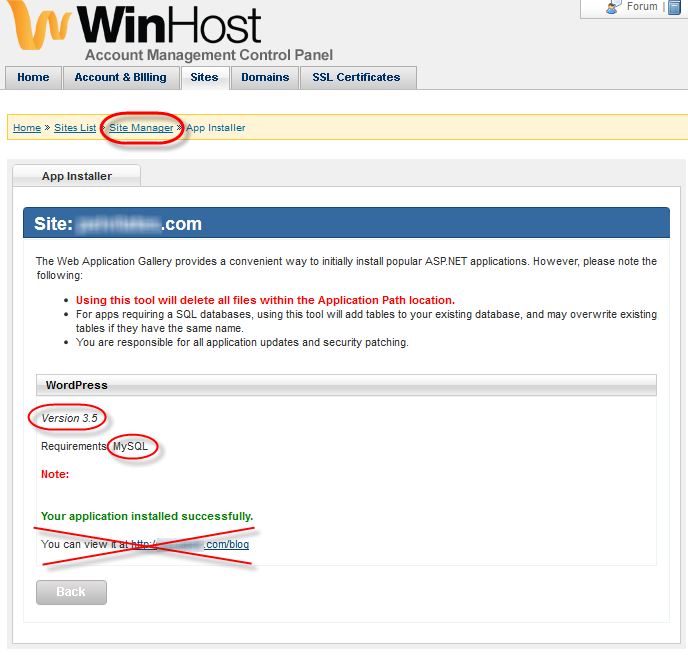
- The confirmation page appears, but don’t click the link of your application yet,
- For advanced users only:
- Before you continue make a note of the WordPress version your provider offers. It is 3.5. At the time of the writing of this post the latest version of WordPress is 3.5.1, so later we will overwrite the Winhost version using an FTP client.,
- First we have to set up the MySql database that WordPress will use to store the content of your site, so click the “Site Manager” link below the top menu,
- The link will take you to the Site Tools page,
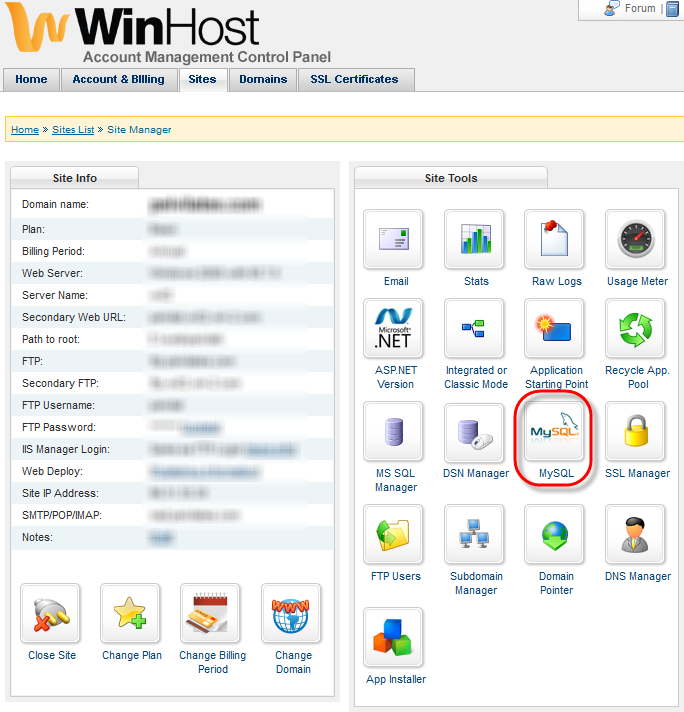
- Click the “MySQL” icon to set up the MYSQL database,
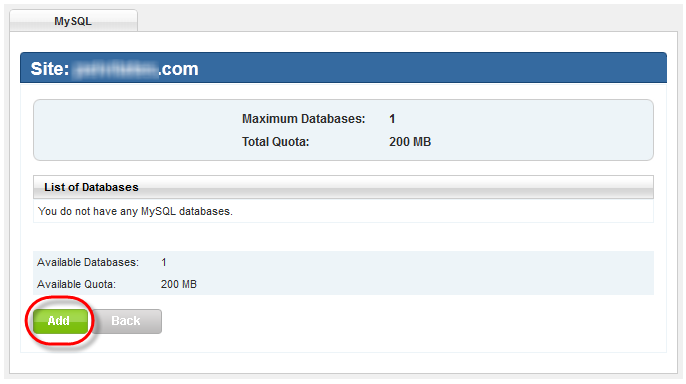
- Click the “Add” button to create the MySQL database,
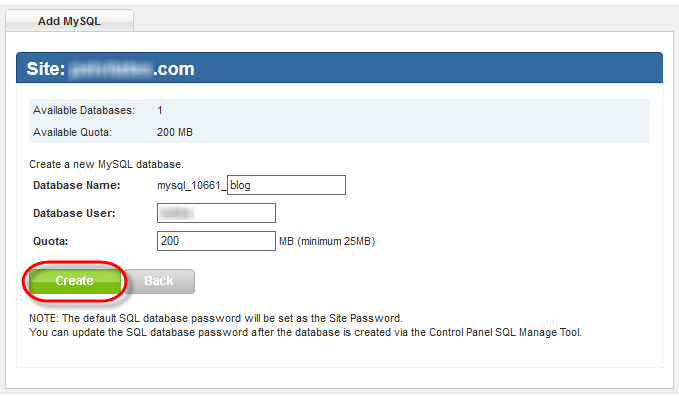
- Enter
- a name for the database
- username
- the size of the data that the user can use in the database (if WordPress is the only applications you want to connect to this database enter the maximum value into the Quota field)
- Click the “Create” button,
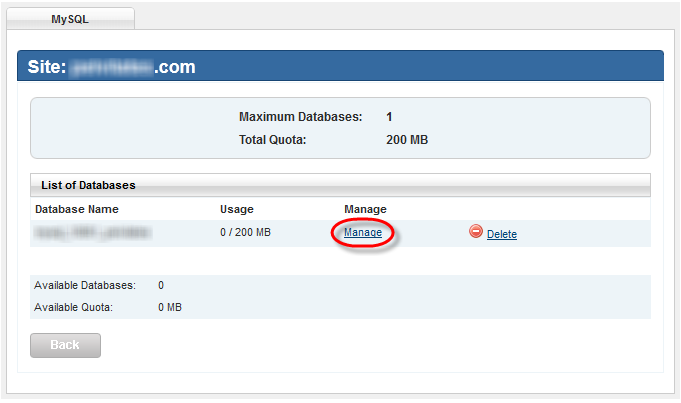
- To see the connection details for the newly created database click the “Manage” link,
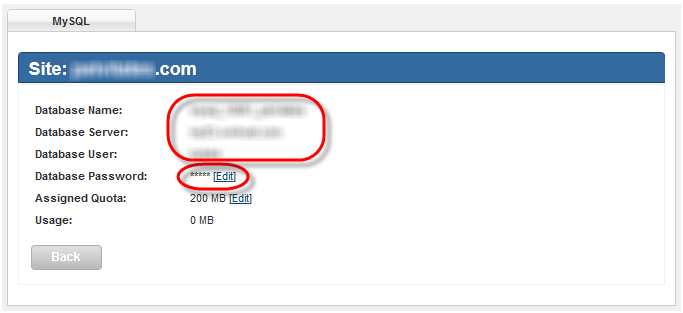
- Copy the connection details to a text file, because you will need to enter these values into the WordPress configuration form,
- Click the “Edit” link to set the database password,
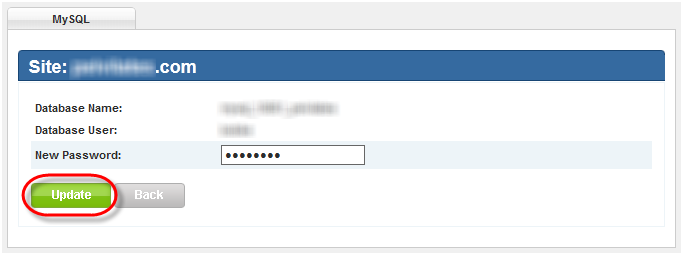
- Open a new tab in your web browser and enter the address of your wordpress site. In our example it is YOURSITE.com/blog
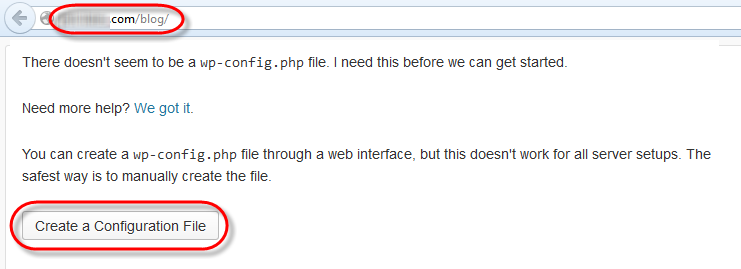
- WordPress will create the missing configuration file when you click the “Create a Configuration File” button,
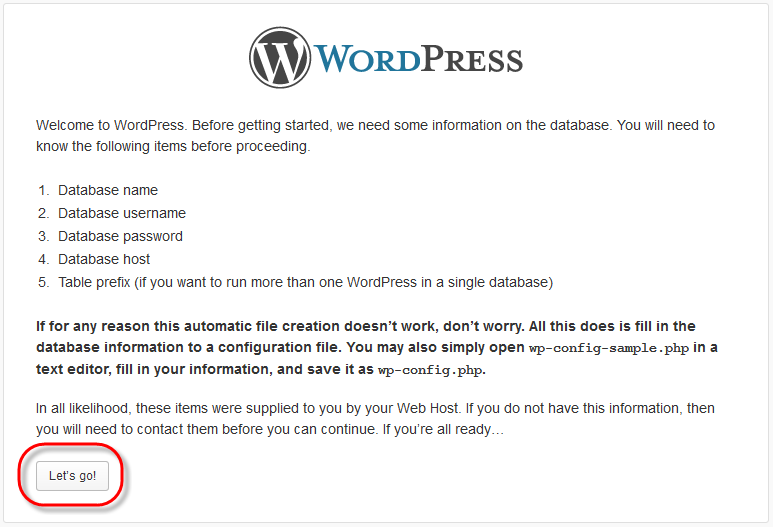
- Click the “Let’s go!” button,
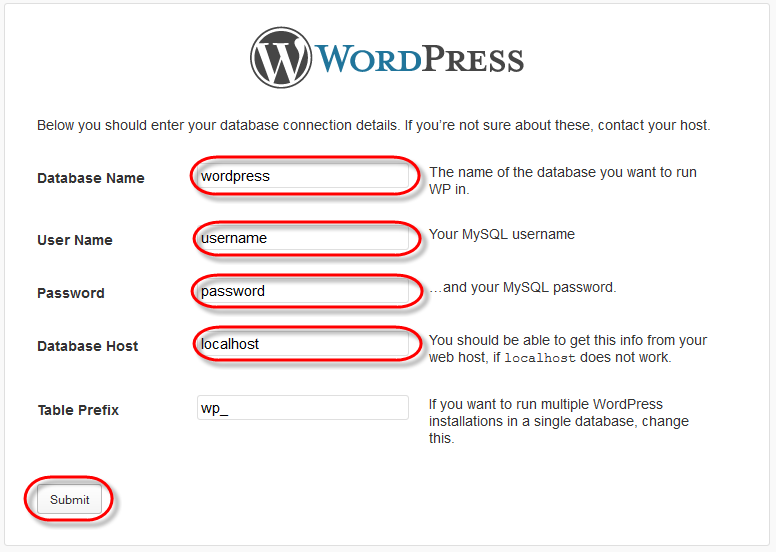
- Enter the values that you saved earlier,
- Database Name
- User Name
- Password
- Enter the Database Server name to the “Database Host” field
- Click the “Submit” button

- Click the “Run the Install” button to create the WordPress configuration file,
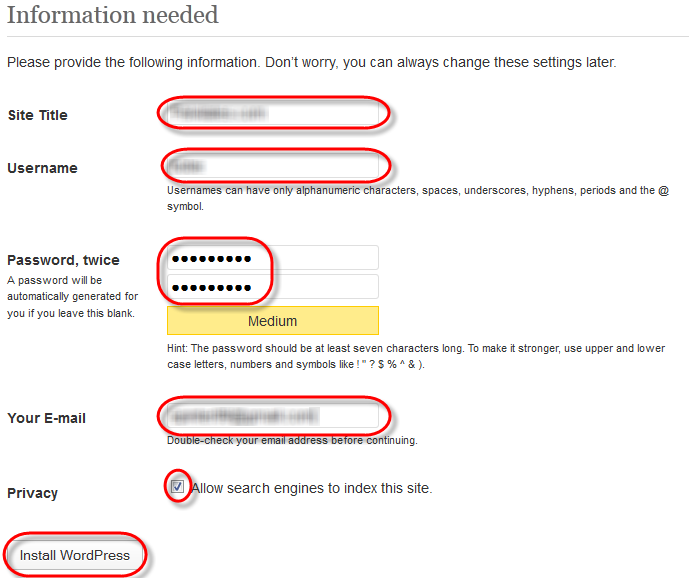
- Fill out the form and click the “Install WordPress” button,
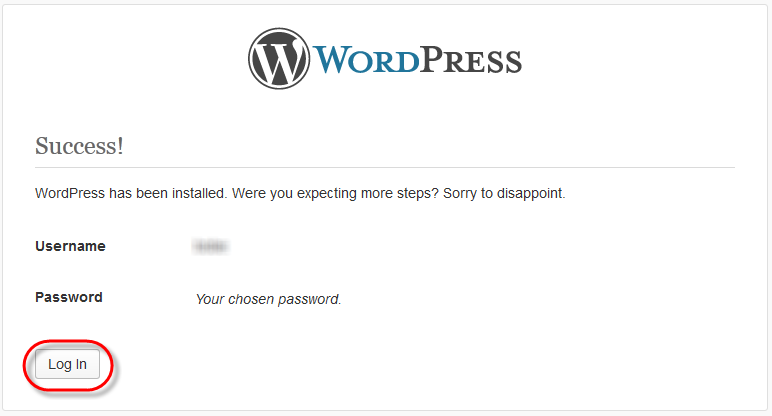
- Done! Click the “Log in” button to open your site manager page.