In the first part of the Azure Storage series we have created a Microsoft Azure storage in the “cloud”. Now we will create a C# application to upload, list and download files.
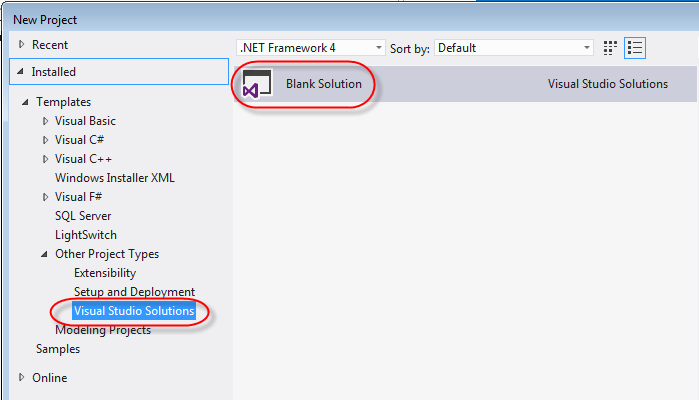
Create a Blank Solution
- In the File menu select New -> Project…
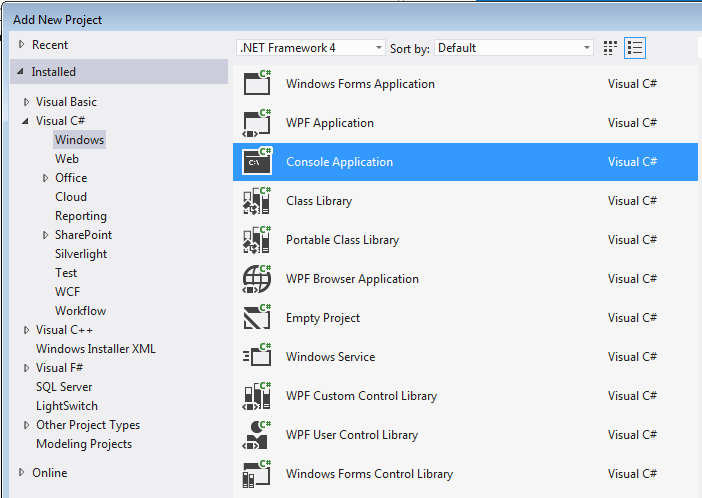
Add a new Console Application project to the solution
- In the Solution Explorer right click the solution and select Add -> New Project…
- Name the project Azure_ConsoleApplication
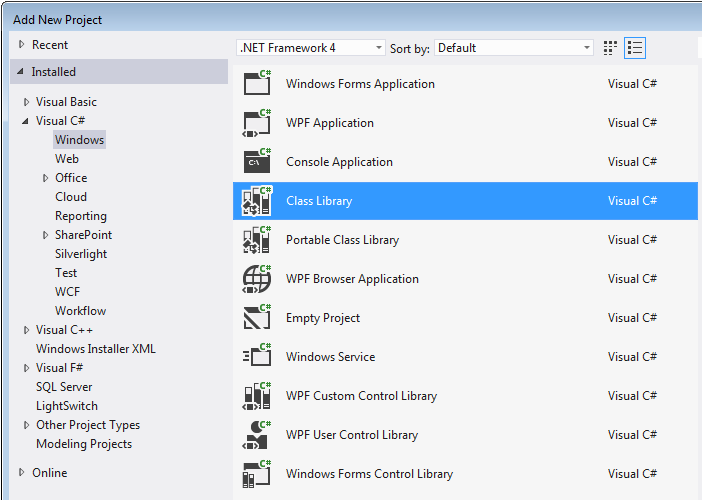
Add a Class Library project to the solution
- In the Solution Explorer right click the solution and select Add -> New Project…
- Name the project Azure_Helper
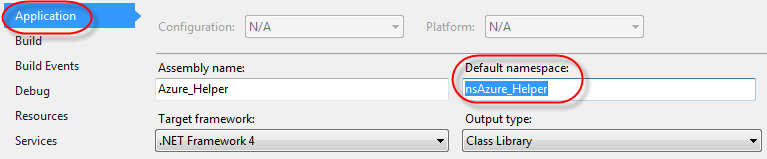
Set the namespace of the helper project to nsAzure_Helper
When you create a new project Microsoft Visual Studio sets the default namespace to the same as name of the project. In .NET you cannot create a class with the same name as the name space of its project. For clarity I usually name the main class of the project after the name of the project, so I have to change the default namespace of the project.
- Right click the Azure_Helper project and select Properties
- On the left side select the Application tab
- Set the Default namespace to nsAzure_Helper
- Press CTRL-S on the keyboard to save the project file
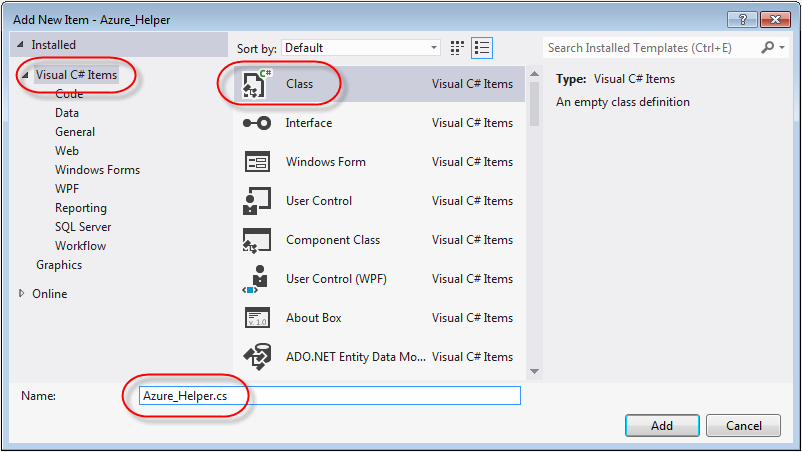
Add a new class to the Azure_Helper class library
- In the Solution Explorer delete automatically created the Class1.cs file
- Right click the Azure_Helper project and select Add -> Class…
- Name the new class Azure_Helper and click the Add button
Add an Application Configuration File to the Console Application to store the Azure connection string
- In the Solution Explorer right click the console application and select Add -> New Item…
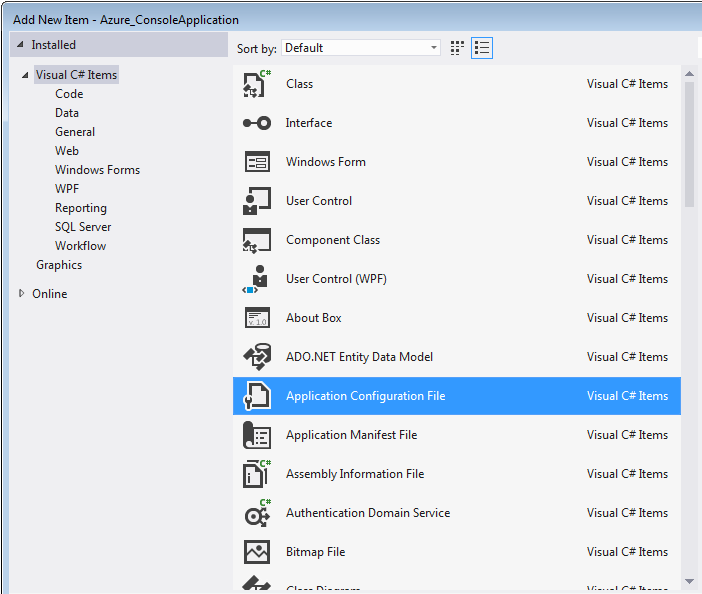
- When the new App.config file opens add lines to it, so it looks like this:
<configuration>
  <appSettings>
      <add key="StorageConnectionString" value="DefaultEndpointsProtocol=https;AccountName=[AccountName];AccountKey=[AccountKey]" />
  </appSettings>
</configuration>
Where
[AccountName] is the Storage Account Name
[AccountKey] is the Primary key of the storage account
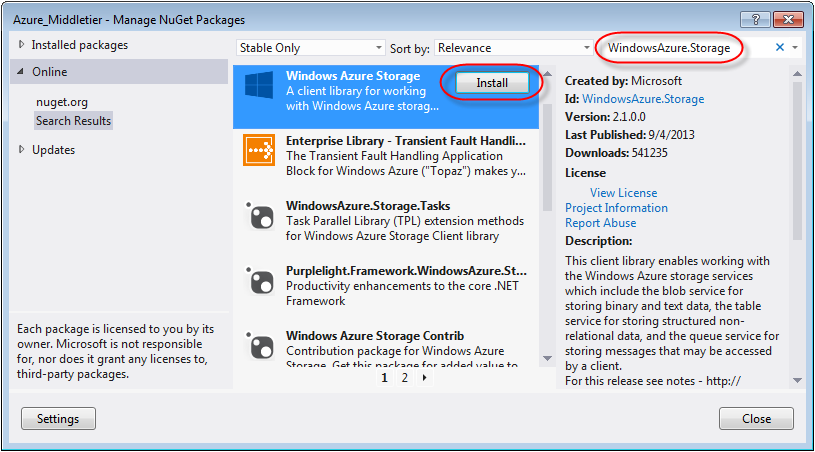
Add the Azure framework to the class library
- Right click the class library and select Manage NuGet Packages…
- In the upper right corner enter WindowsAzure.Storage
- Select the Windows Azure Storage package and click Install
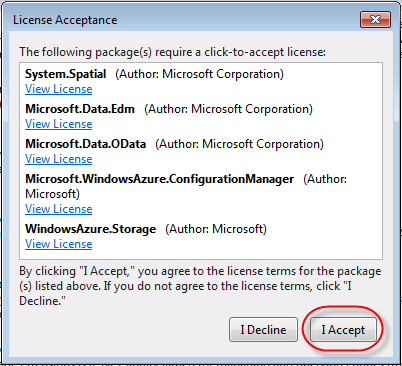
- In the pop-up window click I Accept to download the rest of the necessary libraries.
Connect to the Azure storage
- Open the Azure_Helper class in the Azure_Helper project
- Add using statements to the Azure_Helper class to reference the Azure SDK
using Microsoft.WindowsAzure.Storage;

using Microsoft.WindowsAzure.Storage.Auth;

using Microsoft.WindowsAzure.Storage.Blob;
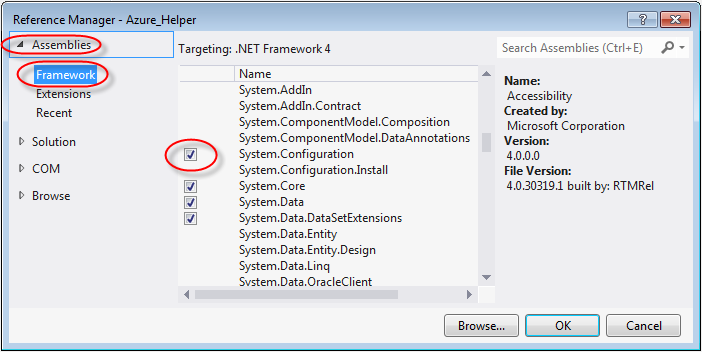
Add a reference to the System.Configuration assembly to access the App.config file
- In the Solution Explorer right click the References folder of the Azure_Helper project and select Add Reference…
- Select Assemblies, Framework, System.Configuration and click the OK button
- Add a using statement to the Azure_Helper class to access the app.config file
using System.Configuration;
- Add an instance variable to the Azure_Helper class to get the connection string from the config file
CloudStorageAccount _storageAccount = CloudStorageAccount.Parse(ConfigurationManager.AppSettings["StorageConnectionString"]);
Your Azure_Helper class should look like this
using System;
using System.Collections.Generic;
using System.Linq;
using System.Text;

using Microsoft.WindowsAzure.Storage;
using Microsoft.WindowsAzure.Storage.Auth;
using Microsoft.WindowsAzure.Storage.Blob;

using System.Configuration;

namespace nsAzure_Helper
{
    public class Azure_Helper
    {
        // Retrieve storage account from connection string.
        CloudStorageAccount _storageAccount = CloudStorageAccount.Parse(ConfigurationManager.AppSettings["StorageConnectionString"]);

    }
}
Create a storage container
Add a new method to the Azure_Helper class
- Add a method to your Azure_Helper class to create a container in the Azure Storage account
public void CreateContainer(string sContainerPath) {

	// Create the blob client.
	CloudBlobClient blobClient = _storageAccount.CreateCloudBlobClient();

	// Retrieve a reference to a container.
	CloudBlobContainer container = blobClient.GetContainerReference(sContainerPath);

	// Create the container if it doesn't already exist.
	container.CreateIfNotExists();

}
Call the CreateContainer method
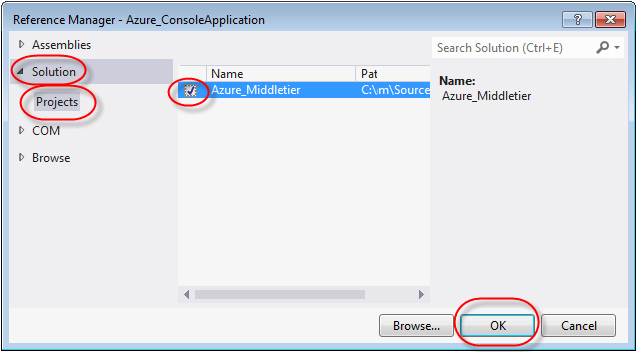
Add a reference to the middle tier
- In the Solution Explorer right click the References folder of the console application project and select Add Reference…
- On the left side of the pop-up window click Solution, Projects, and select to the middle tier project
Open the Program.cs file of the console application
- Add a using statement to the Program.cs class
using nsAzure_Helper;
- Instantiate the Azure Halper, call the CreateContainer method. Your Program.cs class should look like this
using System;
using System.Collections.Generic;
using System.Linq;
using System.Text;

using nsAzure_Helper;

namespace Azure_ConsoleApplication {
    class Program {
        static void Main(string[] args) {

            // Create an instance of the midle tier
            Azure_Helper azureHelper = new Azure_Helper();

            string sContainerPath = "test1";
            string sBlobName = "blob1";

            // Create a container
            azureHelper.CreateContainer(sContainerPath);

        }
    }
}
Test the application
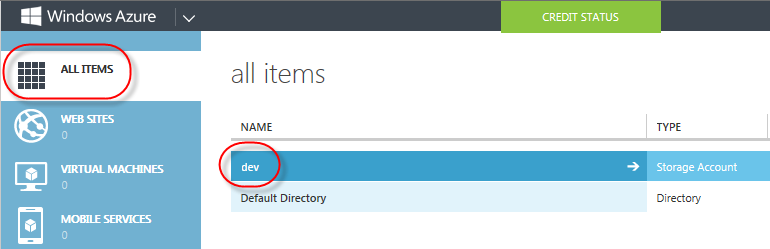
When you run the application the “test1” container should be created. To verify the result open the Windows Azure management console at https://manage.windowsazure.com/#Workspaces/All/dashboard
- On the left side select All Items
- Click the storage account
- Click the Containers link
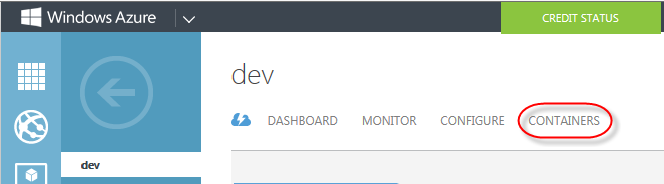
- Click the name of the container to view the files
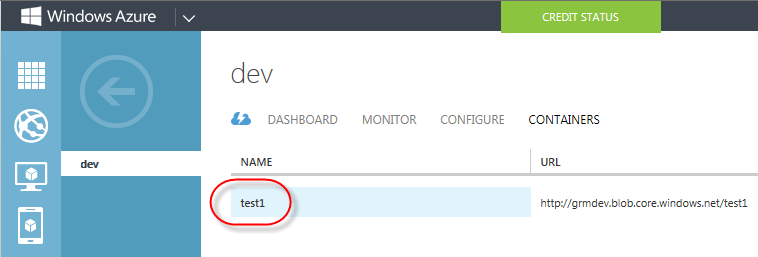
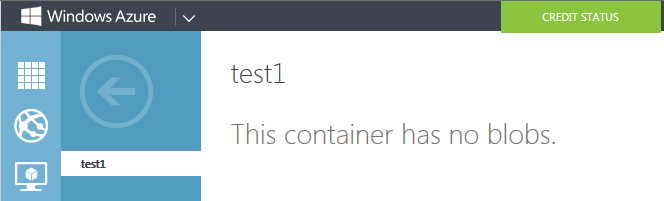
- We just created the container, so it is empty
You can also use any Azure management tools. The first part of the Azure Storage series contains a link to a list of Azure management tools.
Add an option to make the container public
When you create the container only the account owner can access the files in the container. We will add a boolean argument to the CreateContainer method, so the caller of the method can make the container public. Anyone on the Internet can see the public files, but you need the access key to modify and delete them.
- Change the signature of the CreateContainer method in the Azure_Helper class to
public void CreateContainer(string sContainerPath, bool bMakeItPublic) { - Add the following lines to the end of the method before the closing curly bracket
// Make the container public if requested
if (bMakeItPublic) {

	container.SetPermissions( new BlobContainerPermissions { PublicAccess =	BlobContainerPublicAccessType.Blob});

}
The CreateContainer method should look like this
public void CreateContainer(string sContainerPath, bool bMakeItPublic) {

	// Create the blob client.
	CloudBlobClient blobClient = _storageAccount.CreateCloudBlobClient();

	// Retrieve a reference to a container.
	CloudBlobContainer container = blobClient.GetContainerReference(sContainerPath);

	// Create the container if it doesn't already exist.
	container.CreateIfNotExists();

	// Make the container public if requested
	if (bMakeItPublic) {

		container.SetPermissions( new BlobContainerPermissions { PublicAccess =	BlobContainerPublicAccessType.Blob});

	}

}
Change the call to the method in the Program.cs class of the Azure_ConsoleApplication project
- Open the Program.cs file in the Azure_ConsoleApplication project
- Add true as the second attribute to the call to the CreateContainer method to create a public container
// Create a public container
azureHelper.CreateContainer(sContainerPath, true);
Upload a file to the container
The files in the container are called blobs (binary large objects), because those can be any type of files: documents, pictures, videos, music. There are two methods to store these blobs: as blocks or pages. in this example we will store our files a block blobs.
Create a new method in the Azure_Helper class:
public void UploadFile(string sContainerPath, string sBlobName, string sSourceFilePath) {

	// Create the blob client.
	CloudBlobClient blobClient = _storageAccount.CreateCloudBlobClient();

	// Retrieve reference to a previously created container.
	CloudBlobContainer container = blobClient.GetContainerReference(sContainerPath);

	// Retrieve reference to a blob named "myblob".
	CloudBlockBlob blockBlob = container.GetBlockBlobReference(sBlobName);

	// Create or overwrite the "myblob" blob with contents from a local file.
	using (var fileStream = System.IO.File.OpenRead(sSourceFilePath)) {
		blockBlob.UploadFromStream(fileStream);
	}

}
Call the UploadFile method from the console application
- Open the Program.cs file in the console application and modify the Main method to look like this
static void Main(string[] args) {

    // Create an instance of the Azure Helper
    Azure_Helper azureHelper = new Azure_Helper();

    string sContainerPath = "test1";
    bool bMakeContainerPublic = true;
    string sBlobName = "blob1";
    string sSourceFilePath =  @"D:\MediaFiles\Audio\Music.wav";

    // Create a public container
    azureHelper.CreateContainer(sContainerPath, bMakeContainerPublic);

    // Upload an audio file
    azureHelper.UploadFile(sContainerPath, sBlobName, sSourceFilePath);

}
Test the application
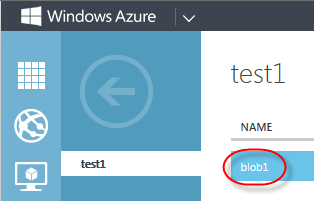
If you run the application now the file should be uploaded to the Azure storage.
- Refresh the Windows Azure management page to see the blob in the container
In the next article we will extend our application to list the contents of the Container.
Leave a comment