If you get the access to ‘…’ forbidden error message in an svn client most likely the Subversion server authentication is not set up correctly.
Users can access the VisualSVN repository using the Windows user accounts of the server. To set up the Windows user account authentication:
- Install VisualSVN on the Windows server,
- In the start menu select VisualSVN, VisualSVN Server Manager,
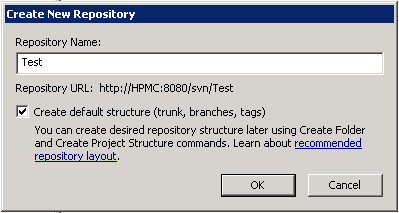
- On the left side right click Repositories and select “Create New Repository…”,
- Enter a repository name, and check “Create default structure…”,
- Create user accounts for the VisualSVN users,
- In the Start menu Right click the “Computer”,
- Select “Manage”,
- In the Configuration, Local Users and Groups section right click “Users” and select “New User…”,
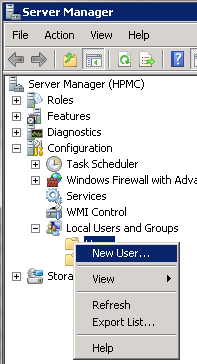
- Enter the user information and click “Create”,
- Create a security group for the VisualSVN users,
- In the Local Users and Groups section right click “Groups” and select “New Group…”,
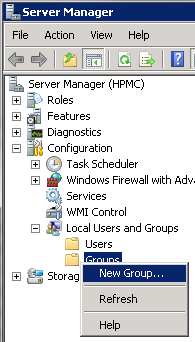
- Create a Security Group for the VisualSVN users, name it “VisualSVN Users”,
- Add the users to the Security Group,
- On the left side in the Local Users and Groups section left click “Groups”,
- In the list of groups double click the “VisualSVN Users” Security Group,
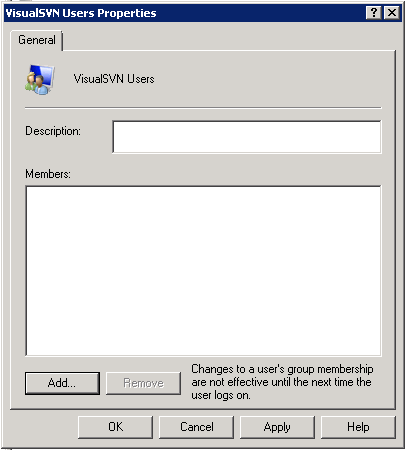
- Click the “Add…” button,
- Enter the user name into the field on the popup window and click “OK”,
- Click “OK” on the Security Grpoup property window to save the user list,
- Set up VisualSVN to use the server’s Windows users and groups
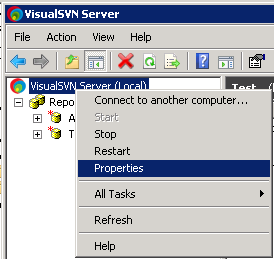
- In the start menu select VisualSVN, VisualSVN Server Manager,
- On the left side right click “VisualSVN Server (Local)” and select “Properties”
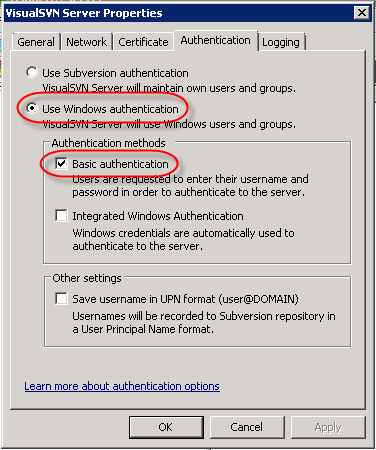
- On the Authentication tab select “Use Windows Authentication”and “Basic authentication”
- Add the Windows Security Group to the VisualSVN
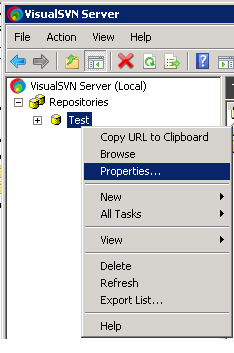
- In the start menu select VisualSVN, VisualSVN Server Manager,
- On the left side right click the repository and select “Properties”
- On the Properties window click “Add…” and enter “VisualSVN Users” to enable the Security Group members to access the repository and click “OK”,
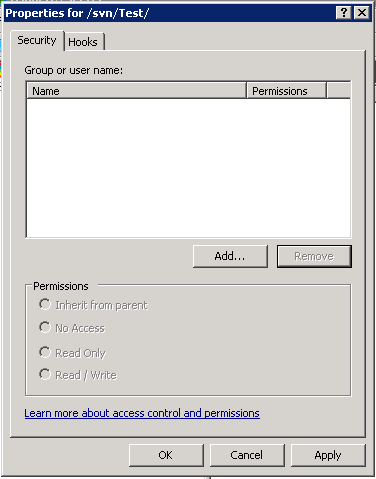
- To allow the members to read and write the repository leave “Read /Write” checked at the bottom of the window,
- Click “OK” to save the changes.