Find a Chef Server
To work in a corporate environment, your organization needs access to a Chef server.
To learn Chef and test your cookbooks for free, you can create an account on the “hosted” Chef server, maintained by the Chef company. The plan allows five nodes at a time, so you can even launch a small server farm for yourself. Another option is to launch your own Chef server (on-premises) and manage up to 25 nodes on it for free. That could be enough for a small organization to get started with automation. Please see the Chef web portal for more information at https://www.chef.io/
To use the “hosted” Chef server
- Create a Chef account at https://manage.chef.io/signup
To launch your own Chef server
- Download the Chef server installer at https://downloads.chef.io/chef-server/
To make the service more reliable, set the server up in your network with high availability.
Accessing the Chef Server
To access the Chef server you need a user account to log into the web interface and a key to access the server with command line tools, like knife.
Until you set up your workstation to access the Chef server, you will get the following error message:
WARNING: No knife configuration file found
WARN: Failed to read the private key C:\chef\client.pem: #<Errno::ENOENT: No such file or directory @ rb_sysopen - C:\chef\client.pem>
ERROR: Your private key could not be loaded from C:\chef\client.pem
Check your configuration file and ensure that your private key is readable
Create a user account on the Chef server
Register your username
- Open the Chef server page in your web browser,
- Click the Click here to get started! link to create a new account,
- Enter your name, email address and username you want to use and click the Get Started button. The Chef server will send you an invitation email.
Verify your email address
- Open the email Chef Notifications sent you and click the long link to verify your email address,
- On the Email Verification page enter the password you want to use on the Chef server and click the Create User button,
Ask your Chef server administrator to invite you to an organization on the Chef server
The administrator
- Using a web browser log into the Chef server user interface,
- In the upper right corner select the organization to invite the user to,
- On the Administration tab select Users on the left side,
- Under Users click Invite,
- Enter the username of the new registered user and click the Invite button
Accept the invite to the organization
- Using a web browser log into the Chef server user interface,
- On the Welcome to Chef, page click the Accept Invite button.
- If you are already logged into the Chef server user interface, the upper right corner will show you the number of invitations you have received. Click the red number, then the message to accept the invitation,

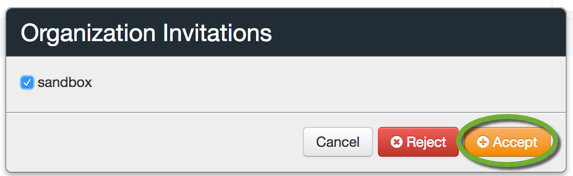
- Select the checkbox next to the organization you want to be part of and click the Accept button.
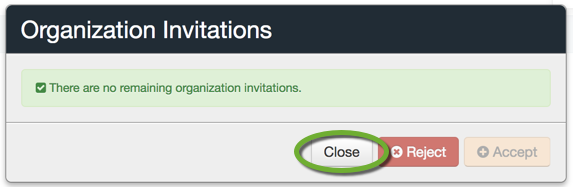
- Click Close to dismiss the message window.
Download your key to access the Chef server
- Using a web browser log into the Chef server user interface,
- In the upper right corner click your name and select My Profile,
- In the lower right click the Reset Key link,
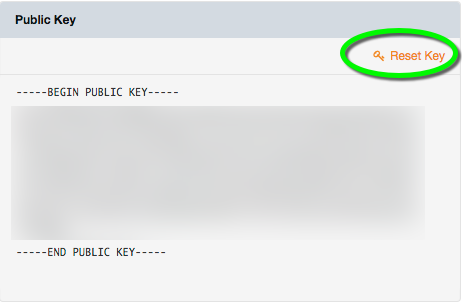
- Click the Download button to download your private .pem key file.
Save your key, you cannot download it again. When you generate a new key, the prior key will be deleted on the server.
Configure knife
The knife command is used to interact with the Chef server. Before you can connect to the Chef server we need to configure knife
- Open a Bash window in your home directory: ~ on Mac, C:\Users\YOUR_USER_NAME on Windows
- Execute
knife configure
- Get the Chef server address from your administrator and answer the questions:
Please enter the chef server URL: https://CHEF_SERVER_URL/organizations/ORGANIZATION_NAME
Please enter an existing username or clientname for the API: YOUR_USER_NAME
Overwrite /Users/YOUR_USER_NAME/.chef/credentials?? (Y/N) Y
- Get the chef_shell.rb and knife.rb from your administrator and place them at ~/.chef on Mac and C:\Users\YOUR_USER_NAME\.chef on Windows,
- Replace the username placeholders with your username.
Save the key files on your workstation
- Move the .pem Chef server private key file, you have downloaded during the Chef user registration, to the C:/Chef/.chef directory.
- Get the VALIDATOR_FILE_NAME.pem file from your Chef server administrator and save it in the C:/Chef/.chef directory.
Test the Chef server connectivity
- Open a Bash window in the folder of the cookbook at C:\Chef\cookbooks\test
- Execute
knife cookbook list
to see the list of the available cookbooks on the Chef server.
Upload the cookbook to the Chef server
knife cookbook upload COOKBOOK_NAME --freeze
The –freeze option is the most important. It locks the cookbook on the Chef server so we are forced to increment the version before we upload a new version of the cookbook.
Next:
Create an enterprise cookbook in Beginner’s Guide to DevOps Engineering part 5.
Back:
to the Tutorials page