Time to time Windows servers may lose the trust of the domain. When you try to log in with your domain credentials you get the dreaded message:
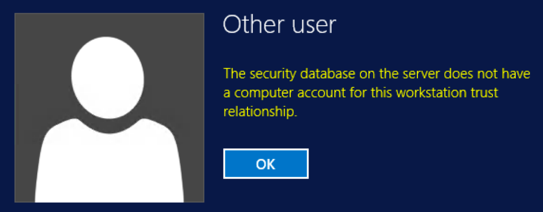
The security database on the server does not have a computer account for this workstation trust relationship
This can have many causes, and the most effective way to fix this is to detach and re-attach the server to the domain.
For security reasons the best if there are no local admin accounts on the Windows server, only domain accounts added to the Administrators group. If there is no local admin account on the server, how can we access it with the non-working domain accounts? When a Windows computer loses the trust of the domain there is no way to log into it with a domain account when the computer is connected to the network and has access to the domain controllers.
If the server is in your data center it is enough to unplug the network cables, the server cannot connect to the domain controller, and you can log in with the last cached password you used for the Administrator domain account.
How can we unplug the network cables from a cloud computer?
The Amazon Web Services (AWS) Security Groups and Azure Network Security Groups (NSG) act as firewalls. Those control the inbound and outbound traffic rules.
To be able to access your Windows server, but prevent it to contact the domain controller, create a security group that contains all necessary inbound rules to access your Windows server with the remote desktop connection, but do not enable any outbound connections.
Open port 3389 for inbound traffic, but do not allow any outbound traffic.
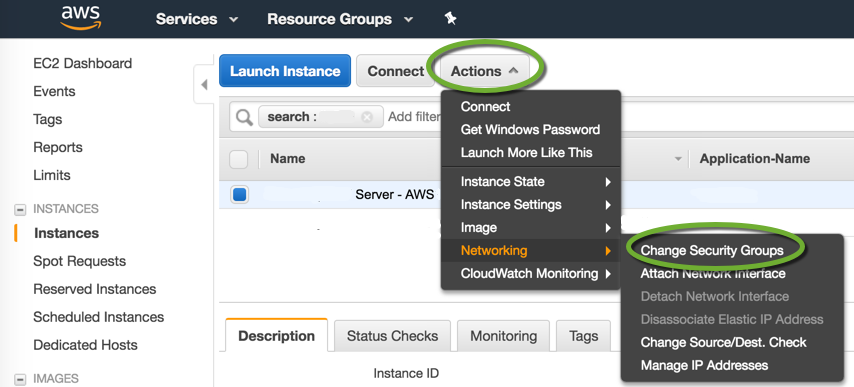
- Change the security groups of the server
- Unselect the existing security groups to remove all other security groups from the server,
- Select the newly created recovery security group
- Use Remote Desktop to log into the server with your domain credentials you used the last time you logged into the server (it can be an earlier domain password). If you use stored credentials in your remote desktop client, enter your password again on the Windows login screen.
- Create a local administrator account, because once you remove the server from the domain, you will not be able to log into it with your domain account,
- To make sure the local administrator account credentials are correct, remote into the server with the local account,
- Change the security group back to the original one that enables outbound access to the domain controller,
- Remove the server from the domain by attaching it to a workgroup,
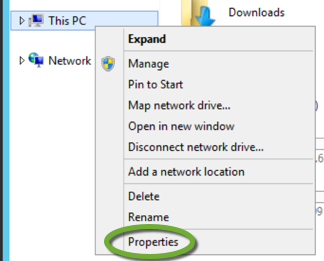
- Right-click This PC and select Properties
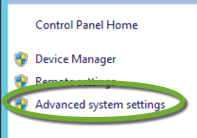
- On the Control Panel Home window select Advanced system settings
- On the Computer Name tab of the System Properties window click the Change… button
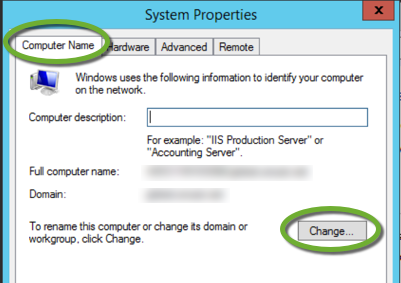
- In the Computer Name/Domain Changes window select the Workgroup radio button and enter WORKGROUP for the name of the workgroup

- Make sure you do these steps with the local admin account and click OK.
- Enter the credentials of a domain account that has enough rights to remove servers from the domain,
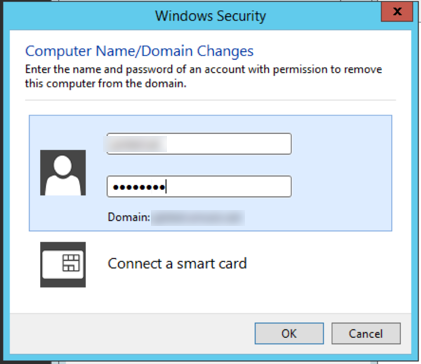
- Your server is out of the domain,
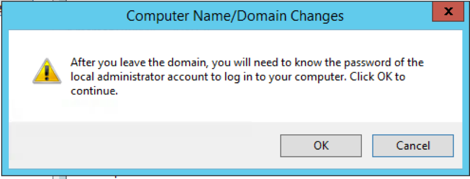
- Make sure again, you have a local admin account on the server and click OK,
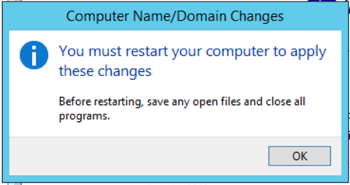
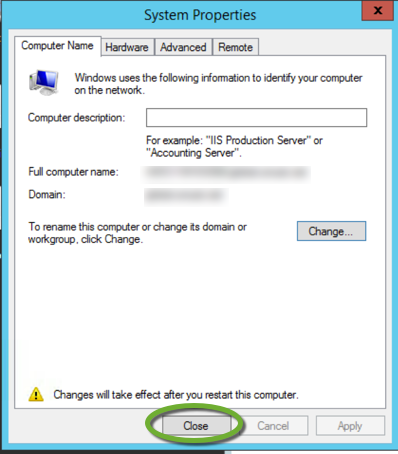
- Click the Close button to continue,

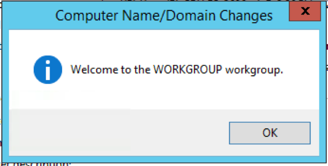
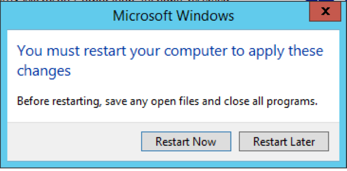
- Make sure you have a local admin account with a known password, all your files are saved, and click the Restart Now button to restart the computer.
- Right-click This PC and select Properties
Remove the server from the domain controller database
To successfully add the server to the domain again, you need to remove the current entry of the server from the domain.
- Log into the domain controller,
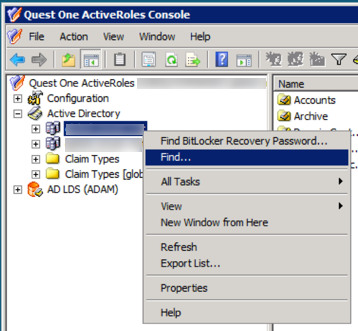
- Open the ActiveRoles Console,
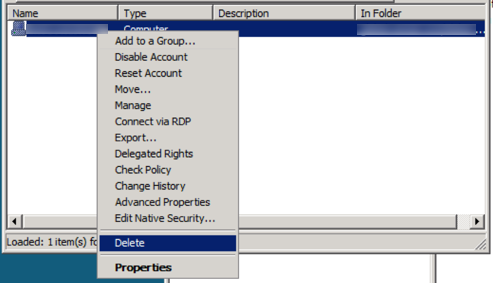
- Expand the Active Directory item, right-click the domain name, and select Find,
- in the Find drop-down select Computers, enter the name of the computer into the Name field and click the Find Now button,
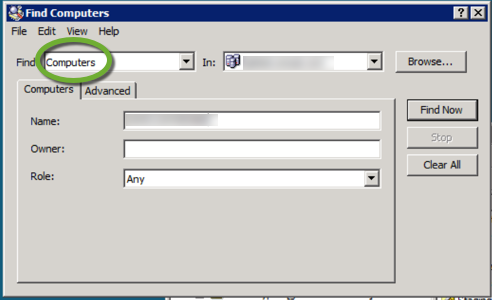
- Right-click the name of the found computer and select Delete.
Add the server to the domain
- Using the local admin account log into the server,
- Follow the steps above to open the Computer Name/Domain Changes window,
- Select the Domain radio button, enter the name of the domain, and click OK,
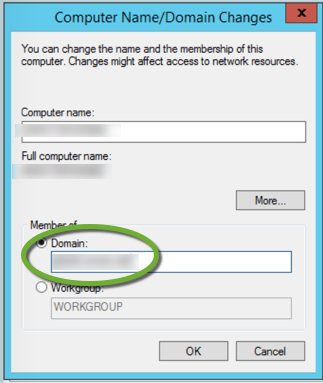
- Enter the credentials of a domain account that has enough rights to add servers to the domain. Don’t forget to add the name of the domain in front of your username with a backslash.
- The server has been successfully added to the domain,
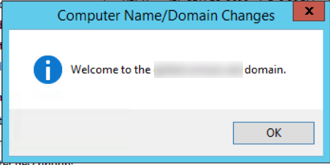
- Click OK to continue,
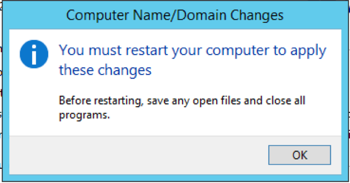
- Click the Close button to restart the computer.
- Click the Restart Now button to restart the computer.