How to add the Config folder to a Microsoft Visual Studio project even if the folder is not in the project directory
Corporations maintain multiple server environments for development, testing and production purposes.
All of these environments require specific settings to connect to the databases and other resources. When the build master builds the application for the specific environment the build process has to select the appropriate configuration and build it into the installer file for deployment.
It is a good practice to store these environment specific config files in a folder that also designates the Visual Studio version.
Console applications and Windows services
For console applications and Windows services place this folder into the “Source” folder.
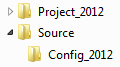
In Microsoft Visual Studio you can add a folder to a project, but it will be created in the directory where the project file is located. To add a folder to a project when the folder is not in the project directory we have to manually edit the project file. In this example we will add a folder to our main project that contains the environment specific config files. The “Config_2012” folder is located in the “Source” folder outside of the “Project_2012” project directory.
The following steps will add the “Config_2012” folder to the project
- Create the “Config_2012” folder in Windows Explorer
- Add the environment specific config files to it
- Add the folder to source control
- Open the solution in Visual Studio
- Right click the main project and select Unload Project
- Right click the main project again and select Edit…
- Add the following to the project file
 <ItemGroup>

<None Include="..\Source\Config_2012\Dev.config">

<Link>Config_2012\Dev.config</Link>

</None>

<None Include="..\Source\Config_2012\Local.config">

<Link>Config_2012\Local.config</Link>

</None>

<None Include="..\Source\Config_2012\Prod.config">

<Link>Config_2012\Prod.config</Link>

</None>

<None Include="..\Source\Config_2012\QA.config">

<Link>Config_2012\QA.config</Link>

</None>

<None Include="..\Source\Config_2012\Staging.config">

<Link>Config_2012\Staging.config</Link>

</None>

<None Include="..\Source\Config_2012\UAT.config">

<Link>Config_2012\UAT.config</Link>

</None>

</ItemGroup>
- Save the project file
- Right click the main project file and select Reload Project
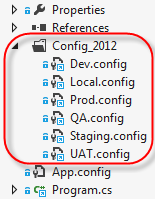
The “Config_2012” folder will appear in the Solution Explorer and the config files will be added as linked files.
Web applications and web services
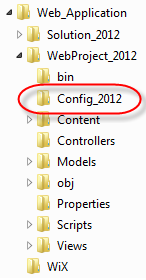
For web applications and web services place the Config folder into the web application folder
To add the config folder and files to the web application
- Open the web solution in Visual Studio
- Select the web project
- Click the Show All Files button on the Solution Explorer toolbar

- The Solution Explorer will display all files in the web application folder
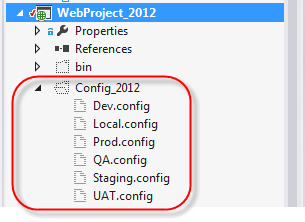
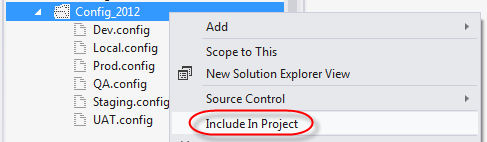
- Right click the Config_2012 folder and select Include In Project
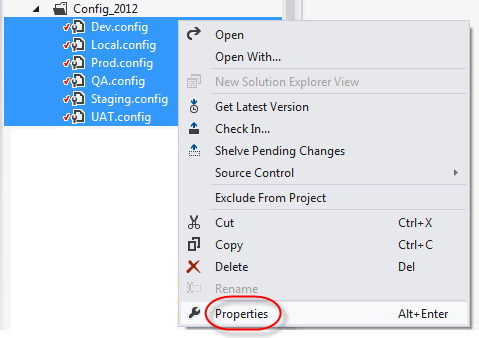
- Select all the config files in the Config_2012 folder
- Right click the selection and select Properties
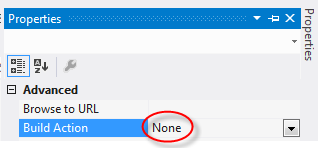
- Set the Build Action to None
- Click the Show All Files button on the Solution Explorer toolbar again to hide the excluded files