Amazon Web Services do not provide tools to migrate data to, from and between AWS RDS instances.
There is a free utility that can do the job.
SQL Server Management Studio (SSMS)
Install Microsoft SQL Server Management Studio (SSMS), because the utility uses libraries from it.
- Download the installer for free from https://msdn.microsoft.com/en-us/library/mt238290.aspx
SQL Azure Migration Wizard
Installation
- Download the SQL Azure Migration Wizard from http://sqlazuremw.codeplex.com/
- Unzip the downloaded ZIP file into a folder on your hard drive
- Create a shortcut in your Start Menu for SQLAzureMW.exe
Migrate a database
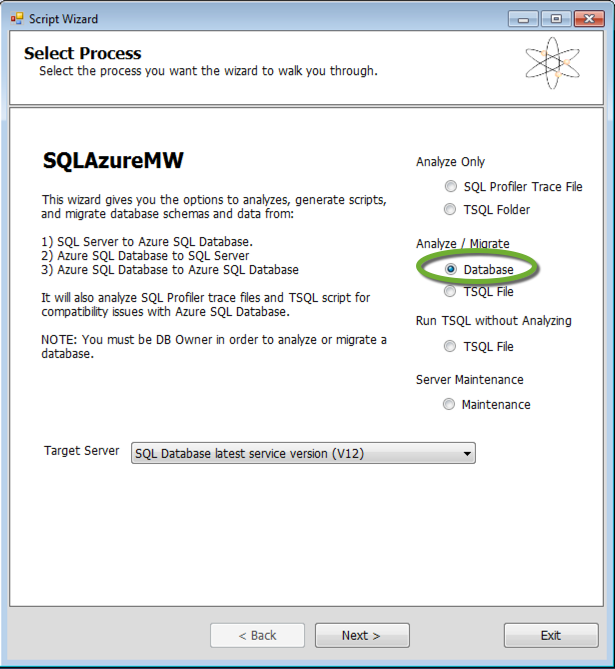
- Start the SQL Azure Migration Wizard by executing the SQLAzureMW.exe file
- Select Database in the Analyze / Migrate section and click Next
Connect to the source database
- On the Connect to Server page
- Enter the address of the database server
- Select SQL Server Authentication
- Enter the database owner login name and password
- If you keep Master DB selected, the next screen will show the list of databases to select from
- To save the username and password select Save Login Information
- Click Connect

- Select the database to connect to and click Next
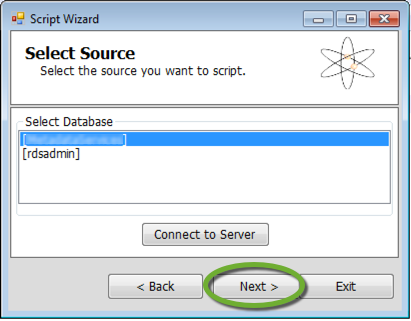
- Leave Script all database objects selected and click Next
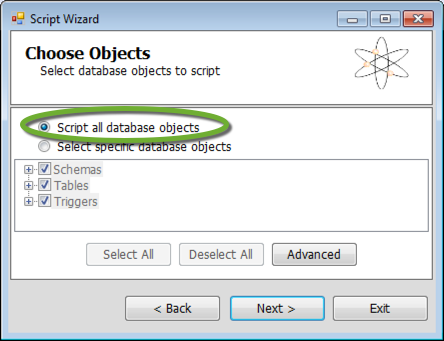
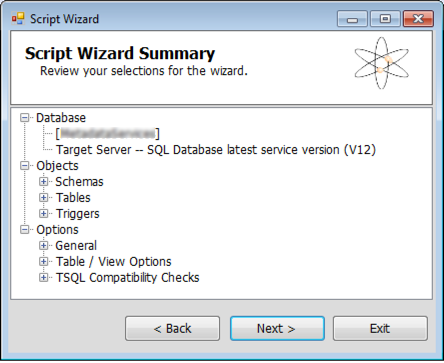
- On the Script Wizard Summary page click Next
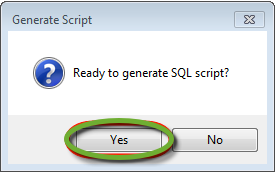
- Click Yes to start the read process
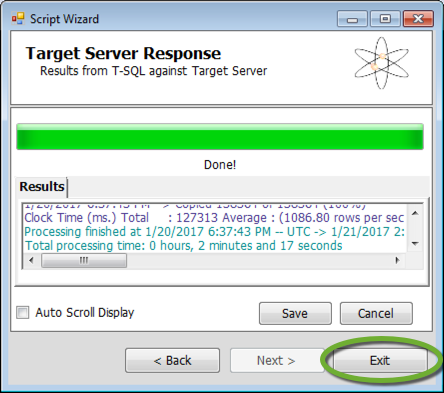
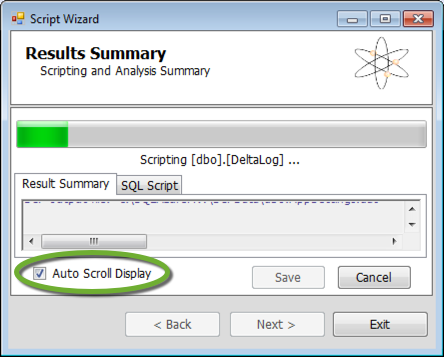
- On the Results Summary page select Auto Scroll Display to see the scrolling results
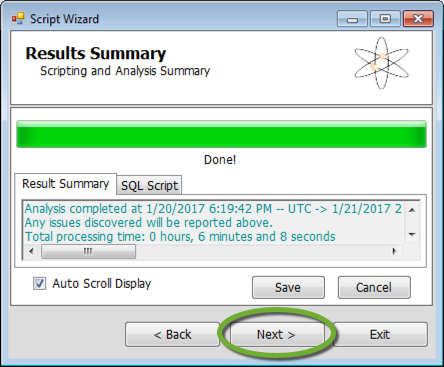
- When the read is done click Next
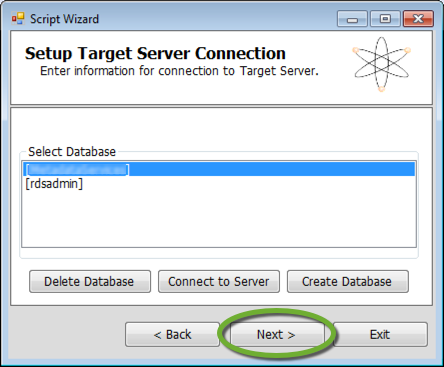
Connect to the target database
- Enter the connection properties of the target database server

- Select the target database
- To migrate the data into a new database click the Create Database button
- On mirrored RDS instances we cannot drop and recreate databases. To migrate data into an existing database
- Use SQL Management Studio to drop the existing tables to avoid key conflicts
- Select the target database on this page
- Click Next
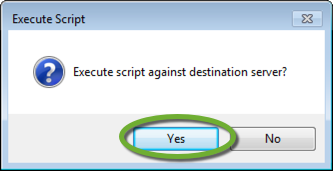
- Click Yes to start the write process
- When the write process is done click Exit