We will use CodeDeploy to automate the application deployment in our AWS ECS Fargate cluster.
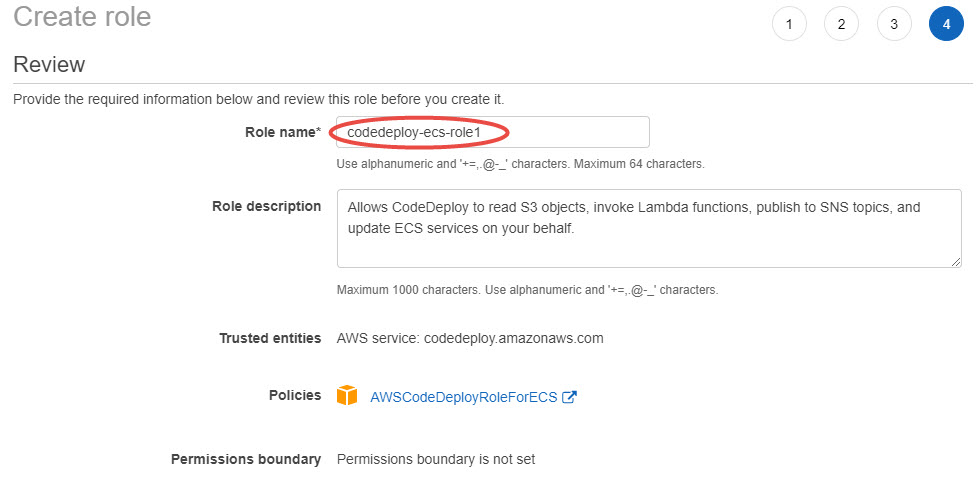
Create an AIM role for CodeDeploy to assume the ECS service role
In the AWS console navigate IAM and click the Roles link
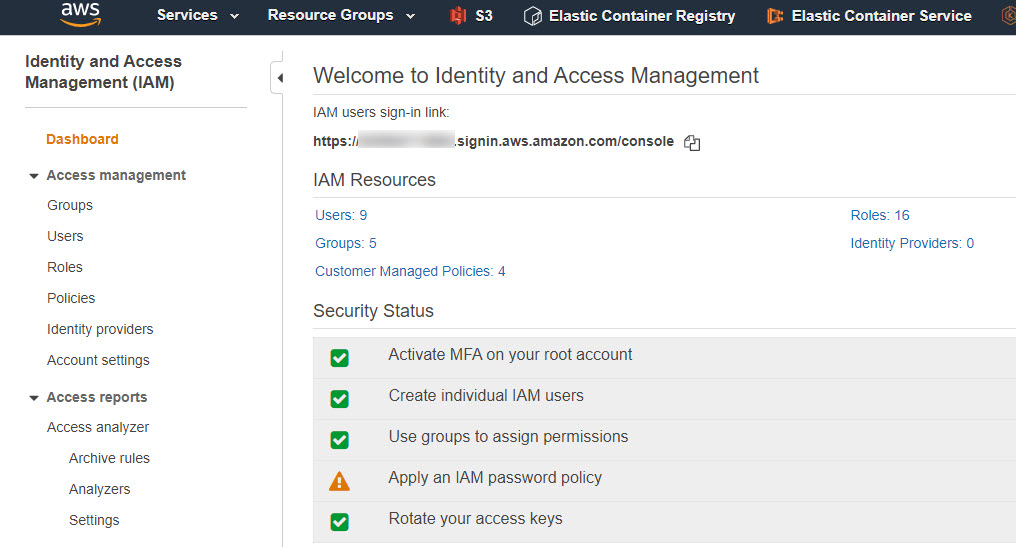
Click the Create role button
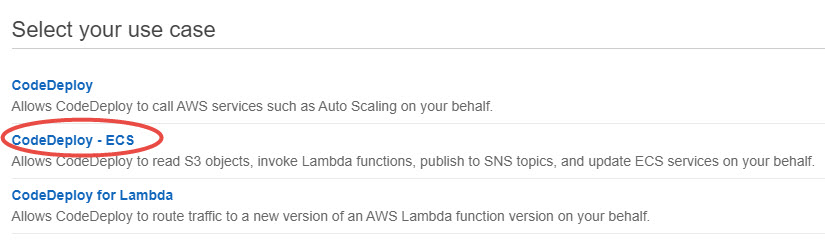
Click the CodeDeploy link

Select CodeDeploy ECS
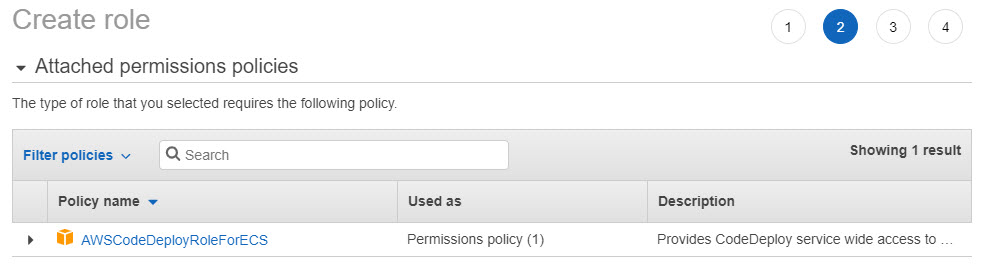
Keep the default setting
Enter a name for the role
Create the CodeDeploy application
We will use Python and Boto3 to create and configure the CodeDeploy application
Install Python on your workstation
Install Boto3 on your workstation
pip install boto3Create the appspec.json file
The AppSpec file contains instructions for CodeDeploy to deploy the new version of the application. To get the “taskDefinitionArn” of the Task Definition, execute the command in a terminal
aws ecs describe-task-definition --task-definition MY_TASK_DEFINITION_NAMESave this file as appspec.json
{
  "version": 0.0,
  "Resources": [
      {
          "TargetService": {
              "Type": "AWS::ECS::Service",
              "Properties": {
                  "TaskDefinition": "arn:aws:ecs:us-east-1:MY_ACCOUNT_NUMBER:task-definition/MY_TASK_DEFINITION_NAME:MY_REVISION",
                  "LoadBalancerInfo": {
                      "ContainerName": "MY_ECS_CONTAINER_NAME",
                      "ContainerPort": 3000
                  }
              }
          }
      }
  ]
}
Create the CodeDeploy application
We will use a Python script with Boto3 to create and configure the CodeDeploy application. Create the file create-codedeploy.py
import boto3

# Update the appspec.json file
# Get the "taskDefinitionArn" with
# aws ecs describe-task-definition --task-definition MY_TASK_DEFINITION_NAME

application_name = 'MY_APPLICATION_NAME'
cluster_name = 'MY_ECS_CLUSTER_NAME'
service_name = 'MY_ECS_SERVICE_NAME'
listener_prod_arn = 'arn:aws:elasticloadbalancing:us-east-1:MY_ACCOUNT_NUMBER:listener/app/MY_LISTENERNAME'
listener_test_arn = 'arn:aws:elasticloadbalancing:us-east-1:MY_ACCOUNT_NUMBER:listener/app/MY_LISTENERNAME'
target_group_1_name = 'MY_PROD_TARGETGROUP_NAME'
target_group_2_name = 'MY_TEST_TARGETGROUP_NAME'
service_role_arn = 'arn:aws:iam::MY_ACCOUNT_NUMBER:role/MY_CODEDEPLOY_ROLE_NAME'
region = 'us-east-1'
termination_wait_minutes = 60
app_spec_file = 'appspec.json'

# Create an SNS topic

# Create an SNS client
client = boto3.client(
    "sns",
    region_name=region
)

topic = client.create_topic(Name="notifications")
topic_arn = topic['TopicArn']

# ----------------------------------------------------

# Create a CodeDeploy application using Python/Boto3:

cd_client = boto3.client('codedeploy')
response = cd_client.create_application(
    applicationName='App-' + application_name,
    computePlatform='ECS'
)


# ----------------------------------------------------

# Create a CodeDeploy deployment group using Python/Boto3:

response = cd_client.create_deployment_group(
    applicationName='App-' + application_name,
    deploymentGroupName='Dgp-' + application_name,
    deploymentConfigName='CodeDeployDefault.ECSAllAtOnce', serviceRoleArn=service_role_arn,
    triggerConfigurations=[
    {
      'triggerName': application_name + '-trigger',
      'triggerTargetArn': topic_arn,
      'triggerEvents': [
        "DeploymentStart",
        "DeploymentSuccess",
        "DeploymentFailure",
        "DeploymentStop",
        "DeploymentRollback",
        "DeploymentReady"
      ]
    },
],
autoRollbackConfiguration={
    'enabled': True,
    'events': [
      'DEPLOYMENT_FAILURE', 'DEPLOYMENT_STOP_ON_ALARM',
      'DEPLOYMENT_STOP_ON_REQUEST',
    ]
},
deploymentStyle={
    'deploymentType': 'BLUE_GREEN',
    'deploymentOption': 'WITH_TRAFFIC_CONTROL'
},
blueGreenDeploymentConfiguration={
    'terminateBlueInstancesOnDeploymentSuccess': {
      'action': 'TERMINATE',
      'terminationWaitTimeInMinutes': termination_wait_minutes
    },

    'deploymentReadyOption': {
       'actionOnTimeout': 'CONTINUE_DEPLOYMENT'
    }
},
loadBalancerInfo={
    'targetGroupPairInfoList': [
      {
        'targetGroups': [
          {
            'name': target_group_1_name
          },
          {
            'name': target_group_2_name
          }
        ],
        'prodTrafficRoute': {
          'listenerArns': [listener_prod_arn]
        },
        'testTrafficRoute': {
          'listenerArns': [listener_test_arn]
        }
      },
    ]
},
ecsServices=[
    {
      'serviceName': service_name,
      'clusterName': cluster_name
    }
]
)

# ----------------------------------------------------

# Create a CodeDeploy deployment:

file = open(app_spec_file)
app_spec = file.read()
file.close()

response = cd_client.create_deployment(
    applicationName='App-' + application_name,
    deploymentGroupName='Dgp-' + application_name,
    revision={
      'revisionType': 'AppSpecContent',
      'appSpecContent': {
        'content': app_spec
      }
    },
    ignoreApplicationStopFailures=False,
    autoRollbackConfiguration={
      'enabled': True,
      'events': [
        'DEPLOYMENT_FAILURE',
        'DEPLOYMENT_STOP_ON_ALARM',
        'DEPLOYMENT_STOP_ON_REQUEST'
      ]
    }
)
Create the CodeDeploy application
Execute the above script with
python .\create-codedeploy.pyMonitor the deployment
If the script successfully created the CodeDeploy application the first deployment starts automatically
In CodeDeploy
- In the AWS console open the CodeDeploy page
- Select Applications
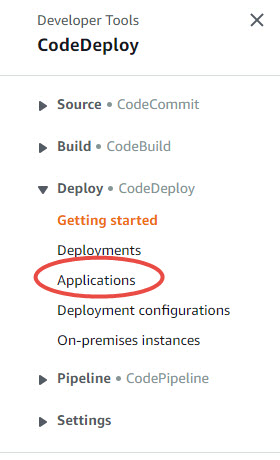
- Select the application name

- On the Deployments tab select the deployment
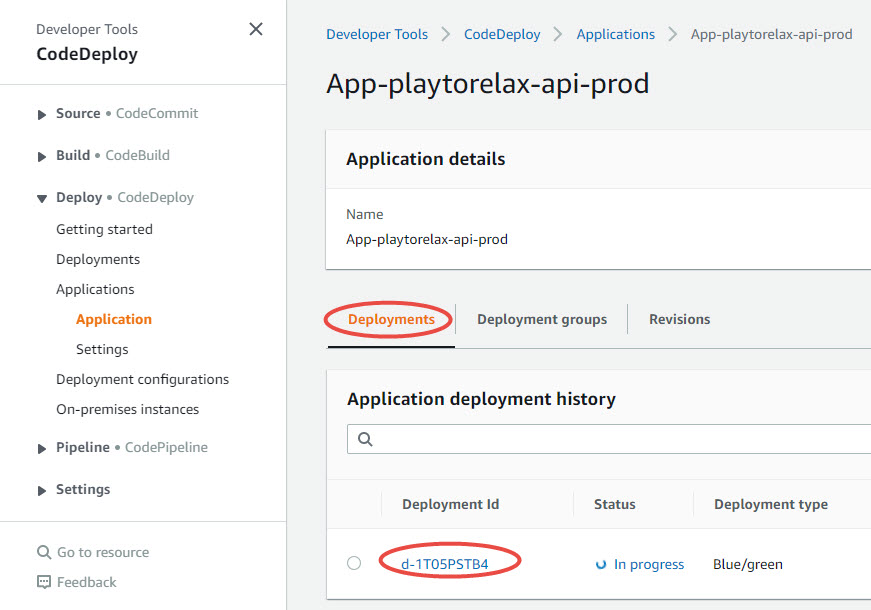
- Check the deployment status

In the ECS cluster
- In the AWS console select the cluster and the service
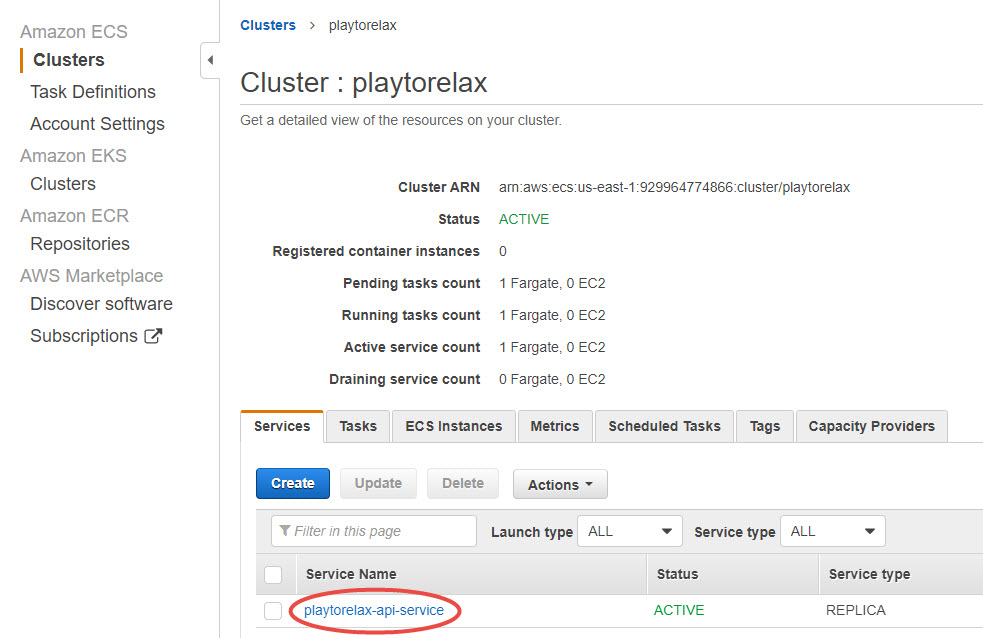
- Select the Deployments tab
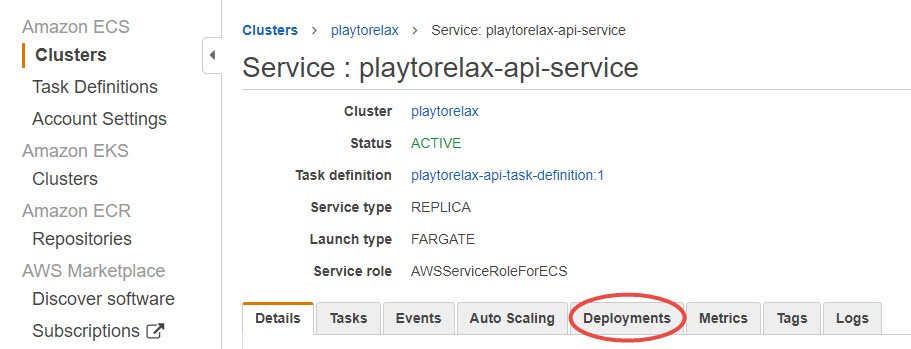
- CodeDeploy starts to launch a new, Replacement task

- At this pint the prod and test listeners of the load balancer both point to the old task version

- When the new task started 100% of the traffic still routed to the old version

- The load balancer’s Test listener starts to route traffic to the new task behind target group “b”

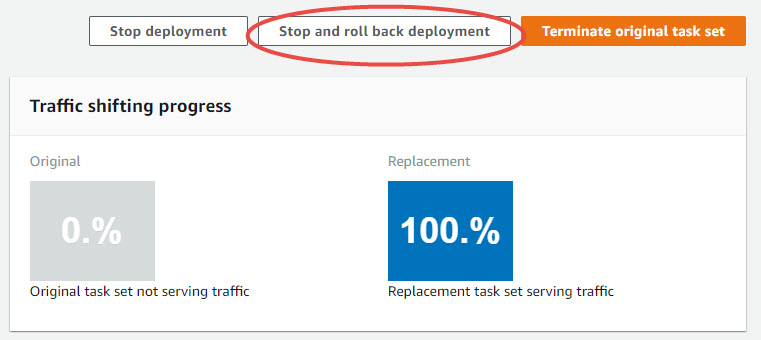
- When the deployment succeeded and none of the specified Hook Lambdas (if any) returned failure, the Test and Production traffic both are routed to the new task version

- The old (blue) task stays active during the time span we specified in the “termination_wait_minutes” variable of the Python script. During that time we can click the Stop and roll back deployment button to restore the prior version of the task.
- While the old (blue) task is still available the deployment is still “running”. To be able to start a new deployment we need to click the “Terminate original task set” button.
- When the wait time is over, the old deployment terminates in the service

Troubleshooting
If you get the error message
AWS CodeDeploy does not have the permissions required to assume the role …
make sure you have used the correct role ARN from

Deployment fails with error code 404
If you deploy a Socket.IO server make sure you add 404 to the valid Success Codes in both Load Balancer target groups.
