The Witcher World is a great theme and it is very easy to customize it. The original header image is beautiful, but if you want to display your custom header image you have to take some simple image editing steps to make sure it looks as good as the original.
The original image contains the left and right borders of the header, so if you add your image you have to add those to your custom image.
Create the custom header image
Click the image below to open the header image template with transparent areas for your custom image in a new tab of your web browser. On the new tab right click the image and select “Save image as…” (“Save picture as…” in Internet Explorer) and save the image to your computer. When it is done close the new tab to return to this page.

Select a picture on your computer that you want to use as the header image. The following steps show how to do it in Colrel Paintshop Pro XI. All other graphics editor programs should have similar feature to do the same.
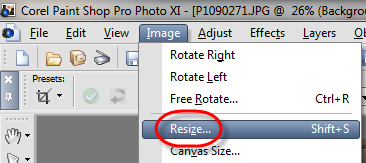
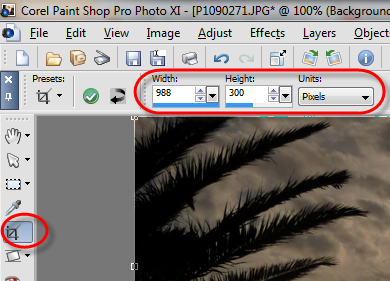
- To resize the image to 988 pixel wide select “Resize” in the Image menu
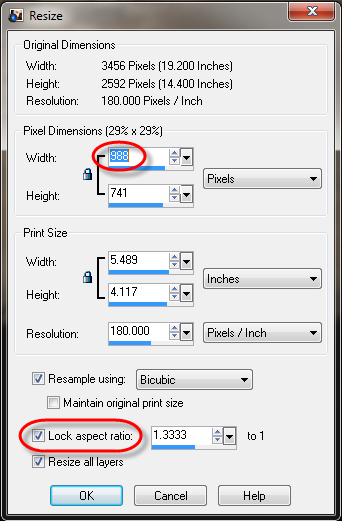
- Set the width to 988 pixels and check the “Lock aspect rato” to set the height automatically and avoid distortion, and click OK,
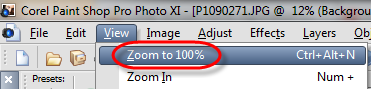
- In the View menu select “Zoom to 100%” to see the larger view of the image,
- To crop the image to 988 wide and 300 high on the left side select the crop icon and in the header enter 988 pixel width and 300 pixel height,
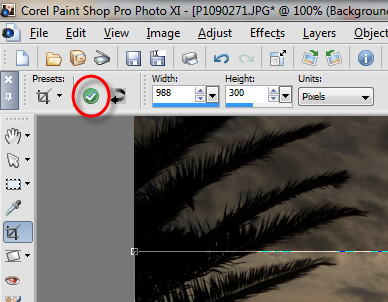
- Move the crop rectangle to the desired place and click the “Apply” button on the header,
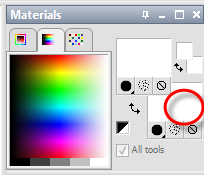
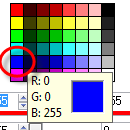
- Set the background color to blue to enable the transparency during the paste of the template,
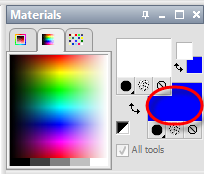
- Double click the background color indicator,
-
- Click the blue color and click OK,
- Open the Witcher_World_header_transparent_template.png in the same application,
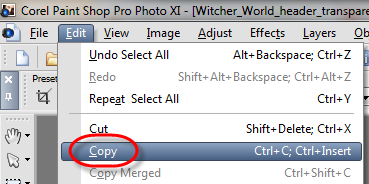
- In the Selections menu click “Select All”

- In the Edit menu click “Copy”,
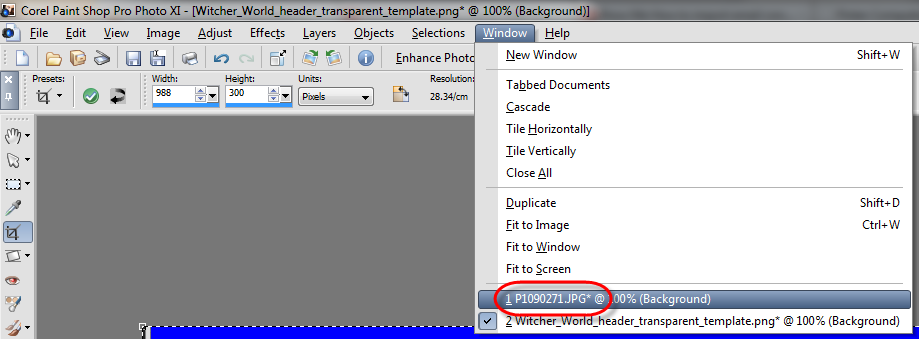
- Switch to the cropped image by selecting the file in the Window menu,
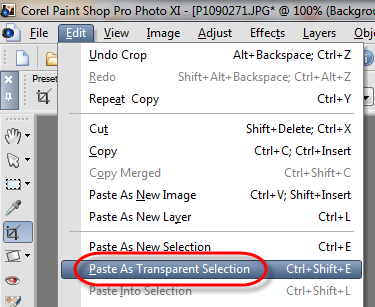
- Paste the Witcher_World_header_transparent_template.png on top of it as a “Transparent selection” exactly on top of your cropped image,
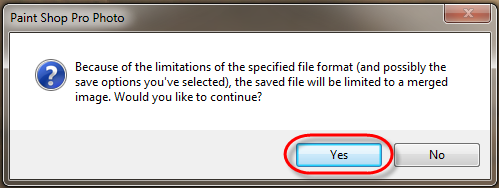
- Save the new composite image on your computer. Click Yes to allow Paint Shop Pro to merge the parts of the image.
Upload the custom header image
- Log into your WordPress site as administrator,
- On the left side select “Appearance,” and “Header”,

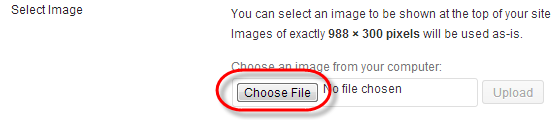
- On the middle pane in the Select Image section select “Choose File” under Choose an image from your computer,
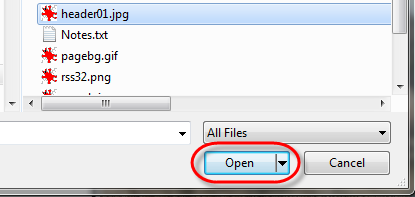
- Select the new file and click the Open button,
- Click the “Upload” button on the page,

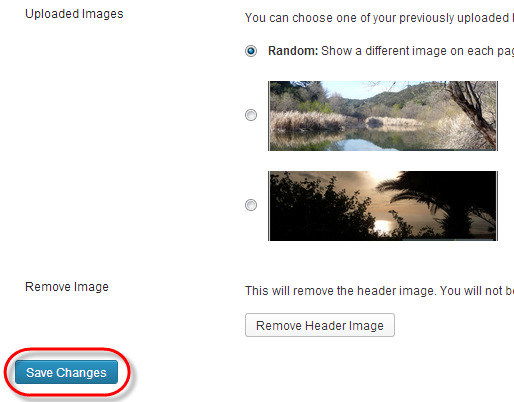
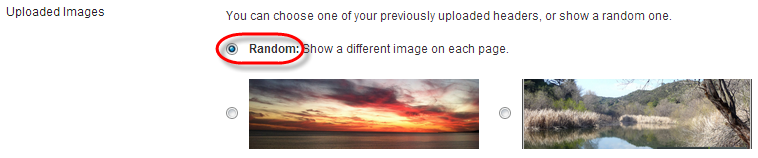
- You can upload multiple images and select “Random: Show a different image on each page” in the Uploaded Images section to display a different image at every page load.
- Click the “Save Changes” button at the bottom of the page.