When you create your first Spring MVC Java web application in the base installation of NetBeans follow the steps below
Create a project
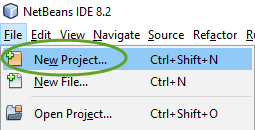
- In the File menu select New Project…
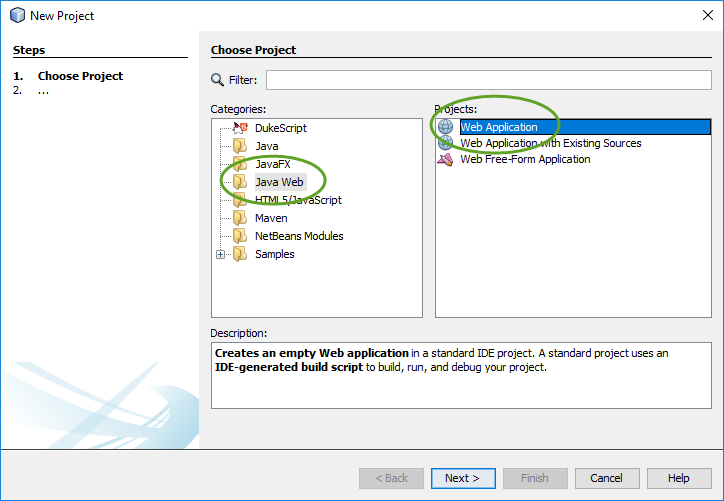
- Select the Java Web category, select the Web Application project, and click Next,
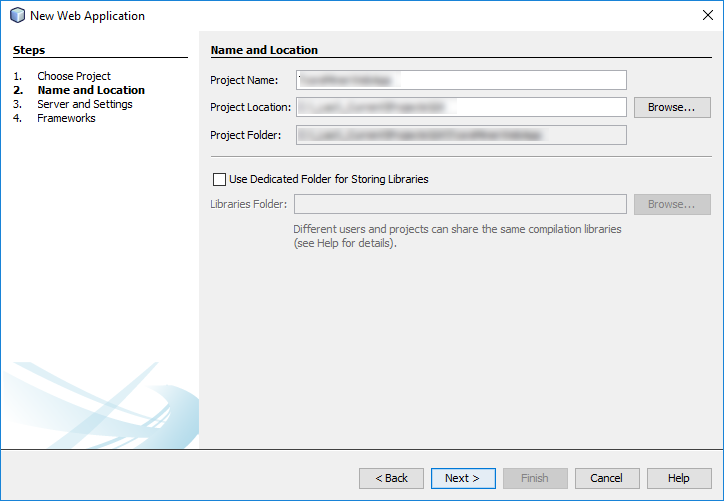
- Enter the name of the project and click Next,
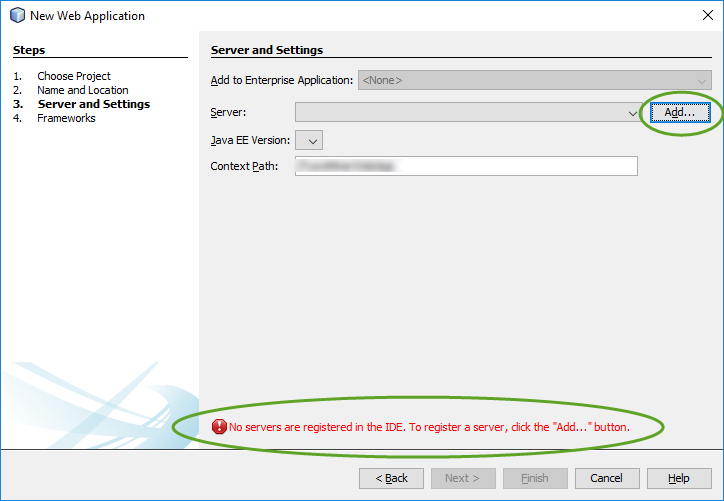
- If this is the first Java web application you create in NetBeans, most likely there is no web server for Java is installed on your workstation. If this is the case, click the Add… button,
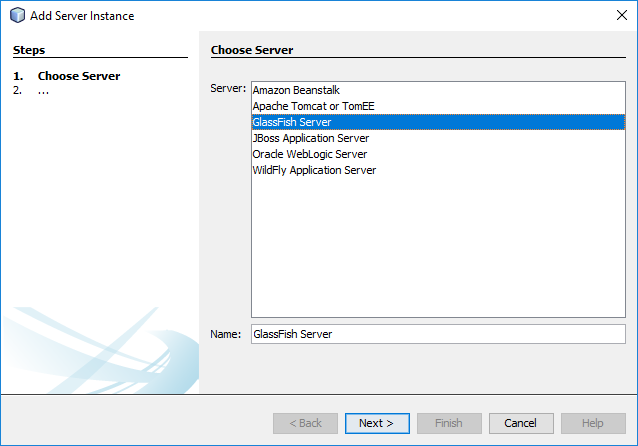
- Keep the GlassFish Server selected and click Next,
- Select the I have read… checkbox and click the Download Now… button,

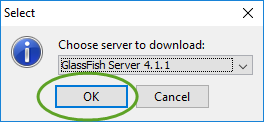
- Keep the latest version selected and click OK,
- Make sure the I have read… checkbox is still selected, and click Next,

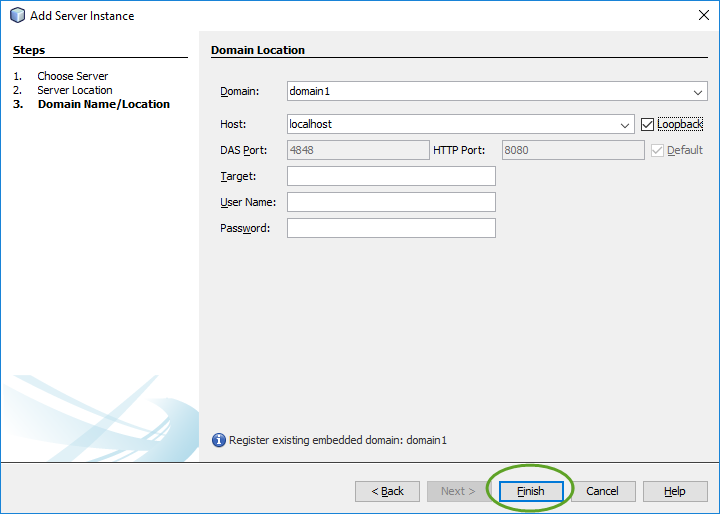
- Click Finish to register the domain on your workstation,
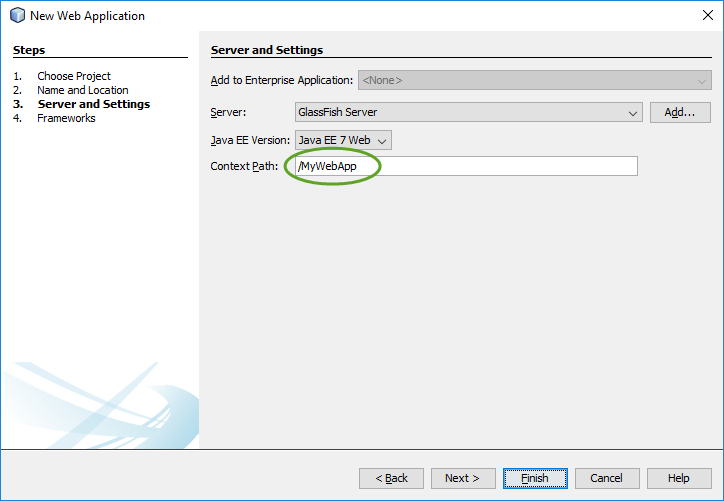
- The Context Path shows the address for your application. Click Finish again to continue.
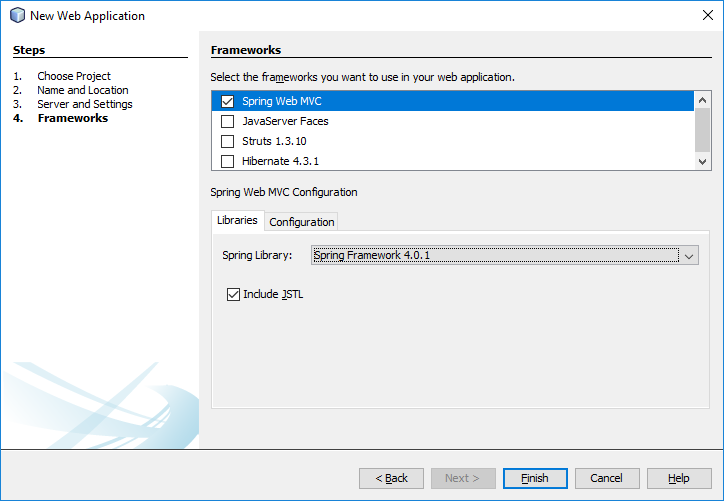
- Select the Spring Web MVC framework and click Finish.
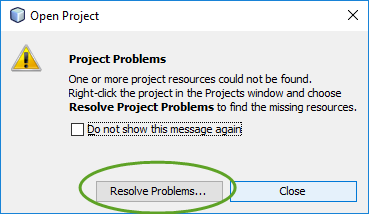
- If a library is missing from your workstation, a message pops up. Click the Resolve Problems… button for instructions,
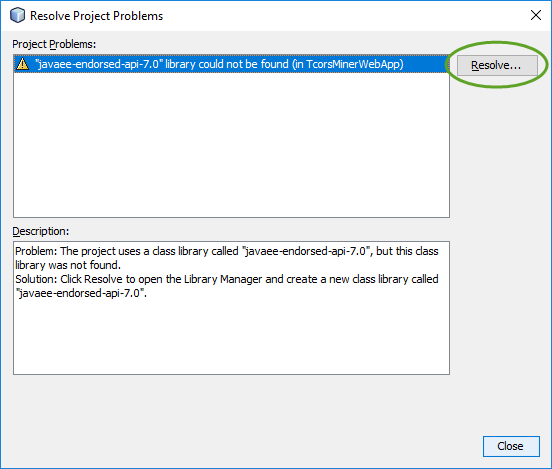
- On the Resolve Project Problems window click the Resolve… button,
- Download the missing library to your workstation. In this case, navigate your web browser to http://www.java2s.com/Code/Jar/j/Downloadjavaeeendorsedapi70jar.htm
- Download the “javaee-endorsed-api-7.0.jar” library

- Create the folder C:\Users\YOUR_USER_NAME\AppData\Roaming\NetBeans\8.2\modules\ext\javaee7-endorsed
- Extract the “javaee-endorsed-api-7.0.jar” file into the new folder,
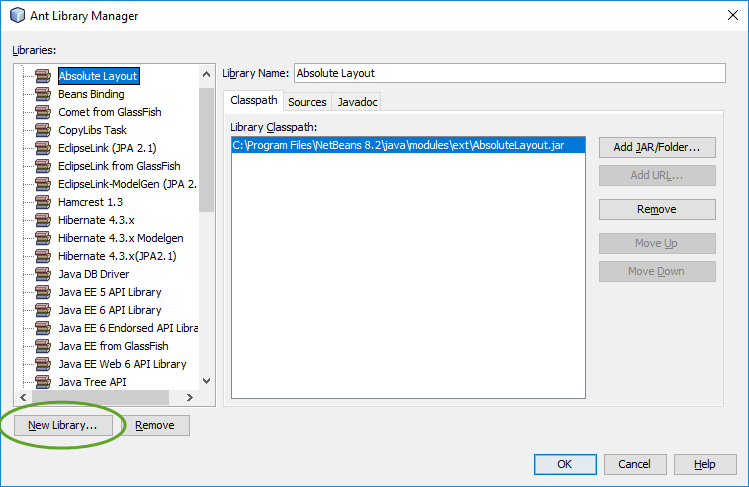
- On the Ant Library Manager window click the New Library… button,
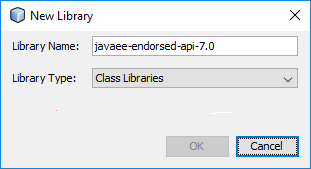
- Enter “javaee-endorsed-api-7.0” into the Library Name field and click OK,
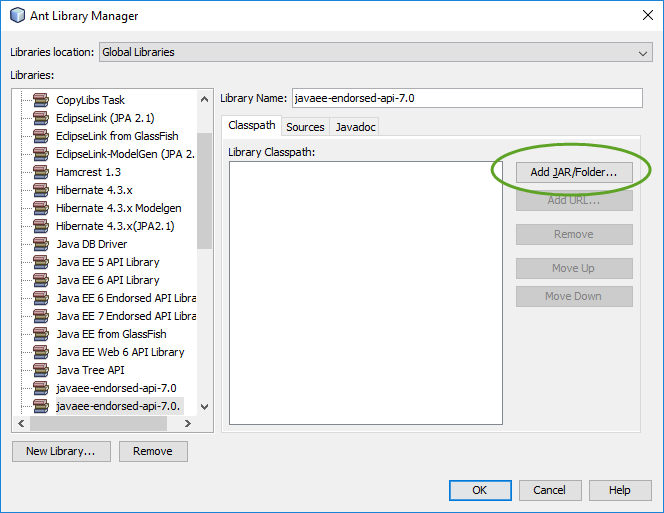
- Click the Add JAR/Folder… button,
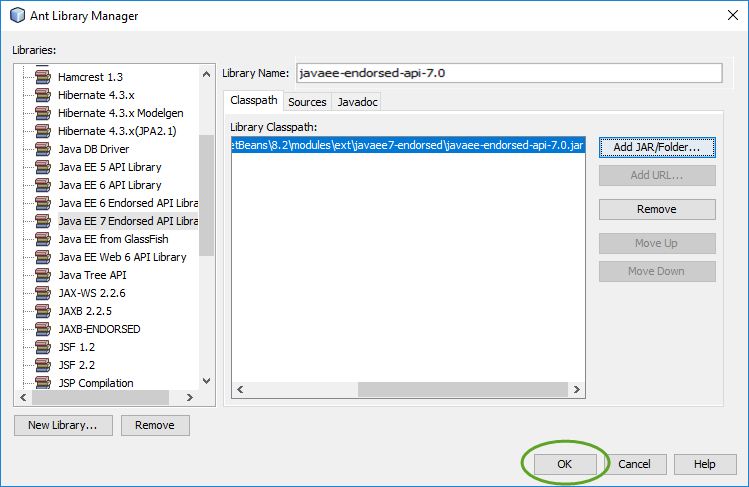
- Navigate the to extracted JAR file at “C:\Users\YOUR_USER_NAME\AppData\Roaming\NetBeans\8.2\modules\ext\javaee7-endorsed” and click the Add JAR/Folder button,

- On the Ant Library Manager window click the OK button,
- On the Resolve Project Problems window click Close.
Start the application
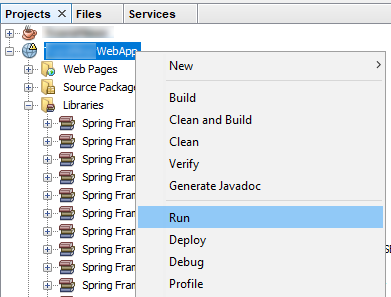
- In the Project list right-click the web application project and select Run
- The Output window should display a similar message,

- Open a web browser and navigate to http://localhost:8080/MY_PROJECT_NAME, to display the index page. The server is case sensitive, so make sure the spelling of the project name is correct.

The application configuration files
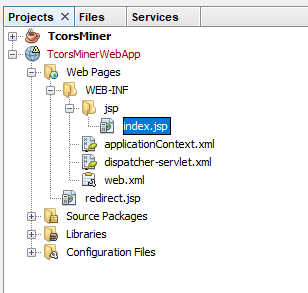
With the default settings the index.jsp composes the index page. It is in the Web Pages/WEB-INF/jsp directory.
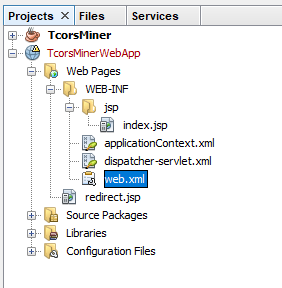
The web.xml file in the Configuration Files directory points to the first Java Server Pages file: redirect.jsp
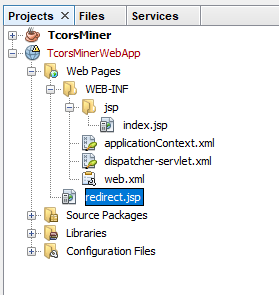
The redirect.jsp file is located in the Web Pages directory
The Dispatcher
The dispatcher-servlet.xml file contains the mapping between the HTML file, controller, and view.

<property name="mappings">
  <props>
    <prop key="index.htm">indexController</prop>
  </props>
</property>
The bean section specifies the name of the view for the controller.
 <!--
 The index controller.
 -->
 <bean name="indexController"
       class="org.springframework.web.servlet.mvc.ParameterizableViewController"
       p:viewName="index" />
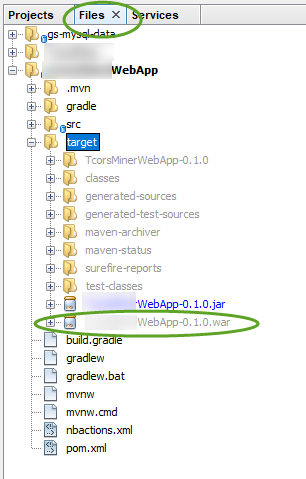
Web Application Build and Deployment
To generate a war file of your web application
- In the Project Files directory right click the pom.xml file and select Run Maven > Goals…
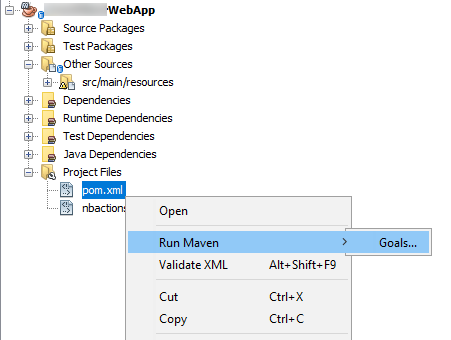
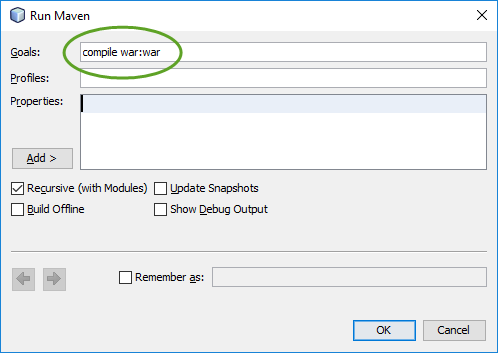
- In the Goals field type
compile war:war
and click OK
- NetBeans creates the war file in the target directory.