The administrator of the Chef organization
Download the validation key
Do this only once for the organization.
This step resets the validation key, so the existing server images will not be able to connect to the Chef organization.
- On the Administration tab on the left select Organizations > Reset validation Key
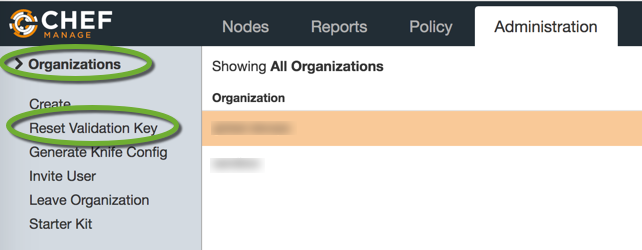
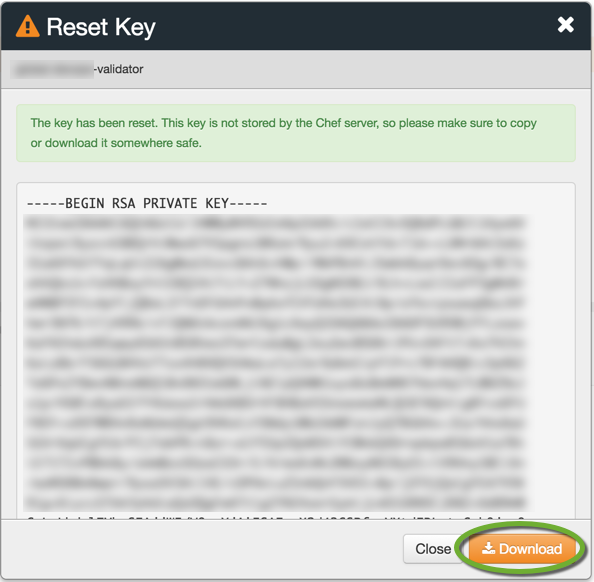
- Click the Reset Key button,

- This is the only time you are able to download the validator key. Click the Download button to save it on your workstation.
Every user
Download your personal key from the server and configure knife. See DevOps Engineering part 4. – Connect to the Chef server
Upload all cookbooks to the new Chef server
- Copy all cookbooks to the new chef directory
- Open a terminal in the cookbooks directory and start to upload all cookbooks
knife cookbook upload --all --freeze --force
- When you get the message
ERROR: Cookbook XXX depends on cookbooks which are not currently
ERROR: being uploaded and cannot be found on the server.
ERROR: The missing cookbook(s) are: ‘YYY’ version ‘>= 0.0.0’, ‘ZZZ’ version ‘>= 0.0.0’- Change to that XXX cookbook directory and execute
berks upload
- Change to that XXX cookbook directory and execute
- Repeat step 3 until all cookbooks have successfully uploaded to the server.
Upload the environment files
- Open a terminal in the environments directory.
knife environment from file qa.json uat.json prod.json
Upload the data bags
- Open a terminal window in the data-bags directory and upload the data bags.
knife data bag create MY_DATA_BAG
knife data bag from file MY_DATA_BAG MY_DATA_BAG/MY_ITEM1.json
knife data bag from file MY_DATA_BAG MY_DATA_BAG/MY_ITEM2.json
knife data bag from file MY_DATA_BAG MY_DATA_BAG/MY_ITEM3.json