Since I have installed the Gemini Code Assist extension, Visual Studio is very slow.
Debugging does not start for hours, repository detection, that normally works by using the folder of the currently active file, takes hours. The context sensitive menu activated by the right-mouse click does not show language specific functions.
If the application is already installed on the computer, and we try to change the install location without first uninstalling it, the installer ignores the value in the TARGETDIR property.
To be able to install the application at a new location, first uninstall the application and run the Setup.msi again.
Windows scheduled tasks are used to automatically execute processes on a set schedule.
To allow a long running process to continue, even if the scheduled task would start it again before the process completion, we need to uncheck the “If the running task does not end when requested, force it to stop” option.
When we use PowerShell to create the scheduled task, in the New-ScheduledTaskSettingsSet command use the -DisallowHardTerminate option.
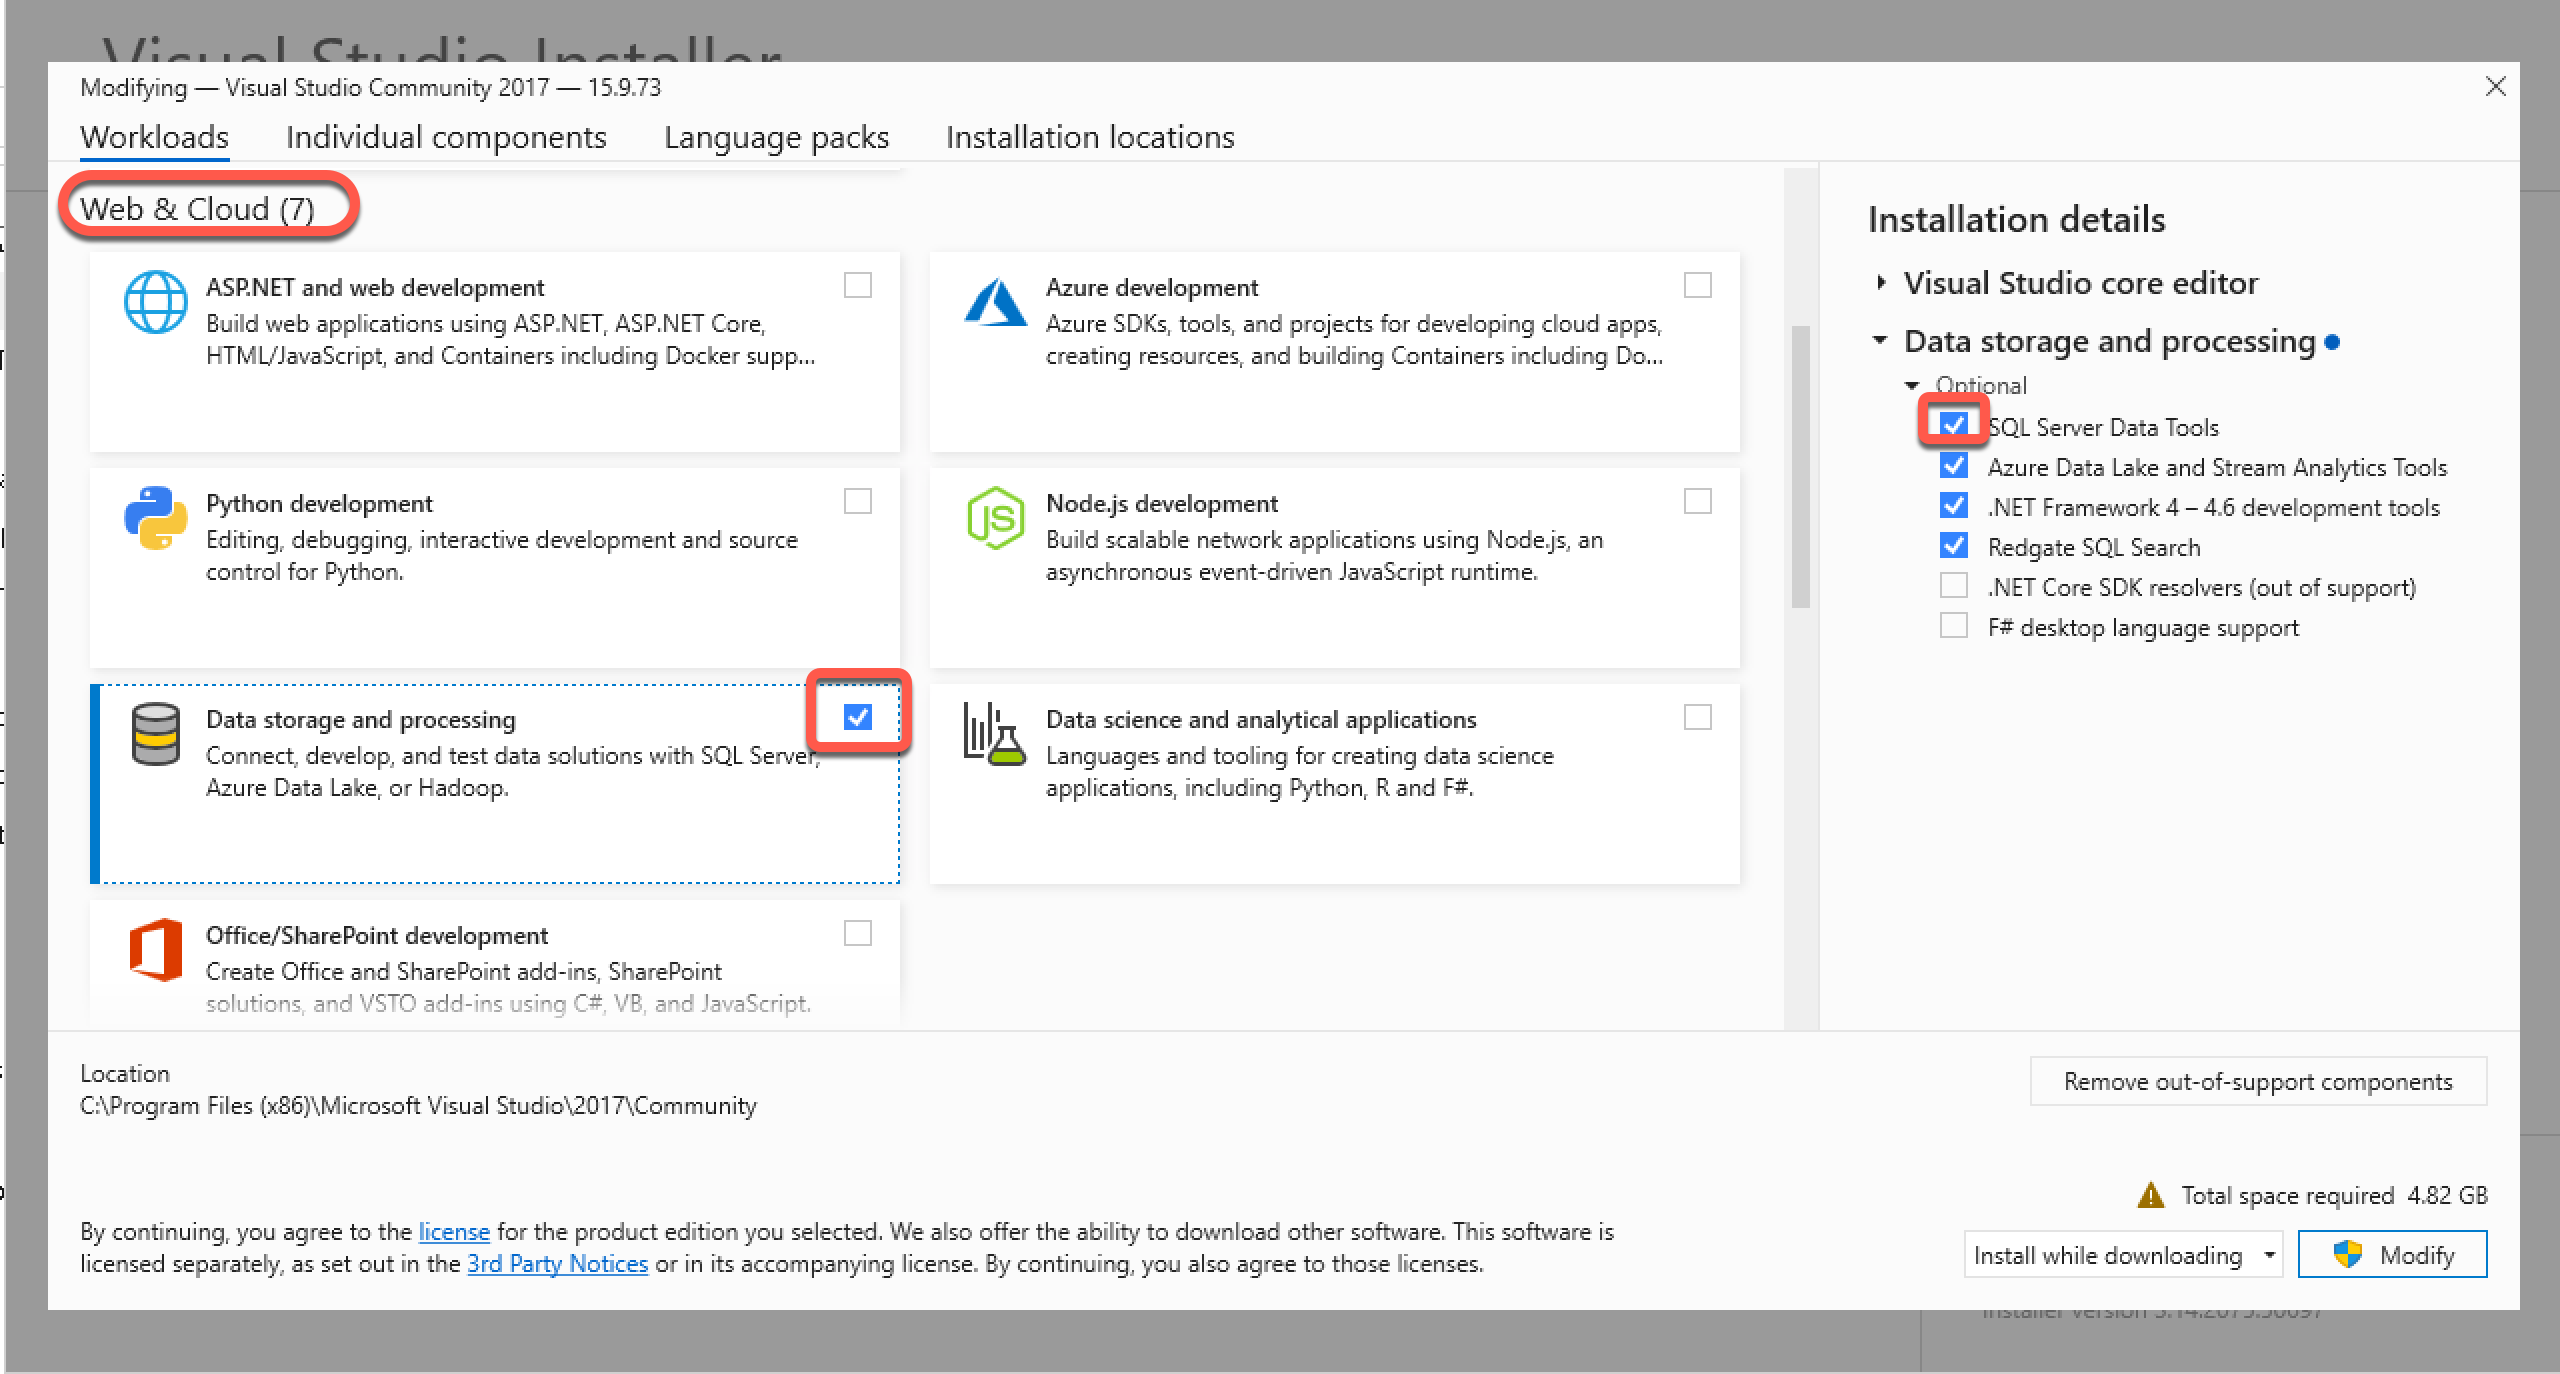
To be able to create, edit, and test MSSQL SSIS package solutions in Visual Studio Community edition we need to install the SQL Server Data Tools under Data storage and processing in the list of workloads.
Start the Visual Studio Installer from the Windows Start Menu,
Select the installed Visual Studio instance you want to update,
In the Web and Cloud section select the Data storage and processing panel,
On the right side check SQL Server Data Tools
At the bottom of the page click the Modify button.
Creating SQL Server Integration Services (SSIS) projects
When a C# project moved from an earlier version of Visual Studio to Visual Studio 2022, AOT (Ahead Of Time) publish starts to fail with the error message
RuntimeIdentifier is required for native compilation. Try running dotnet publish with the -r option value specified.
This is cuased by old settings in the project. To eliminate the problem
Open the ~\.nuget\packages\microsoft.dotnet.ilcompiler\8.0.15\build directory in File Explorer
Rename the file Microsoft.NETCore.Native.Publish.targets to Microsoft.NETCore.Native.Publish.targets.OLD
At the bottom of the Microsoft.NETCore.Native.targets file delete the line <Import Project="$(MSBuildThisFileDirectory)Microsoft.NETCore.Native.Publish.targets" Condition="'$(NativeCompilationDuringPublish)' != 'false'" />
To use command line arguments during debugging in Visual Studio Community Edition we will create project profiles.
Create the project profile
Right-click the project and select Properties
In the top toolbar click the small arrow next to the outlined (Start without debugging) run button and select …Debug Properties
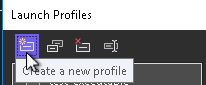
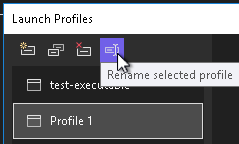
In the upper right corner of the Launch Profiles window click the Create a new profile button
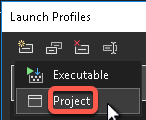
Select the Project option
Select the new profile and click the Rename selected profile button
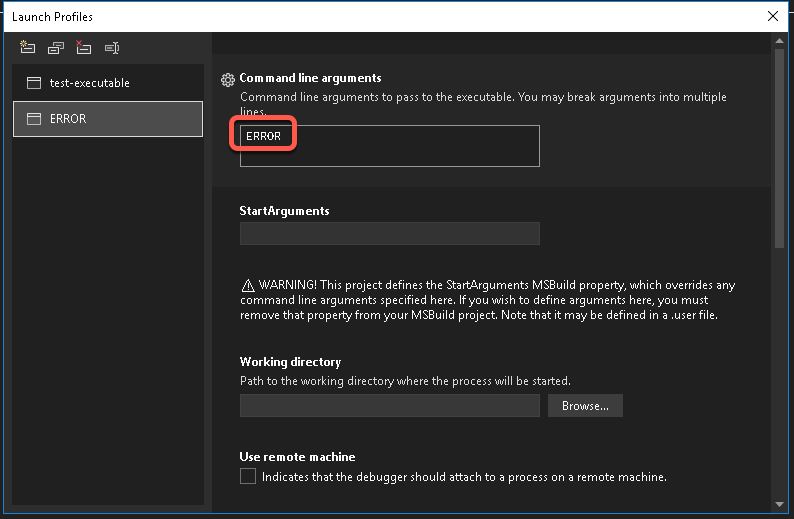
Enter the command line argument you want to pass to the application. Ignore the warning, the application will be able to read the arguments.
There is no save button, close the window with the X in the upper right corner
Select the project profile
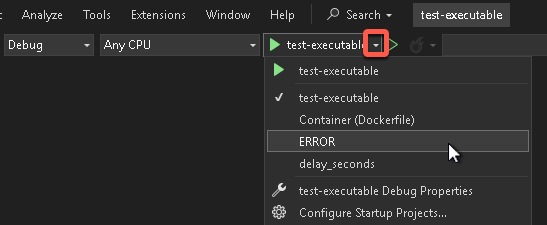
To debug the application with a specific project profile
In the top toolbar click the small arrow next to the outlined (Start without debugging) run button and select the project profile you want to use to debug the application
Visual Studio Community Edition is a free, popular IDE to develop C# business applications. AI assistance can enhance the development process and do the boilerplate creation.
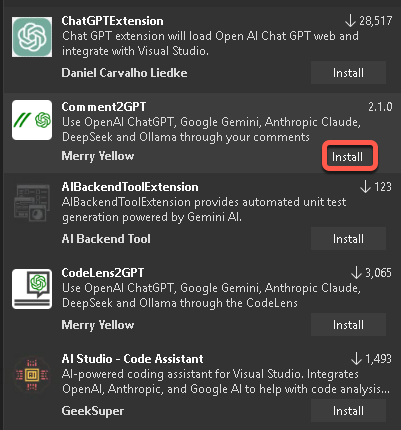
As of writing, the most popular free extension that supports multiple AI models is Comment2GPT by Merry Yellow.
Installation
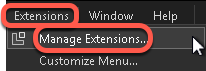
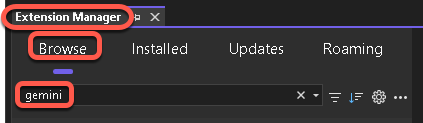
In Visual Studio Community Edition in the Extensions menu select Manage Extensions
On the Extension Manager’s Browse tab enter gemini into the search field
On the Comment2GPT panel click the Install button
For more information visit the Comment2GPT Visual Studio Marketplace page at Comment2GPT
Configuration
This extension supports multiple AI models, so we can select the best for our purpose, or the one that is allowed on by our company.
Google Gemini
Create the Gemini API key
To use Gemini in Commenct2GPT, we need to create a free Google Gemini API key.
Click the Get a Gemini APi key in Google AI Studio
In the upper right cornet click the Create API key button
Follow the instructions and save the API key at a secure location
Select the model you want to use
For the list of Gemini model versions and IDs visit Gemini models. We will need the ID of the model to configure Comment2GPT.
For our example we will use the Gemini 2.5 Flash Preview 05-20 model with the ID: gemini-2.5-flash-preview-05-20 model as it provides free, balanced performance. Currently, the free tier allows 10 requests per minute (RPM), 250,000 tokens per minute (TPM) and 500 requests per day (RPD). This should be enough for software development. Before you start to configure Comment2GPT, get the ID of the latest model you want to use.
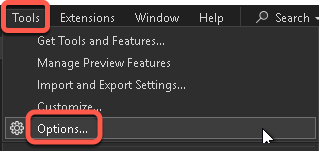
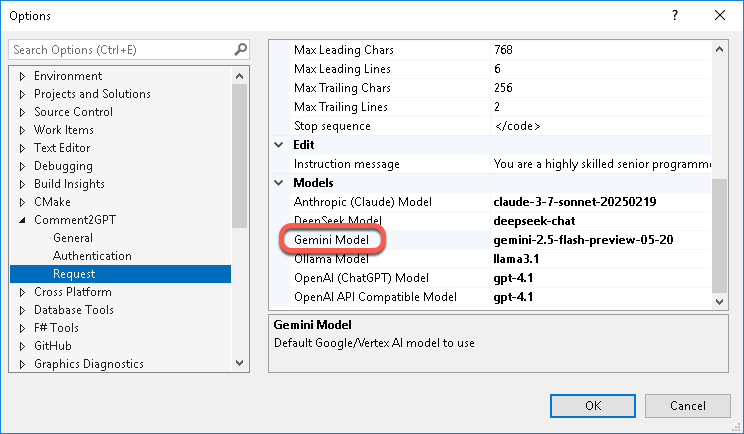
In Visual Studio Community Edition in the Tools menu select Options
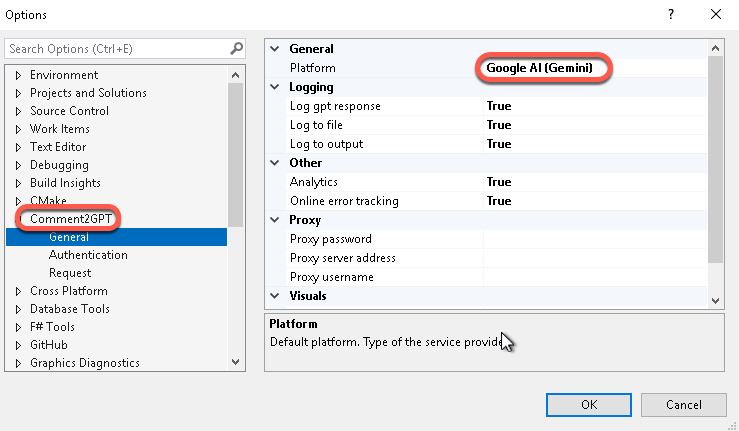
Collapse the Environment element, and in the Comment2GPT section select the General tab. Set the Platform to Google AI (Gemini)
On the Authentication tab paste the API key into the Google AI API Key field
On the Request tab enter the model ID into the set the Gemini Model field.
Using Comment2GPT
To ask Comment2GPT to generate code for you
Create a comment starting with the letters // gpt and type your request. For example:
// gpt write a function to retrieve aws canary results from cloudwatch
How it works
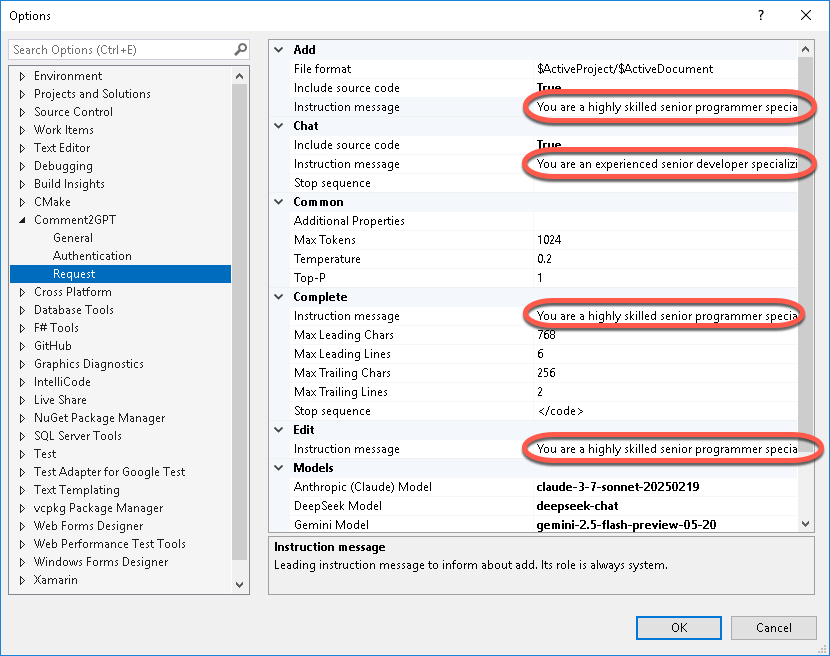
On the Comment2GPT Request tab the Instruction message fields contain long explanation for the model to process the Add, Chant, Complete and Edit requests. Copy the contents to a text editor to view the entire text. Very interesting read.
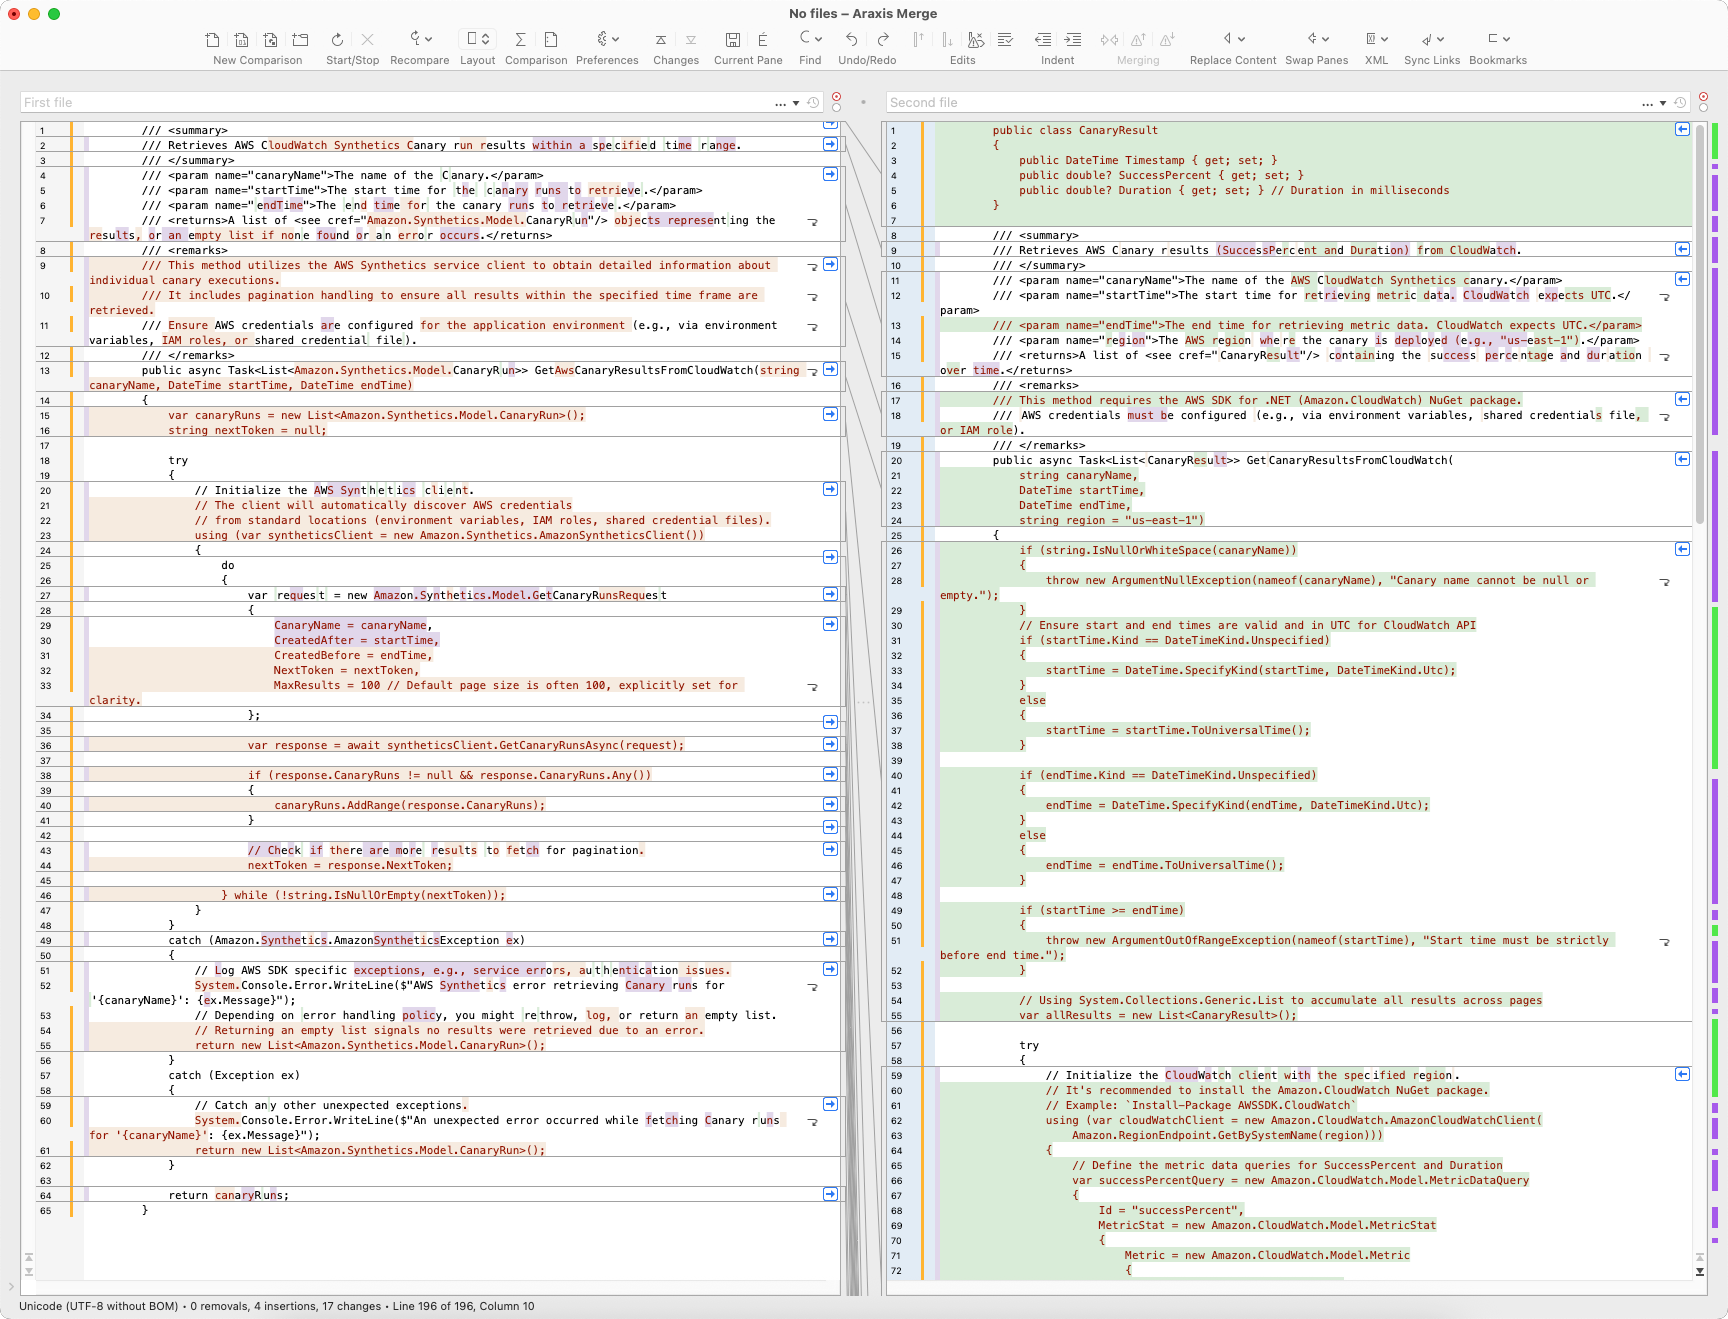
It is interesting, two identical requests generated entirely different results, one with 65 lines, the second with 196 lines of code.
When the .NET Entity Framework retrieves data from the database and parses it into the structure that we specify in our code, we have to make sure nullable columns are modeled with nullable properties in our code.
When null values are retrieved and the structure in the code does not allow null value in any property, we get the System.Data.SqlTypes.SqlNullValueException exception
Data is Null. This method or property cannot be called on Null values.
Make sure all nullable columns are modeled with nullable properties.
CREATE TABLE [dbo].[task](
	[id] [int] IDENTITY(1,1) NOT NULL,
	[filenames] [nvarchar](max) NULL,
	[source_path] [nvarchar](255) NULL,
	[target_path] [nvarchar](255) NULL


    public class task
    {
        public int id { get; set; }
        public string? filenames { get; set; }
        public string? source_path { get; set; }
        public string? target_path { get; set; }
    }