Import and export STL mesh files
To enable Autodesk Inventor to open and save .stl files add the STL Import and STL Export add-ins to Adobe Inventor. .stl files are used to transfer 3D print designs between computers. You can download most of them for free from the Internet.
- In the Tools menu open the Add-in Manager
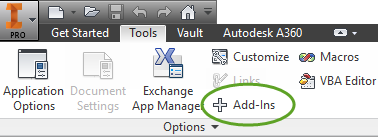
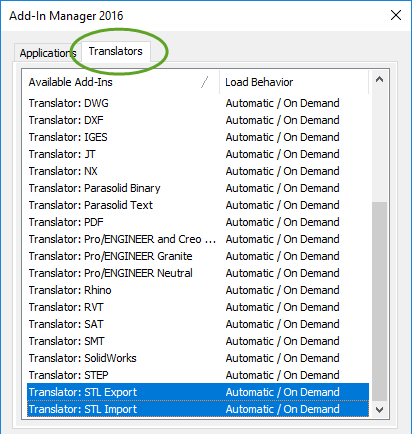
- On the Translators tab select the STL Import and STL Export translators.
To be able to edit the STL mesh files
install the Mesh Enabler add-in
Download the Autodesk Inventor Mesh Enabler
- Navigate to the Autodesk app store at https://apps.autodesk.com/en
- Sign in with your Autodesk account
- Search for Mesh Enabler
- Click the Download button
Install the Autodesk Inventor Mesh Enabler
- Double click the downloaded AutodeskMeshEnabler.msi file and complete the installation
- Start Autodesk Inventor
- In the Tools menu select the Add-in Manager

- On the Applications tab select Autodesk Mesh Enabler
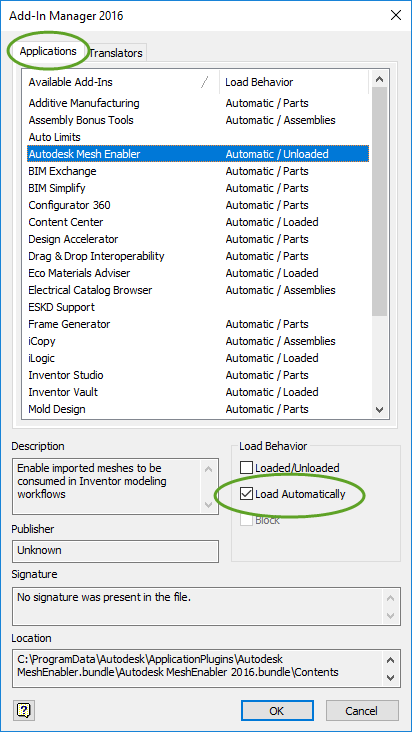
- Select the Load Automatically checkbox
- Click OK
To convert an STL mesh file to a solid model
- Start Autodesk Inventor
- Open the STL mesh file
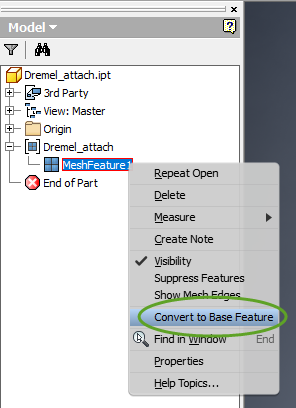
- In the browser right-click the MeshFeature1 element and select Convert to Base Feature
- In the dialog box select the output you need and click OK.
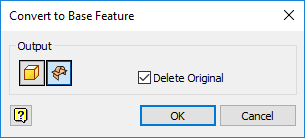
- Solid/Surfaces: Converts the selected mesh features to multi-solids or individual surfaces. To create solids, the mesh features must form closed meshes.
- Composite: Converts the selected mesh features to a single composite feature.
- Delete Original: Deletes the selected mesh features after conversion.
Set the default project location
Inventor saves the new projects in your document folder. To set a different default location
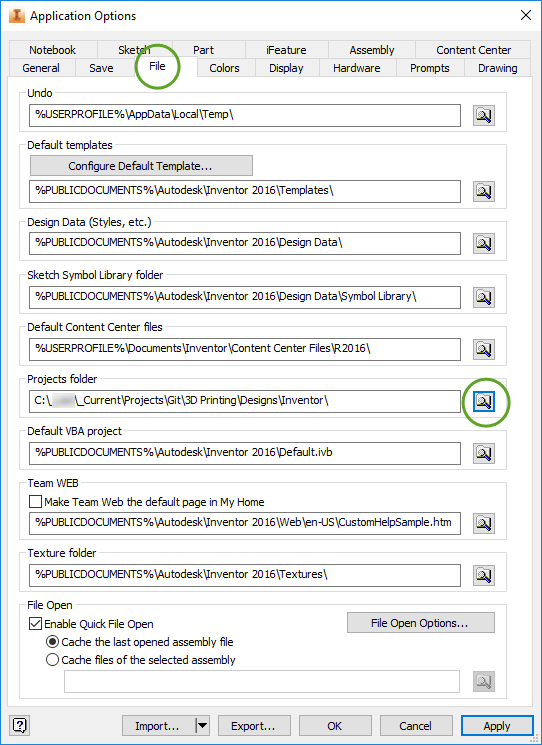
- In the Tools menu select Application Options
- On the File tab click the yellow folder icon next to Project folder and set the desired location.
To save the solid model as an STL 3D mesh
- Open the Inventor Parts (.ipt) or Inventor Assembly (.iam) file in Autodesk Inventor,
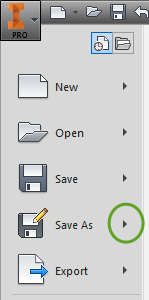
- Click the Inventor icon in the upper left corner,
- Click the small arrow next to Save As,
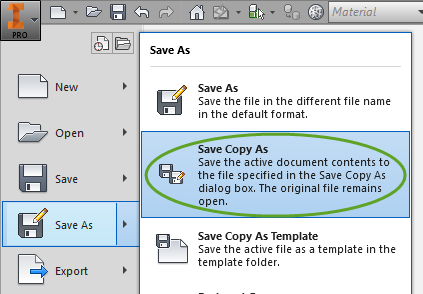
- In the submenu select Save Copy As,
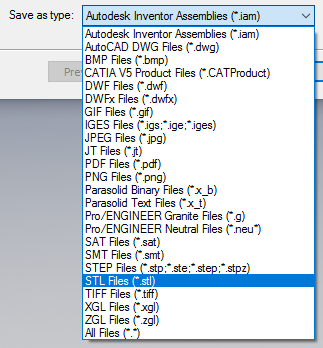
- In the Save as type dropdown select STL Files,
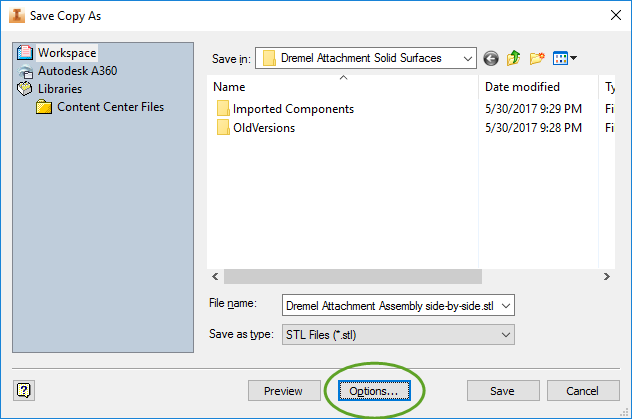
- Enter a name for the file and click Options…,
- Select Source Units to make sure the size of the mesh is identical to the objects in the Inventor document,
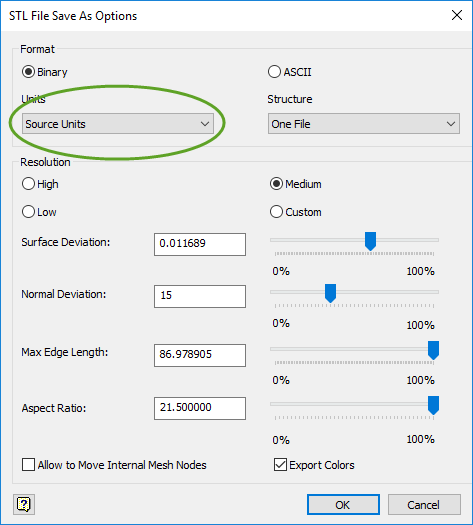
- Click OK to close the Options window,
- Click Save to write the file to the disk.