To scan with the Canon Maxify GX4020 all-in-one inkjet printer
Install the IJ Scan Utility
- In your browser navigate to MAXIFY GX4020 Software & Drivers
- Select the operating system name and version
- Download the Print Driver and Scan Utility Installer
- Double-click the downloaded file to install the Scanner Utility
- Select the printer and click the Next button
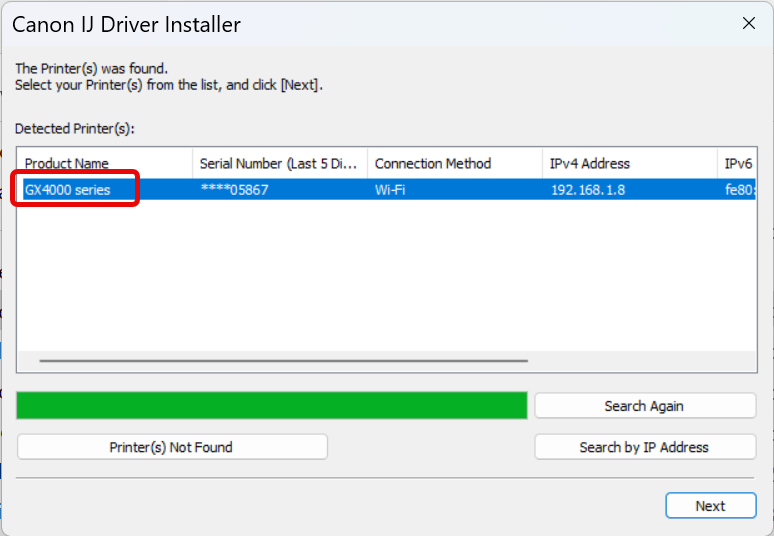
- Select the printer and click the Next button
Scanning with the IJ Scan Utility
Start the IJ Scan Utility
The IJ Scan Utility is located in the Canon Utilities folder of the Start Menu
To use the preview function
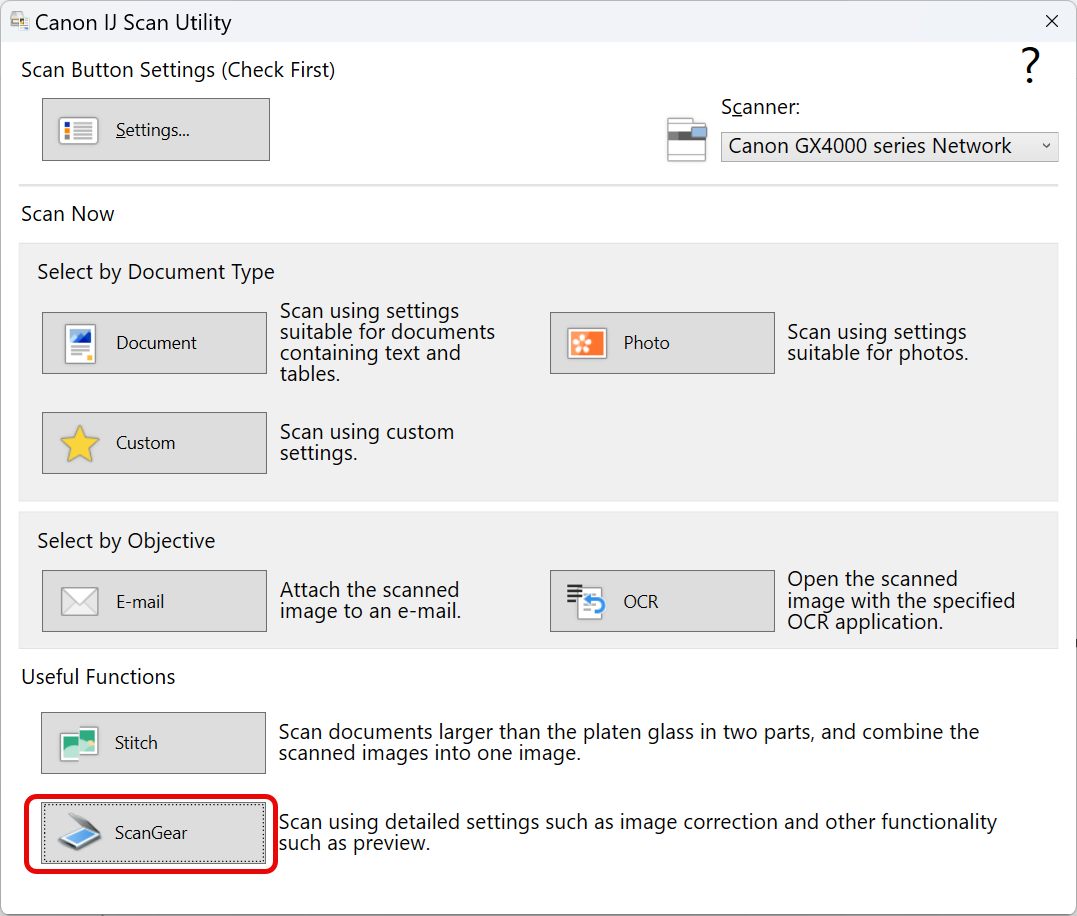
- Click the ScanGear button
- On the Basic Mode tab click the Preview button
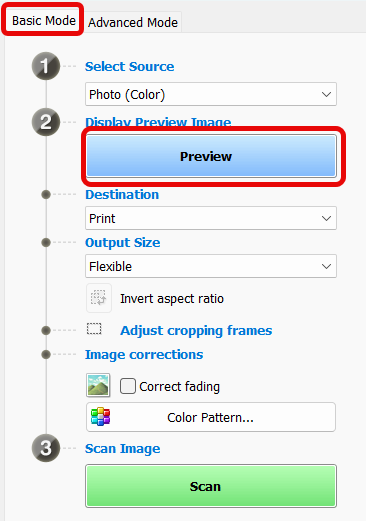
- If you want to configure more settings, use the Advanced Mode tab

Troubleshooting
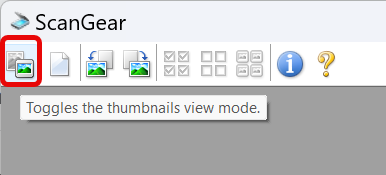
You are trying to scan an image exceeding 100 MB. If you want to scan this image, reduce image size or disable the thumbnails view mode.
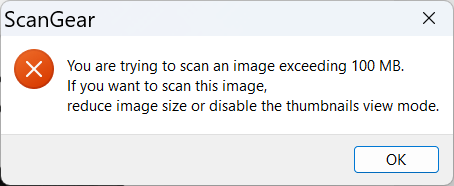
To turn off the thumbnails mode
- In the upper left corner of the ScanGear window click the Thumbnail view mode button.
Replacing the printer or changing the network connection
The installer saves the MAC address of the printer, so if you need to replace the already selected printer, or you are changing between Wi-Fi and wired network connection, you need to first uninstall and reinstall the Canon IJ Scan Utility. Even if you run the Scanner Selector application, it does not replace the scanner information in the scanner application. The Wi-Fi and wired network adapters have different MAC addresses.
- Uninstall the Canon IJ Scan Utility
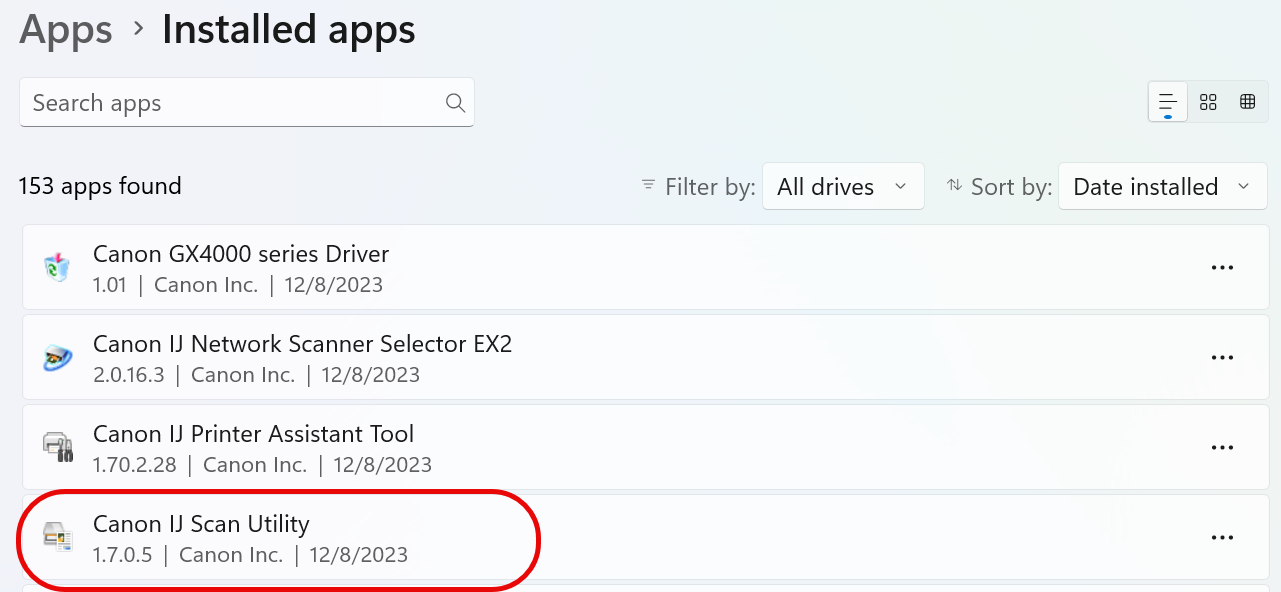
- Reinstall the Canon IJ Scanner Utility (see above)