In this part of the series we will continue the development of our data store app that we set up in the first part of the series.
Create the Data Model
- Open your sample application that you created in the first part
- Open the Project Navigator
- Select the Supporting Files group
- Click the plus (+) sign in the lower left corner of the screen
- Select New File… in the pop-up
- Under iOS select Core Data on the left side
- Select the Data Model icon in the middle of the window
- Click the Next to save the file
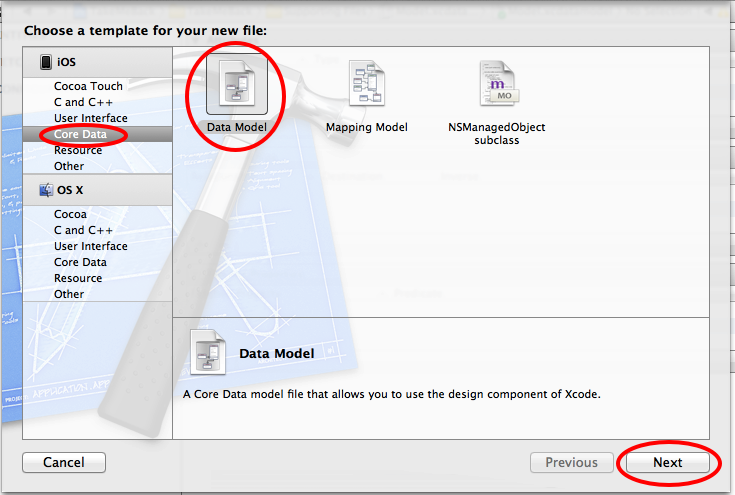
Add an Entity to the data model
- Open the .xdatamodeld file in the Project Navigator
- Click the Add Entity button at the bottom of the screen

- In the upper right corner of the window under Entities name the entity Event
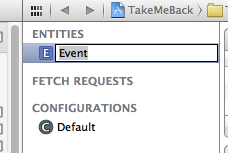
Add an attribute to the Entity
- Click the plus (+) sign at the bottom of the Attribute section of the window

- Name the attribute creationDate, and set the type to Date in the pop-up menu
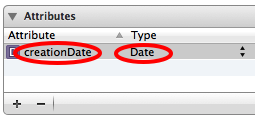
- Add another attribute, name it as latitude and set the type to Double
- Add a third attribute, name it longitude and set the type to Double
As you are adding the new attributes the rows jump around to be displayed alphabetically, so make sure you are setting the type of the correct row.
The attributes of the Event entity should look like this
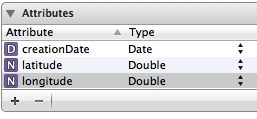
Create a custom class to represent the Event entity to be able to create methods for the entity
- Select the Event entity on the window
- In the File menu select New -> New File…
- In the New File dialog, select NSManagedObject subclass
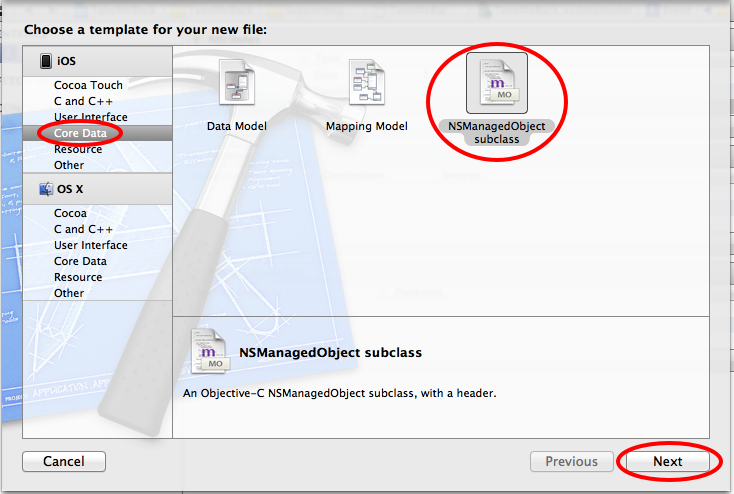
- Click the Next button
- Save the file in the project folder
Import the new class into the ViewController
- Add the following to the RootViewController.m implementation file
#import "Event.h"