If you just start to work with Terraform Enterprise, you need to create a Terraform environment.
Preparation
GitHub account
To access GitHub from Terraform Enterprise, create a GitHub team and account with admin access to the GitHub repository that will store the Terraform scripts.
- Create a GitHub team who will have admin access to the Terraform script repository,
- Create a GitHub user what Terraform Enterprise will use to access the Terraform script repository,
- Add the new GitHub user to your GitHub organization,
- Log into GitHub with the new user account credentials and wait for the email verification email from GitHub,
- Open the verification email from GitHub and click the button in the email to verify your email address,
- Stay logged into GitHub with the new user account and wait for the invitation email from GitHub to join the organization,
- Open the invitation email from GitHub and click the button to accept the invitation,
- In GitHub add the new GitHub user to the new team,
- Create a GitHub repository to store the Terraform scripts,
- Add the new team to the Terraform script repository with admin rights.
If the Terraform modules are in a separate GitHub repository, add the new team to that repository with Read rights.
AWS account
Create a new user account that Terraform Enterprise will use to access AWS
- Create a new AWS user,
- Add user rights
- AmazonEC2FullAccess
- AmazonS3FullAccess
Connect your Atlas account to GitHub
We will authorize Terraform Enterprise to access the Terraform script GitHub repository. We set this connection up in our personal profile in Terraform enterprise, but when we create new Terraform environments Terraform Enterprise will use this connection to access the GitHub repository the environment will be connected to. Do not use your personal GitHub account to make the connection, because if your personal account loses access to the GitHub repository, the Terraform environment will not be able to connect to it. For this connection, we have already created a new user in GitHub above.
- In a web browser log into GitHub with the user account you want Terraform Enterprise use to access the GitHub repository,
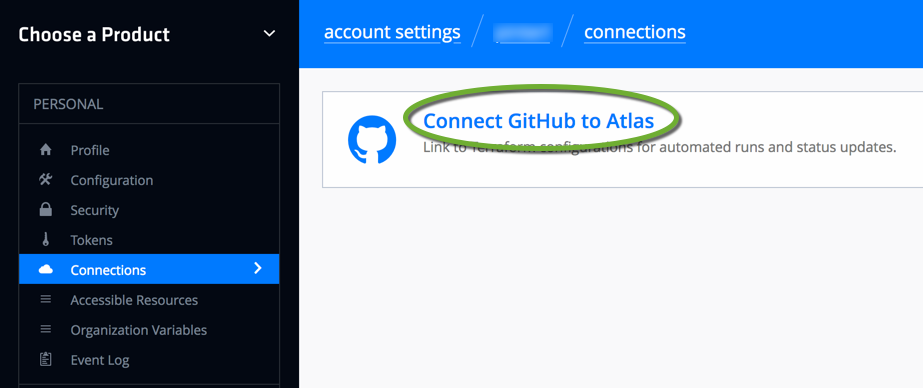
- In the same web browser open a new tab and navigate to https://atlas.hashicorp.com/settings/connections and log into Atlas with your Hashicorp account,
- Click Connect GitHub to Atlas
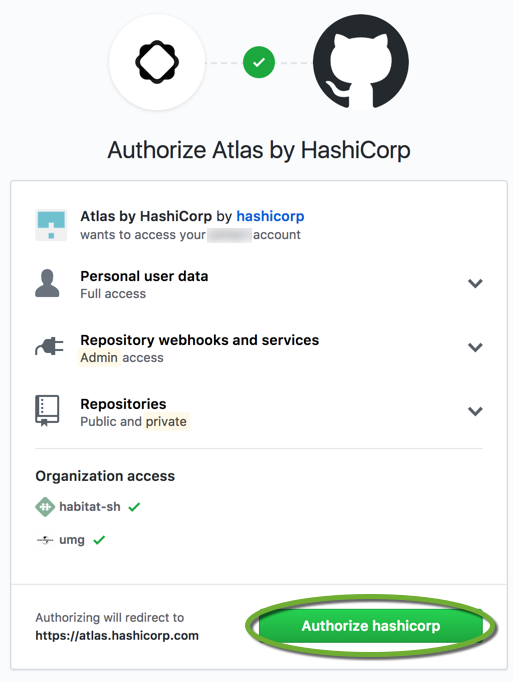
- On the GitHub authorization page click the Authorize hashicorp button,
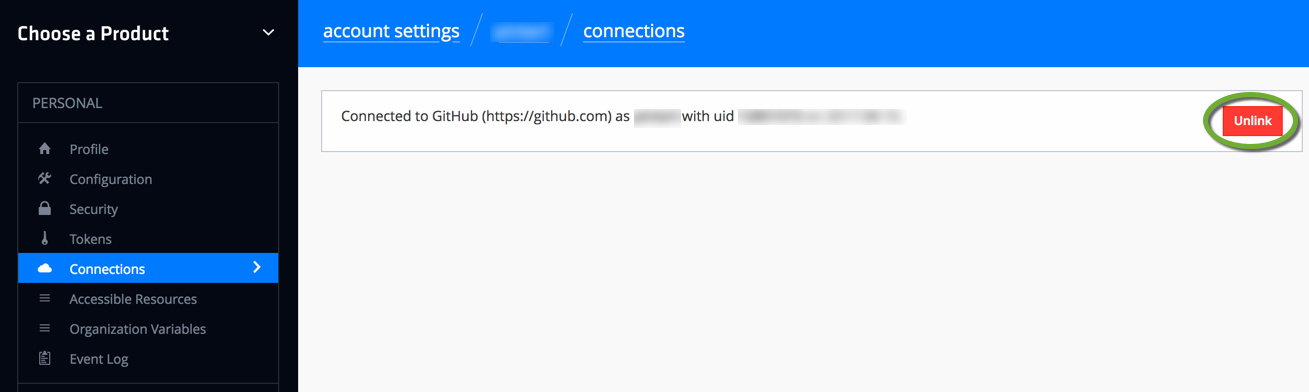
- Later if you want to unlink Atlas from your GitHub account, in the Personal section select Connections, and click the Unlink button.
Create the GitHub repository
Create a repository in GitHub to store the Terraform config files. You can specify subdirectories for each Terraform environment to watch, so one repository can serve the security group creation, and EC2 instance creation for the same developer group.
- Create the GitHub repository,
- Create a folder that the Terraform Enterprise environment will monitor for changes.
Create a new environment
-
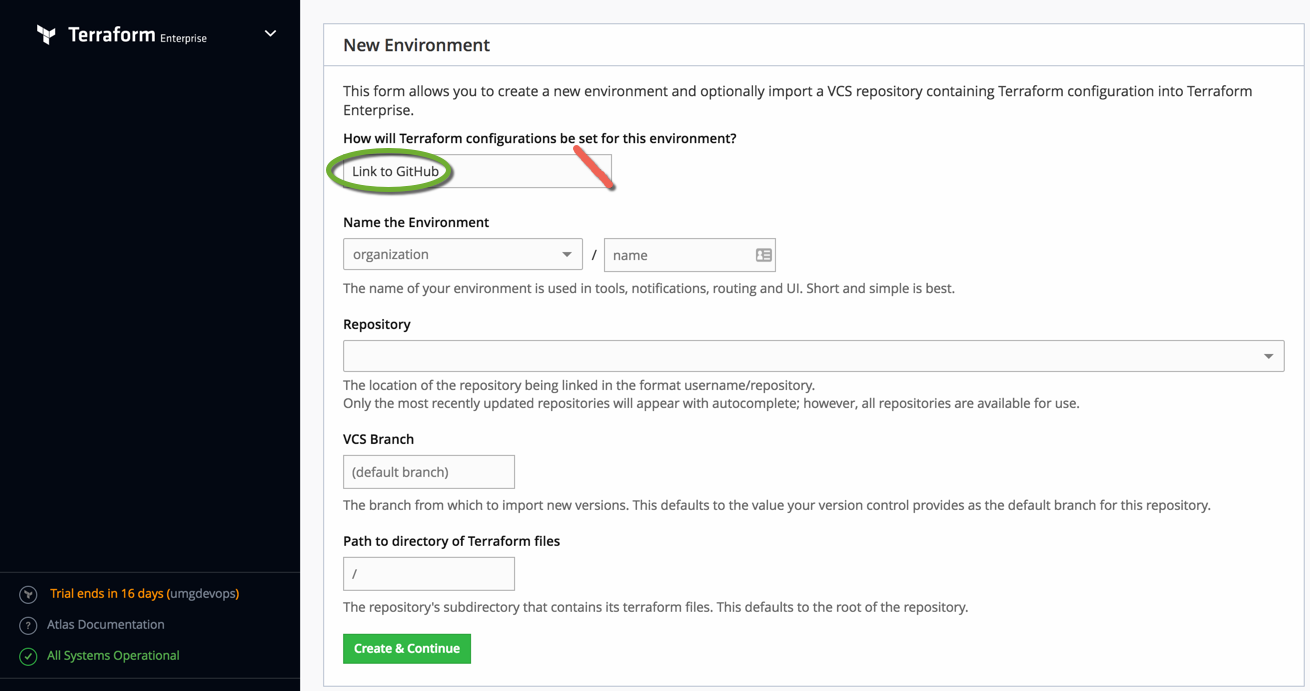
- In a web browser navigate to https://atlas.hashicorp.com/configurations/import,
- Log in with your Atlas user account,
- In the dropdown list of the New Environment page (click the text of the dropdown, not the arrow) select Link to GitHub.
Name the environment to include the type of the server you want to launch and the server environment, for example, test_linux_sandbox.
To save the environment click the Create & Continue button,
- On the left side select Variables,
- In the Environment section click the Edit button,
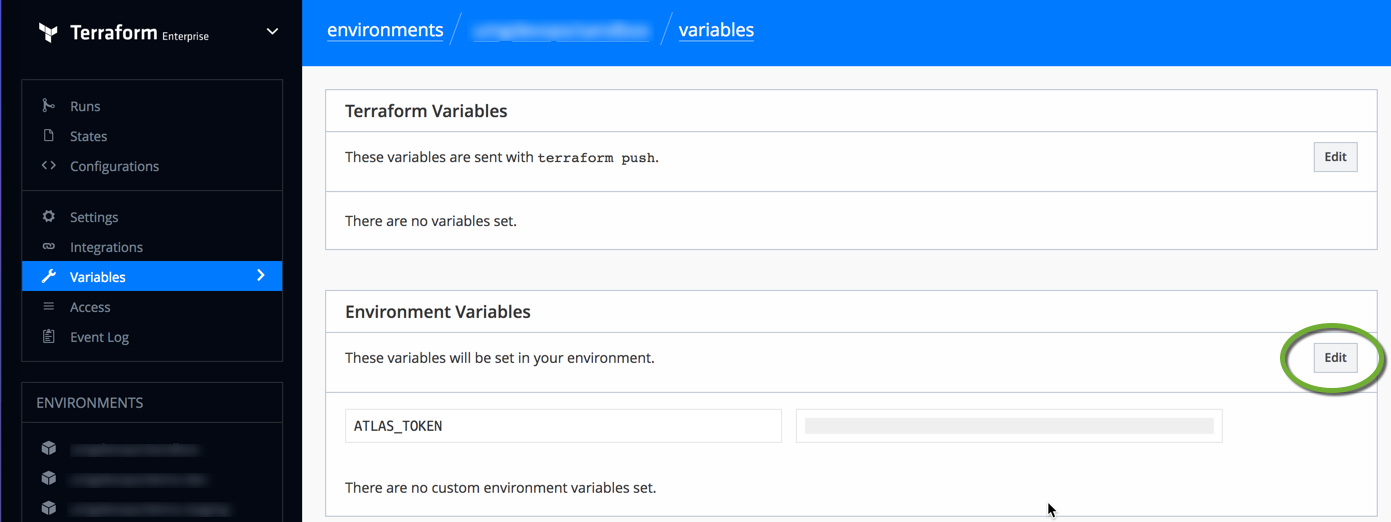
-
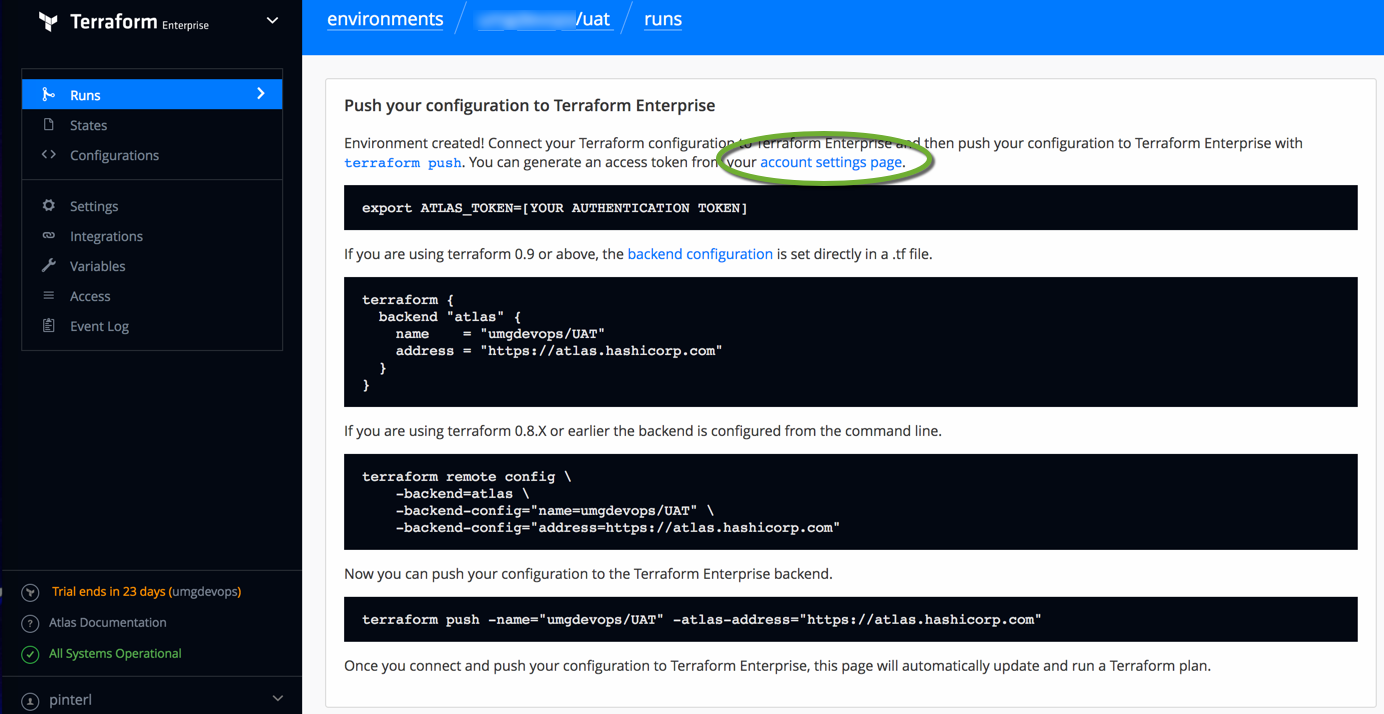
If the environment is linked to the Terraform Enterprise Server
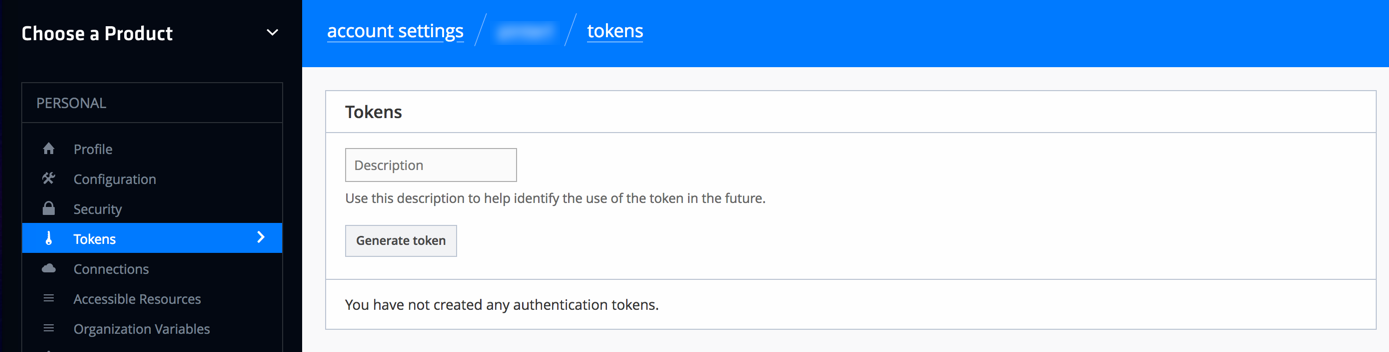
- The environment has been created. Click the your account settings page to create a personal token. It will allow you to access your account without using your username and password.
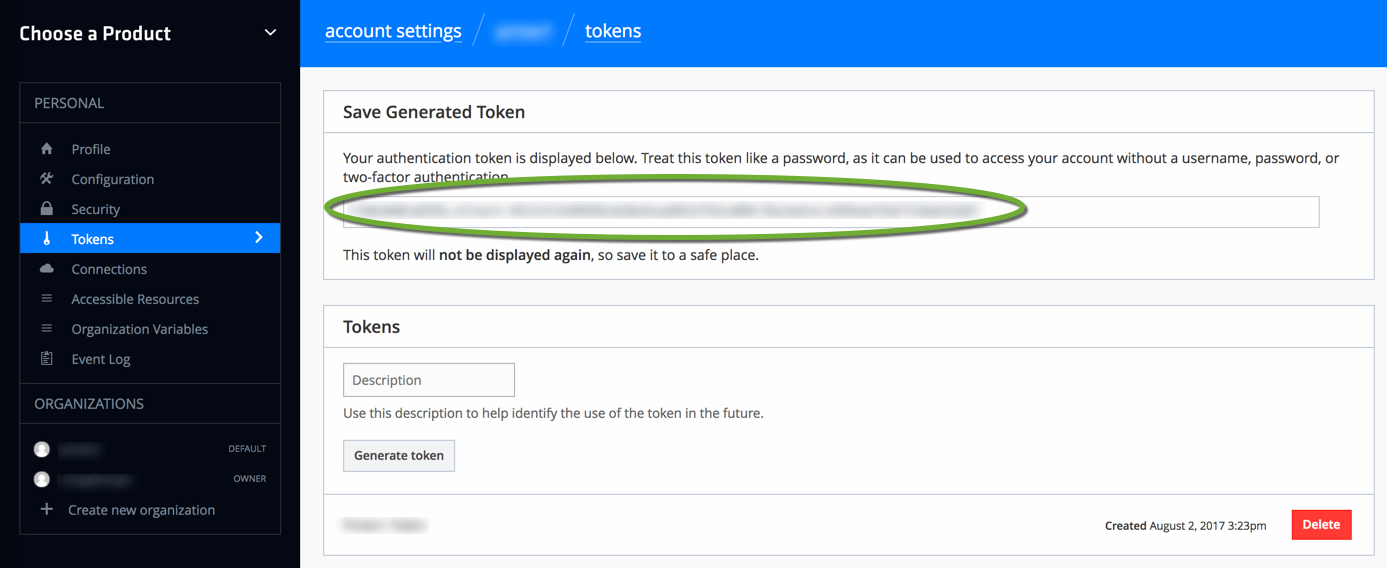
- Enter a description for the token and click the Generate Token button,
- Save the token value at a safe place
- To return back to the Runs page select Terraform Enterprise in the upper left corner

- Click the name of the environment you want to work with

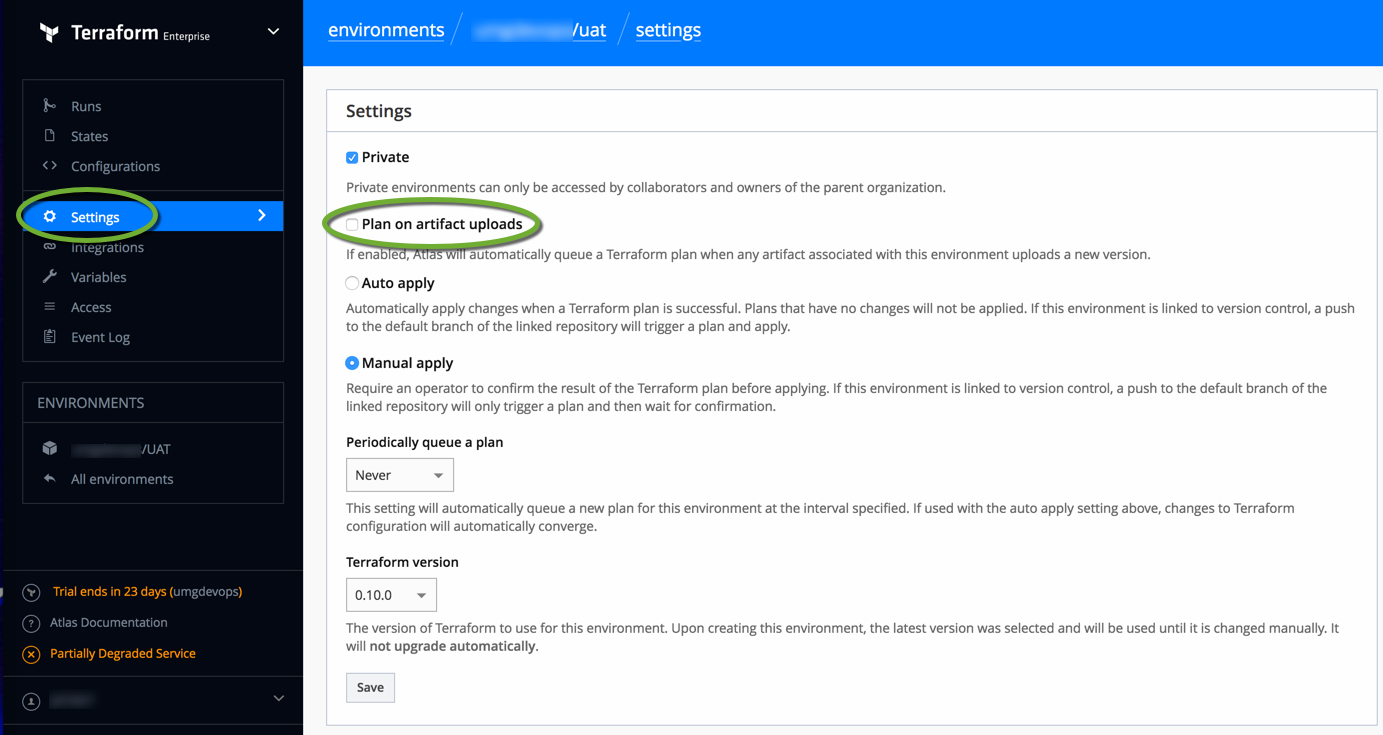
- Configure the environment. On the left side click Settings
- Uncheck Plan on artifact uploads
- Uncheck Plan on artifact uploads
- Store your personal access token on your workstation to be able to access Terraform Enterprise. Open a Bash window and execute the export command:
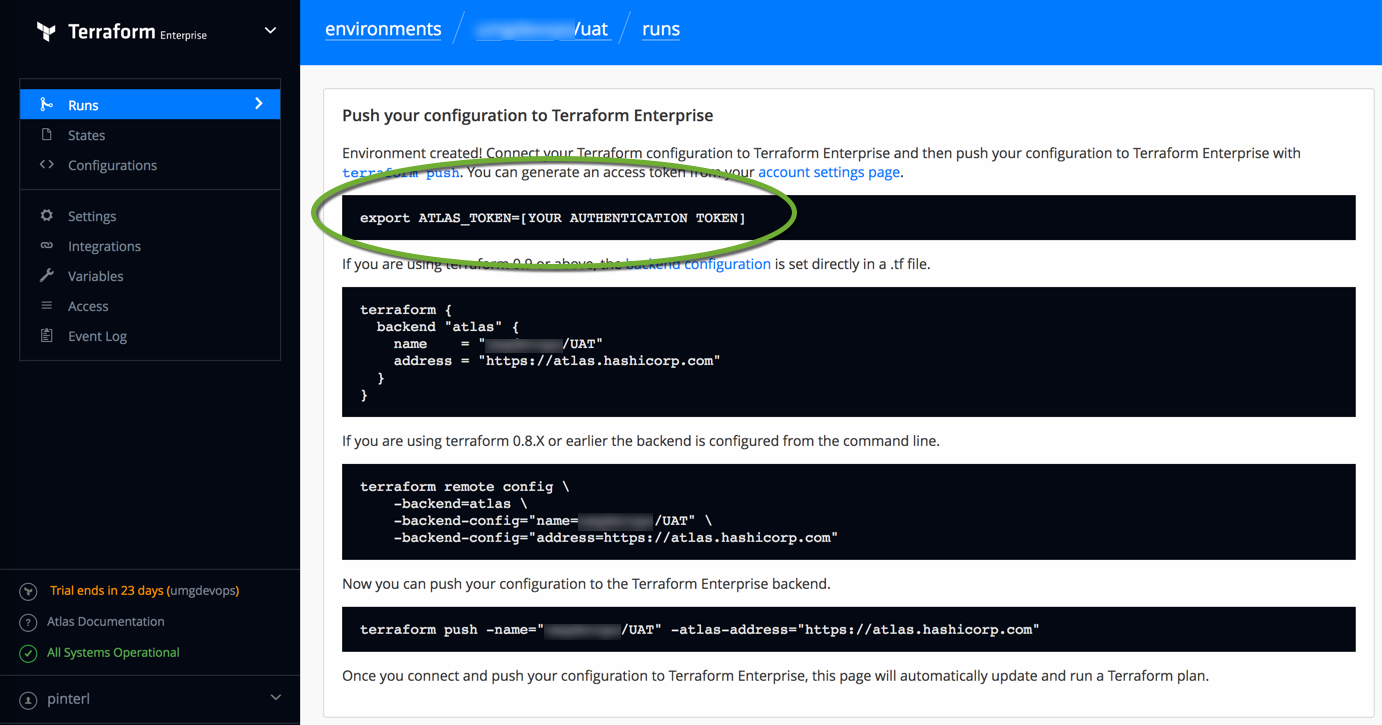
export ATLAS_TOKEN=[YOUR AUTHENTICATION TOKEN] - Add the terraform backend configuration to the .tf file on your workstation
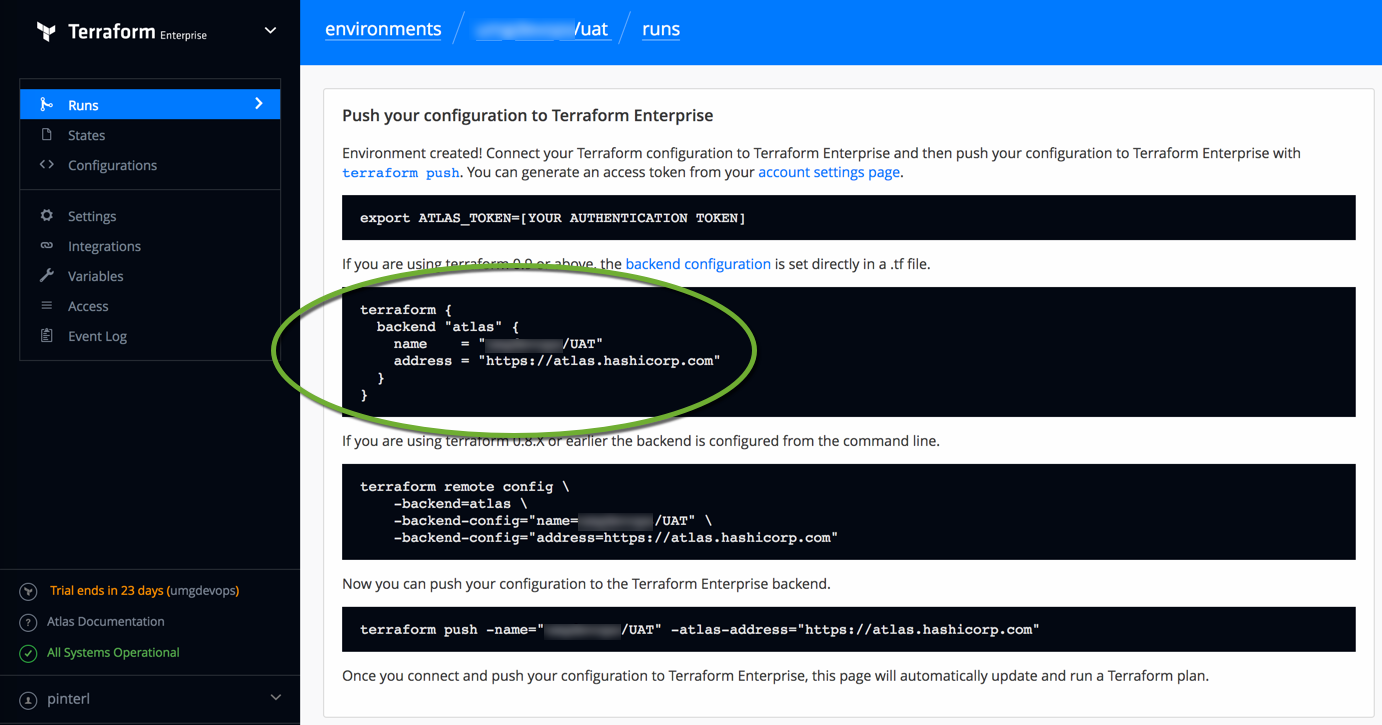
terraform { backend "atlas" { name = "YOUR_ORGANIZATION/YOUR_ENVIRONMENT" address = "https://atlas.hashicorp.com" } } - Navigate to the Terraform configuration folder and initialize it with the backend configuration you have entered to the .tf file.
terraform init
- Push the Terraform configuration to the Enterprise server
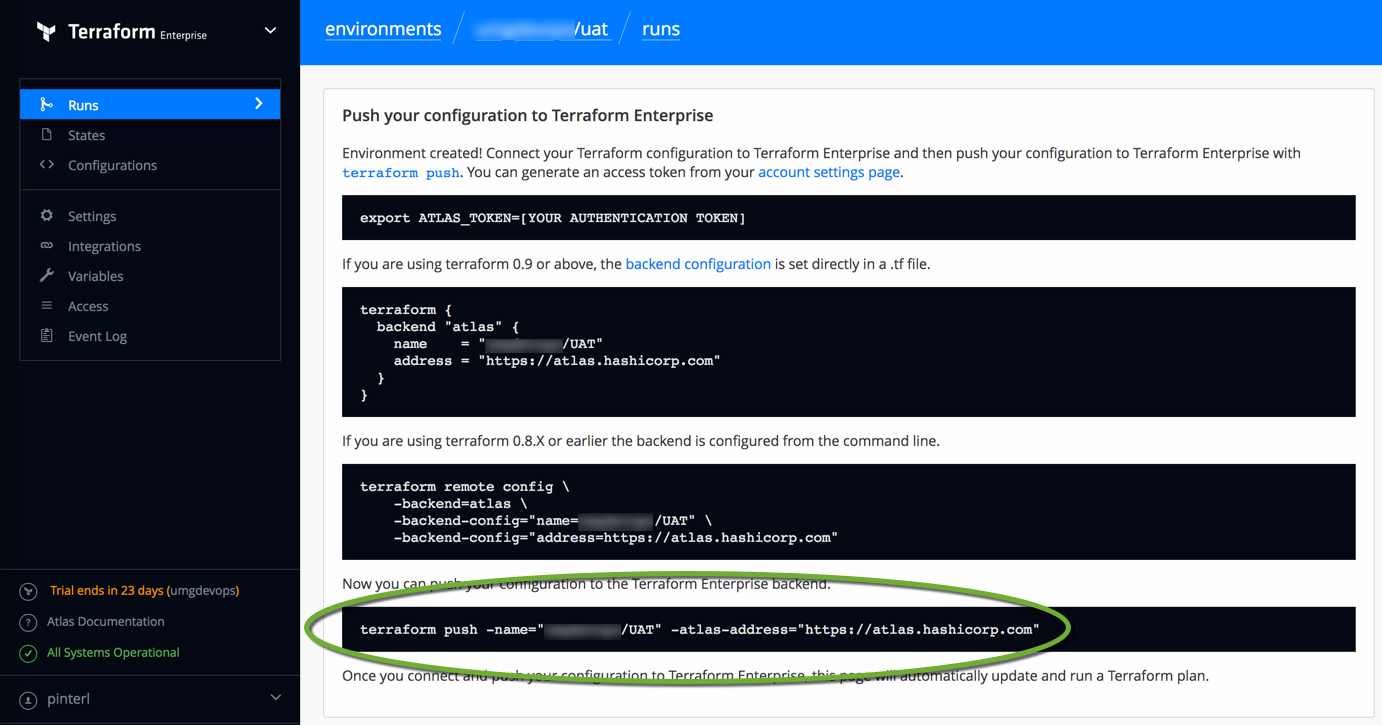
terraform push -name="YOUR_ORGANIZATION/YOUR_ENVIRONMENT" -atlas-address="https://atlas.hashicorp.com" - On the left side click Configurations to see the list of configs your organization have pushed to the server.

- Run a Terraform Plan to see if your code works
terraform plan
- Execute your Terraform config on your workstation
terraform apply
- Push the result of the run to the Terraform Enterprise server
terraform push -name="YOUR_ORGANIZATION/YOUR_ENVIRONMENT" -atlas-address="https://atlas.hashicorp.com"
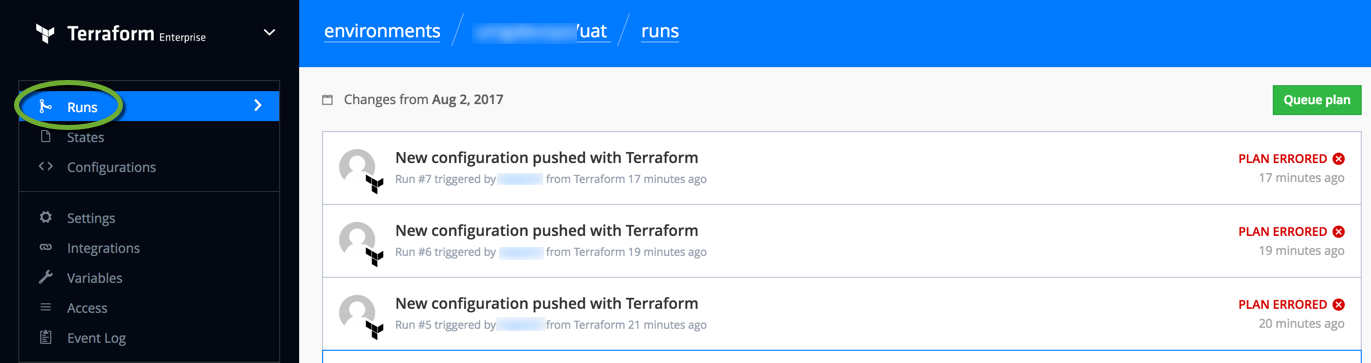
- To view the result of the run, on the left side click Runs.
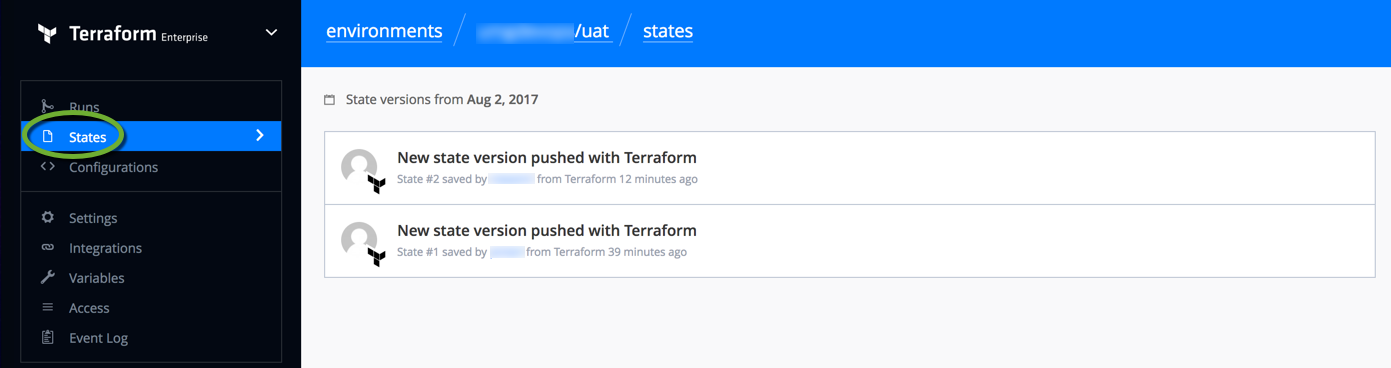
- To view the created infrastructure states on the left side click States
- The environment has been created. Click the your account settings page to create a personal token. It will allow you to access your account without using your username and password.
Create the Terraform scripts
More resources
For a tutorial on Multiple Environments in Terraform see https://github.com/hashicorp/multiple-envs