Configure the web application
Add the web.xml file
The wb.xml file contains the web application configuration values for the webserver. I has to be in the WEB-INF directory of the web applicaion. To add the web.xml file to your NetBeans Java web application
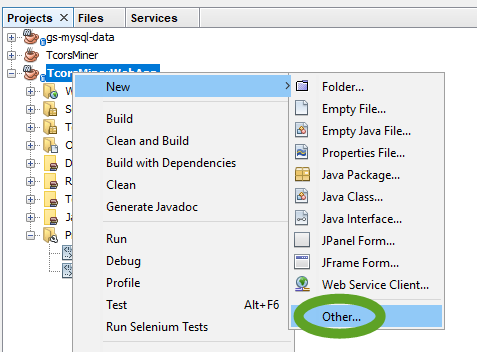
- Right-click the Netbeans project, and select New -> Other…
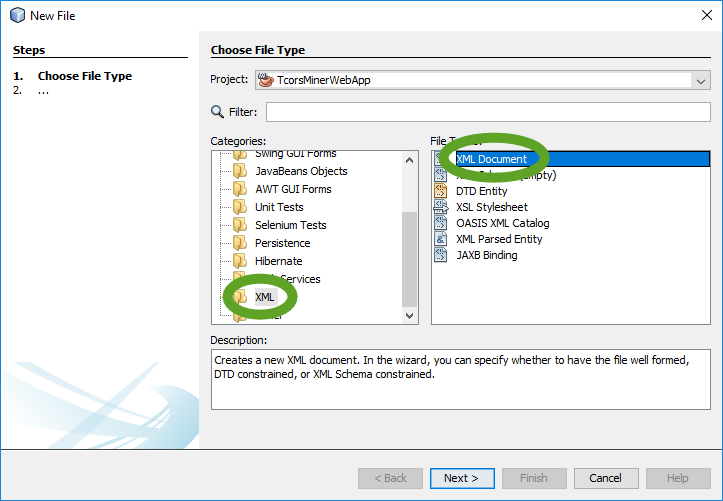
- In the New File window select XML -> XML Document, and click the Next button,
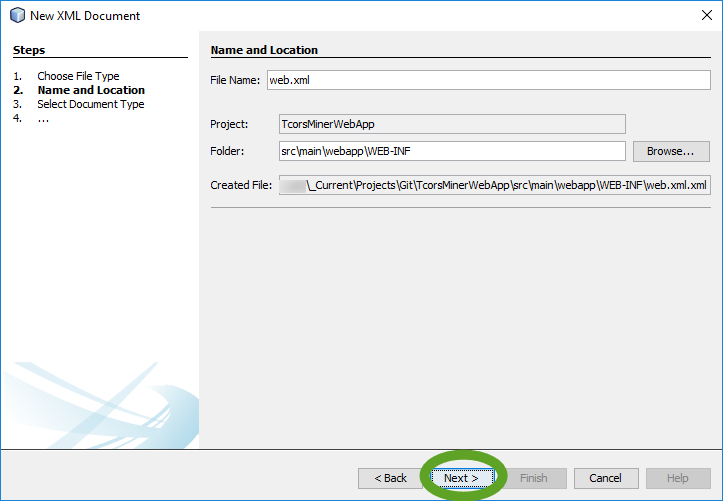
- In the New XML Document window enter web.xml as the name of the file, and click the Browse… button to select the location,

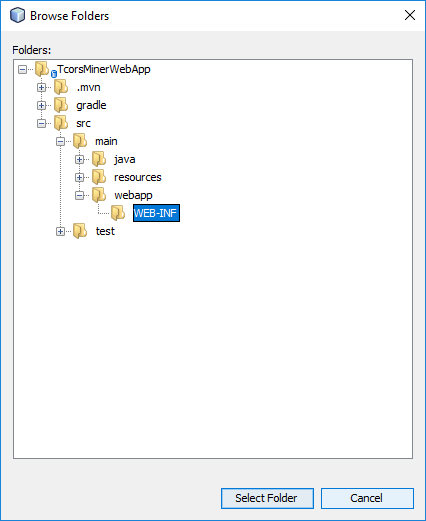
- Select the src\main\webapp\WEB-INF folder, and click the Select Folder button,
- In the New XML Document window click the Next button,
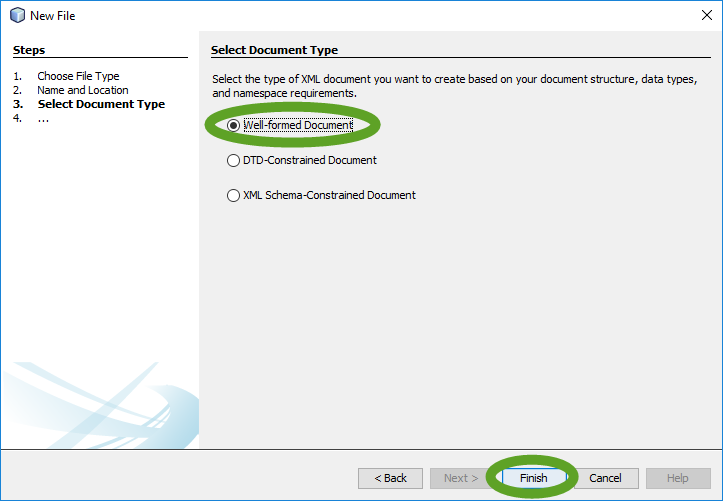
- In the New File window keep the Well-formed Document radio button selected and click the Finish button,
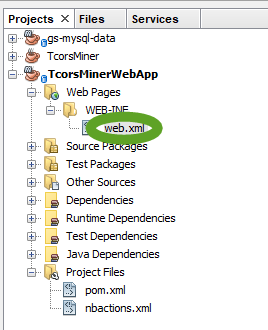
- NetBeans creates the XML file in the Web PAges WEB-INF folder on the web project.
Build the WAR file
To create a WAR file for a Java web application in NetBeans 8.2
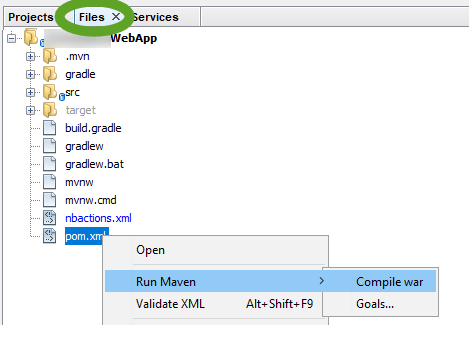
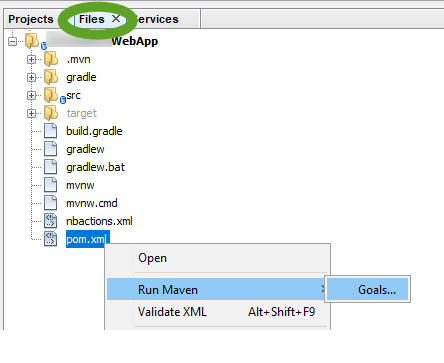
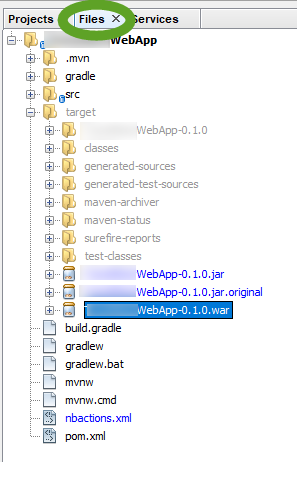
- In the NetBeans IDE select the Files tab,
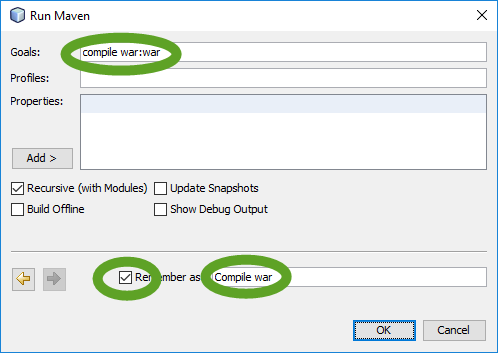
- Right-click the pom.xml file and select Run Maven > Goals…
- In the Run Maven window enter compile war:war into the Goals field,
- Select the Remember as checkbox and enter Compile war for the name,
- The WAR file is generated in the target directory of the Java web project.
- The next time you want to build the WAR file, the Compile war option will be visible in the Run Maven menu.