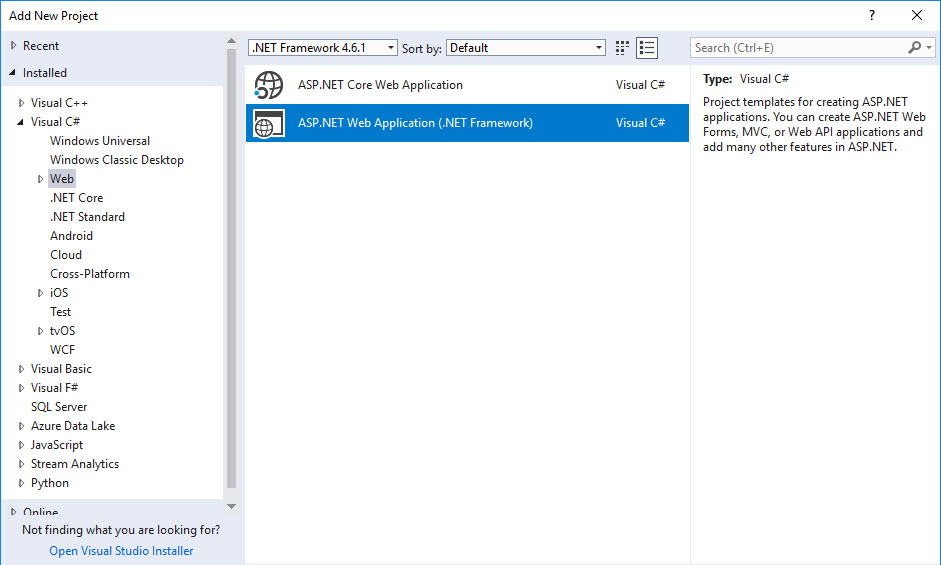
Visual Studio 2017 has many project type options, and not all of them support the Entity Framework user interface to generate the Entity Framework Data Model (EDMX) file. If you create an ASP.NET Web Application(.NET Framework) you can add the EDMX file to it. The .NET Core projects do not support the Entity Framework Data Model creation.
For more complex web applications it is good practice to separate the data access layer from the presentation layer. You can even reference the data access project from another solution if that also needs access to the same data.
To be able to use the graphical user interface to generate the Entity Framework Entity Data Model
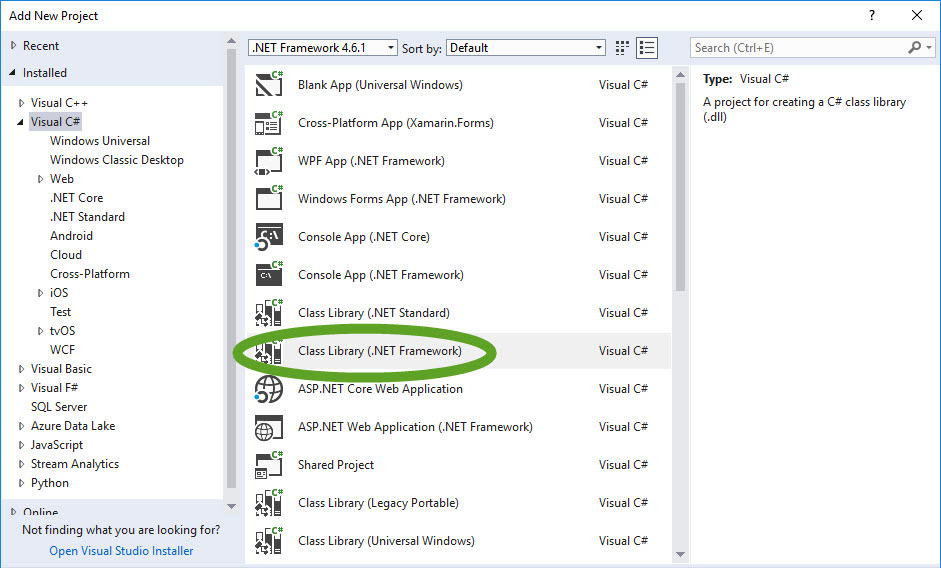
- Add a new Class Library (.NET Framework) type project to the solution,
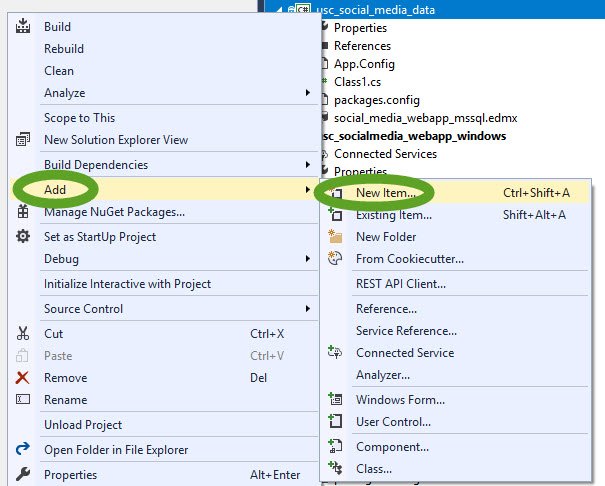
- Right-click the new project and select Add -> New Item…
- In the Data section select the ADO.NET Entity Data Model
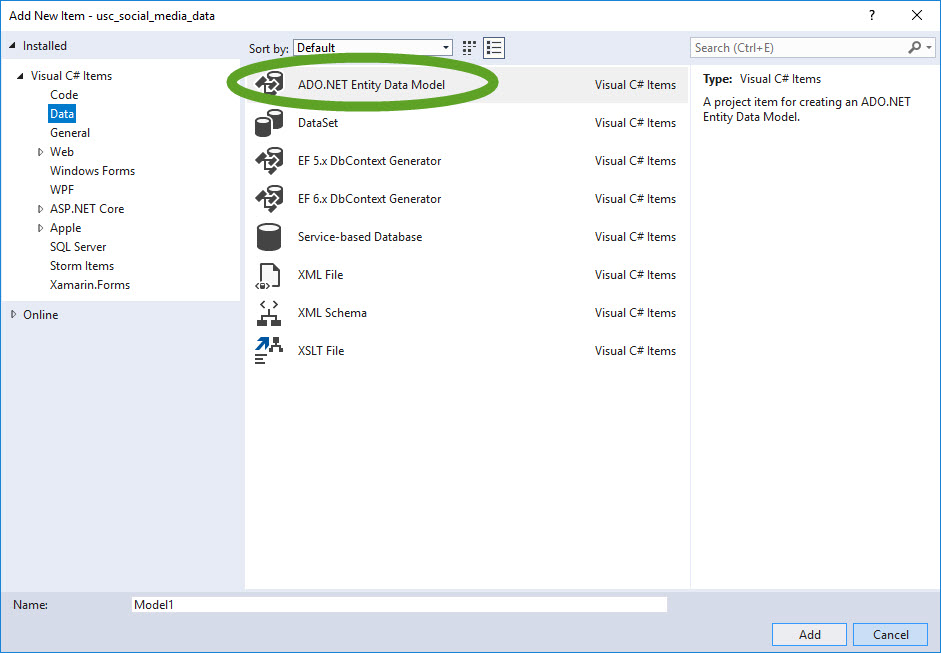
- Select EF Designer from database
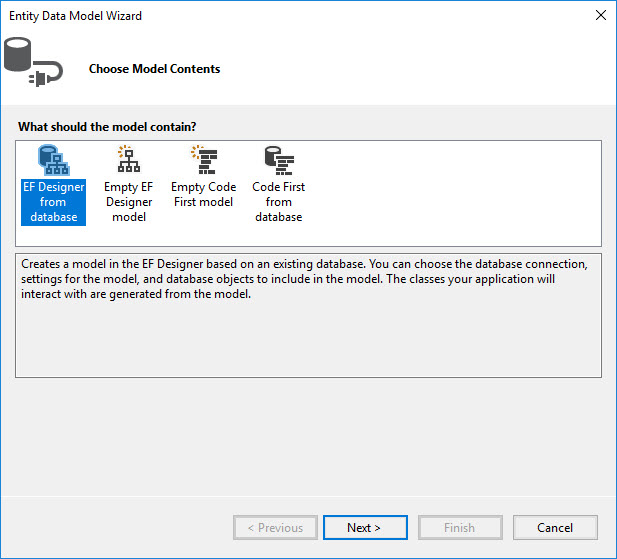
- Continue the process to create the database connection and generate the data model.
Generate the Entity Classes
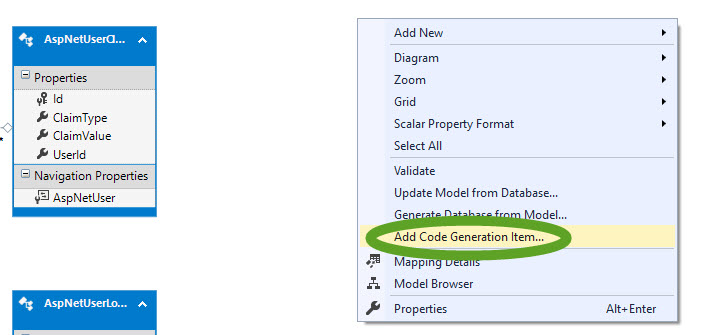
- Open the EDMX file
- Right-click the background and select Add Code Generation Item…
- Select the latest EF DbContext Generator
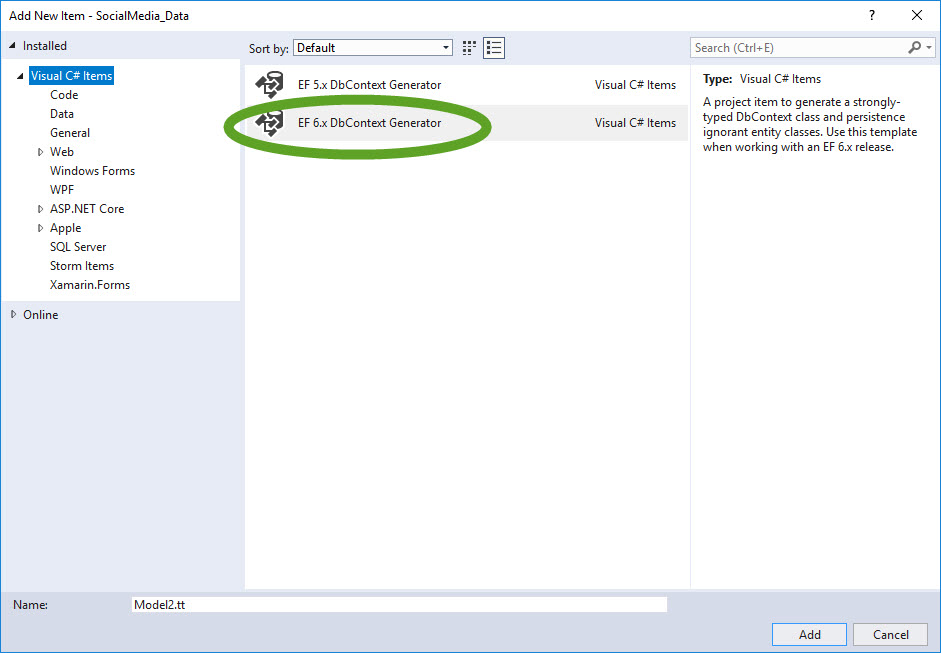
- When the classes have been generated, close the solution and open it again, otherwise, the newly created classes cannot be referenced.
Hi, thanks for article, after step 4 – Select EF Designer above does it show already existing database in Data Connection drop down list? For me it is showing empty list, although I have already created database (.db). Would you like to elaborate the steps in detail? Thanks.