Push the package to Octopus Deploy from TeamCity
Create project level parameters
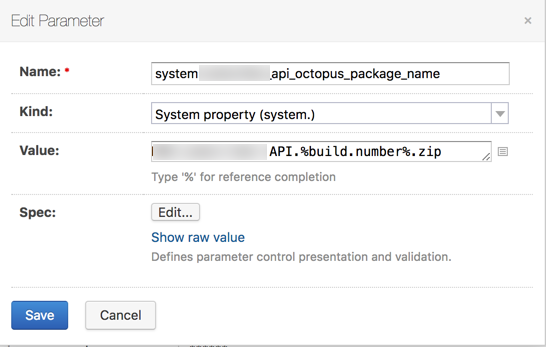
In TeamCity create the parameters to centralize the configuration of reused values
- On the project level create a system parameter for the Octopus package name including the build number interpolation
Push the artifact to Octopus Deploy
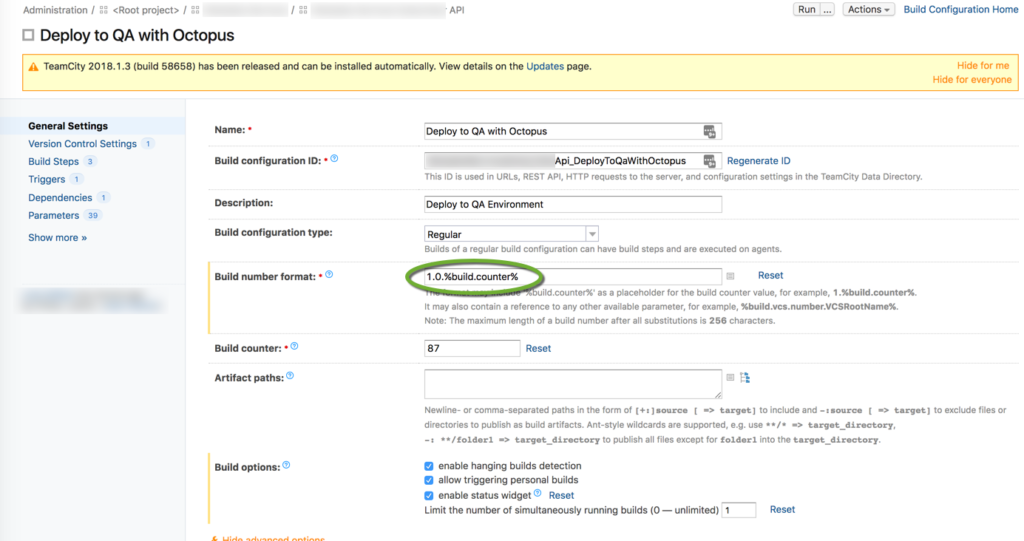
- Create a build configuration, and on the General Settings page specify a build number format that Octopus can understand
- Add the build step as a dependency
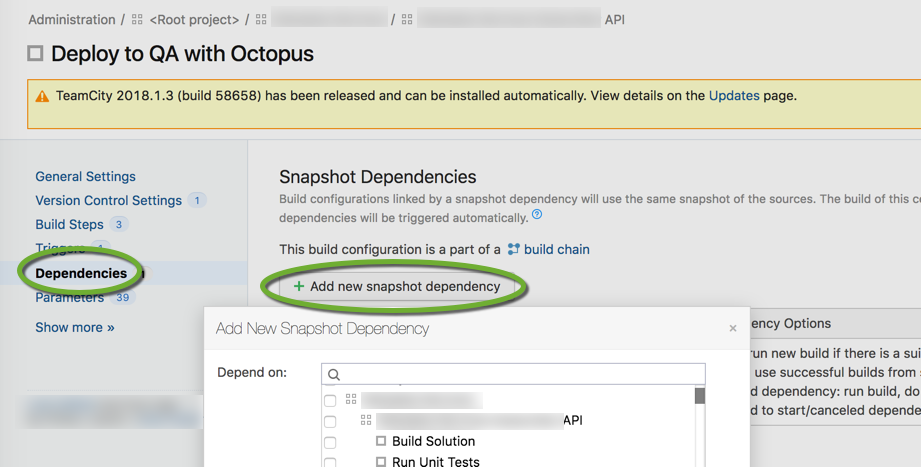
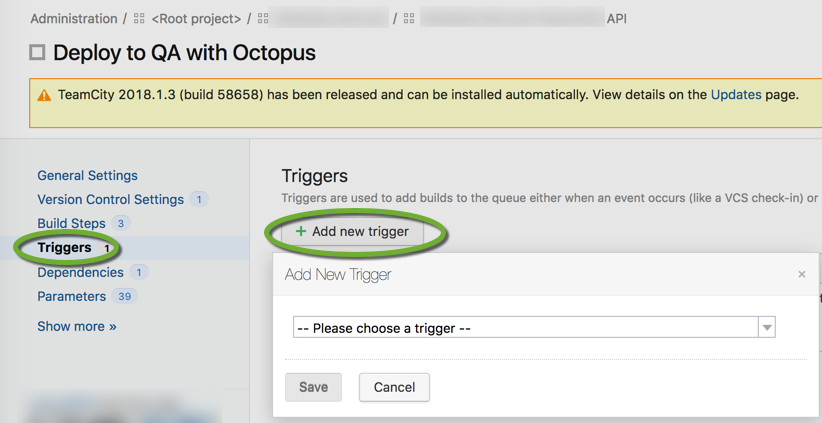
- Create a trigger on the same dependency to automatically execute the Octopus push on a successful build
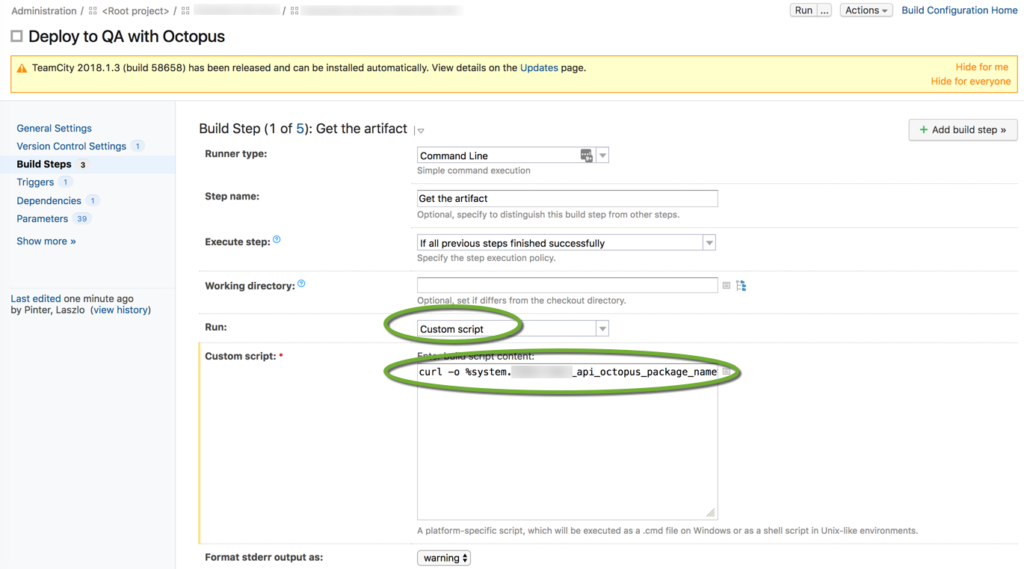
- Create a Command Line build step to get the artifact from the built-in TeamCity repository. Use curl to download the file to the working directory, use the octopus_package_name parameter you created above.
curl -o %system.MY_APP_api_octopus_package_name% http://%system.tc_server%/guestAuth/repository/downloadAll/MY_PROJECT_ID/.lastSuccessful/artifacts.zip
- Create an OctopusDeploy: Create and Push Packages build step to upload the package to the Octopus server. Use the system parameters to specify the Octopus server URL, and the package name, enter the API key that has enough rights to push a package to the Octopus server. The user needs the BuiltInFeedPush permission to push a package. Octopus Deploy provides a built-in role called Package Publisher that has been granted the
BuiltInFeedPushpermission.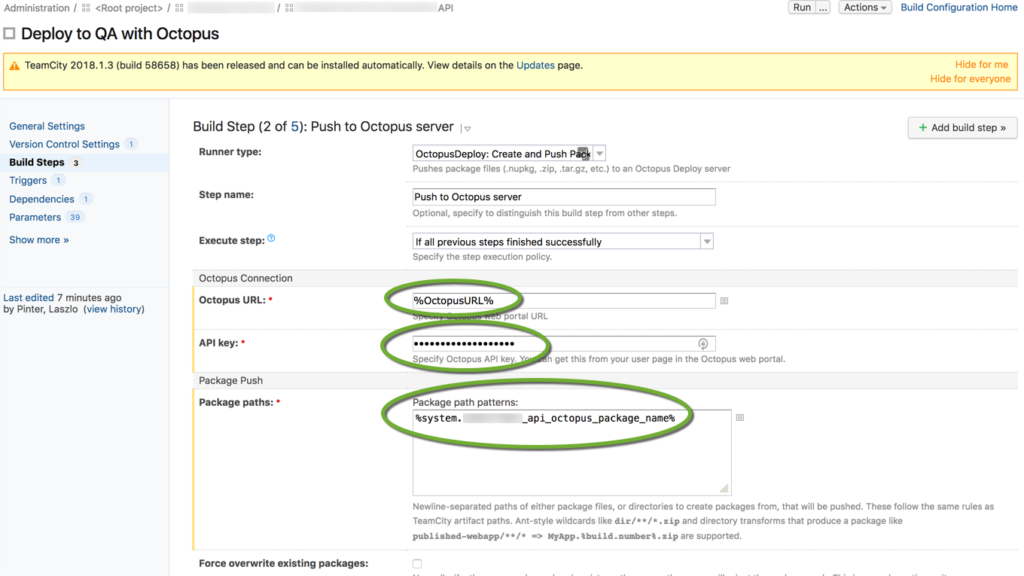
- To check the push to Octopus Deploy, run the TeamCity configuration to upload the package to the OctopusDeploy built-in repository. in Octopus Deploy click the name of the package to see the versions.
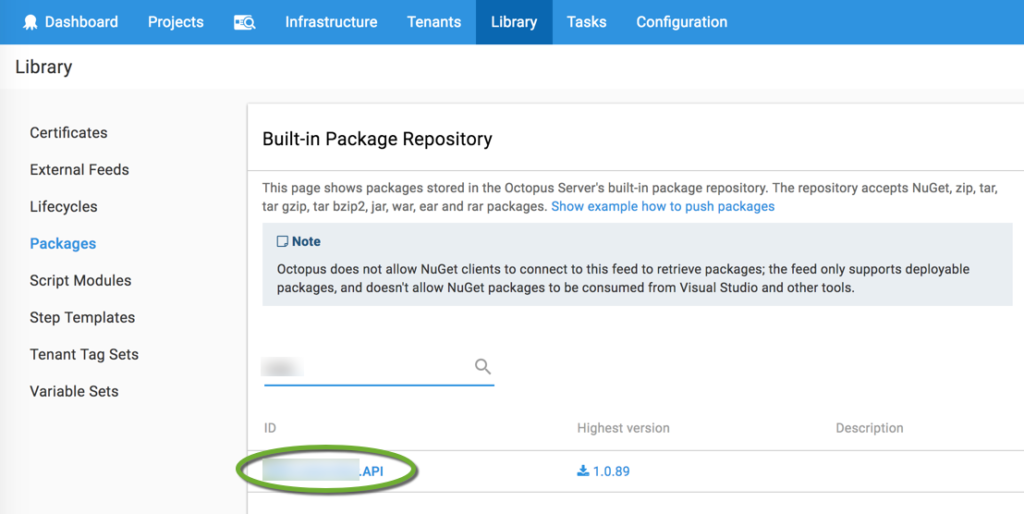
- The next page shows the package versions

Create an Octopus Deploy release
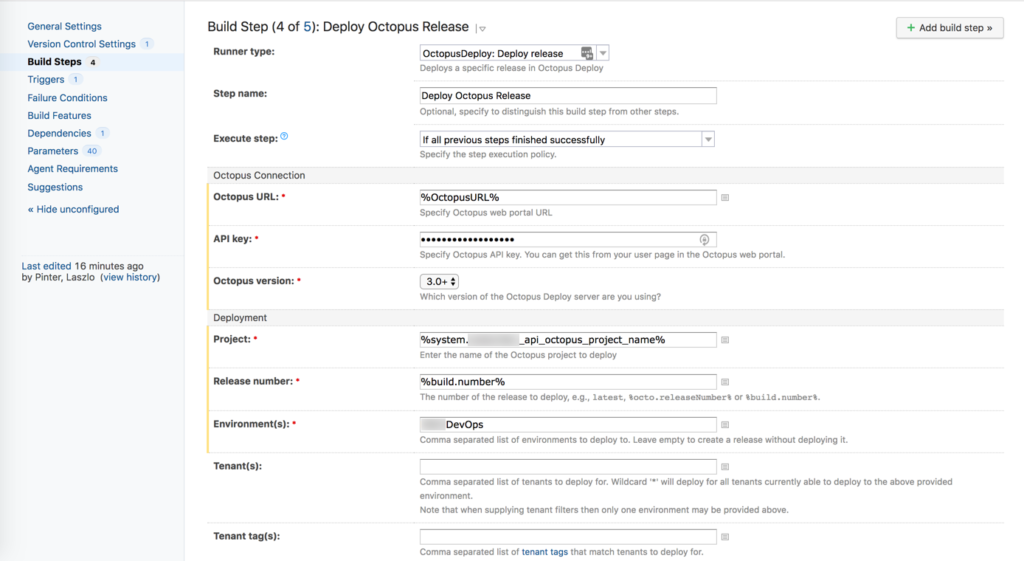
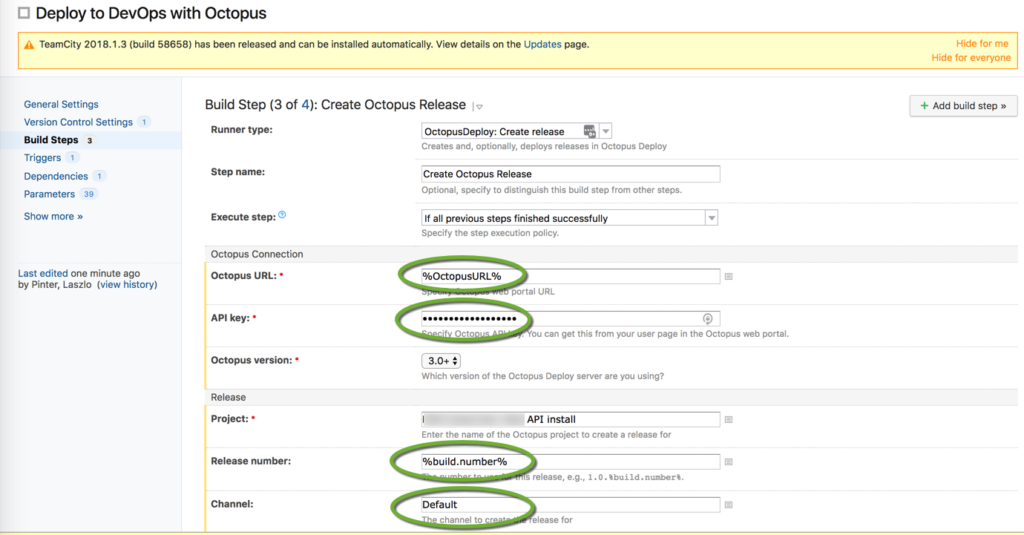
- In the TeamCity configuration, add an OctopusDeploy: Create release type build step to create a release in Octopus Deploy. Use the %OctopusURL% parameter from the root project level, enter the Octopus API key, and use the %build_number% macro that you have specified in the Release number field on the General Settings tab. If you have not created a custom channel in the Octopus project, the default is “Default”.
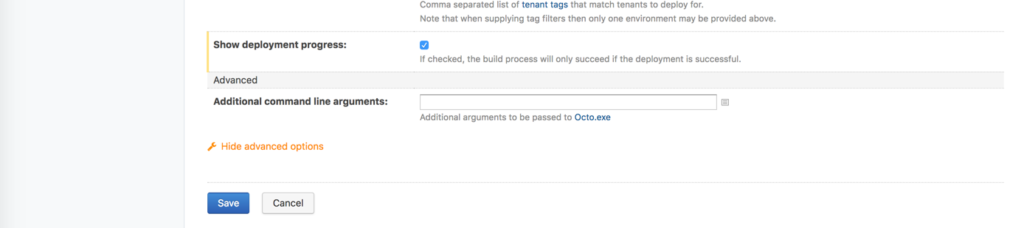
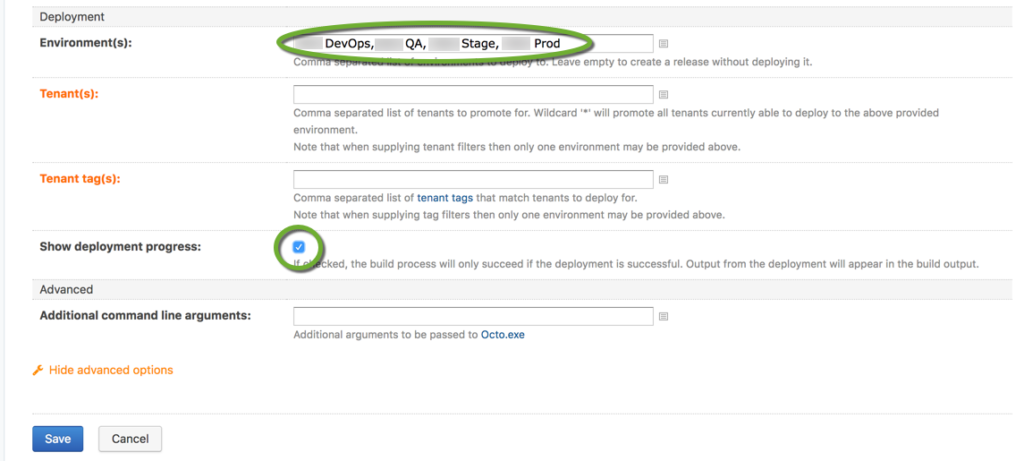
 List the environments where the release can be deployed, and check the Show deployment process checkbox.
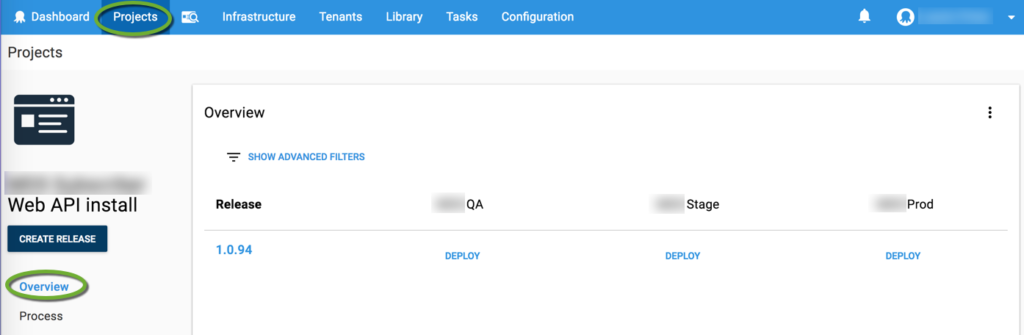
- To check the release creation in Octopus Deploy, navigate to the overview page of the Octopus Deploy project.
Deploy the Octopus Deploy release
To install the package add an OctopusDeploy: Deploy Release build step
- Create a project parameter for the Octopus Deploy project name
- Create a new build step using the project level parameters.