Install the Octopus Tentacle on the application server.
- Automated Tentacle installation instructions are at https://octopus.com/docs/infrastructure/windows-targets/automating-tentacle-installation
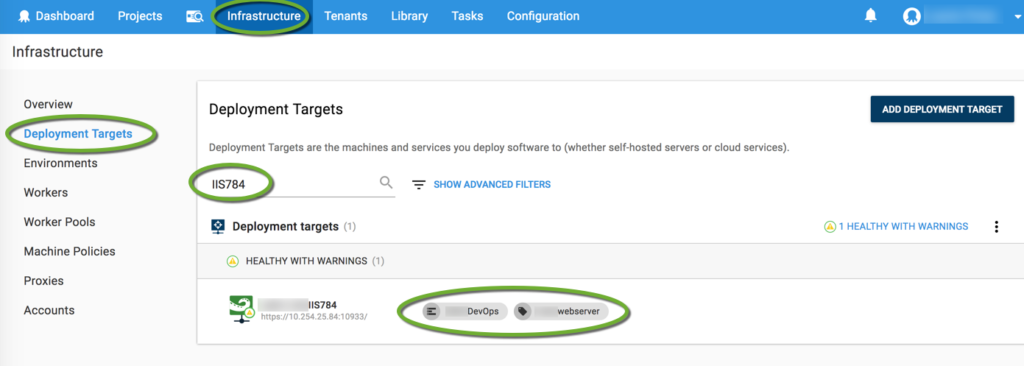
(Note for our DevOps team: execute ~/Git/devops-scripts/OctopusDeploy/Tentacle_Installation/install_tentacle.ps1.) - Make sure the box registered itself in the Octopus server. On the Deployment Targets tab of the Infrastructure menu enter the server name into the search box. The script already created the Environment and the Role and attached them to the target.
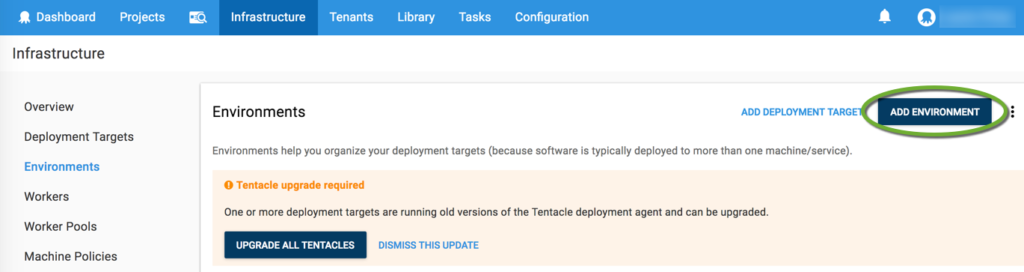
To manually create the application-specific environments
- On the Environments tab of the Infrastructure menu push the ADD ENVIRONMENT button
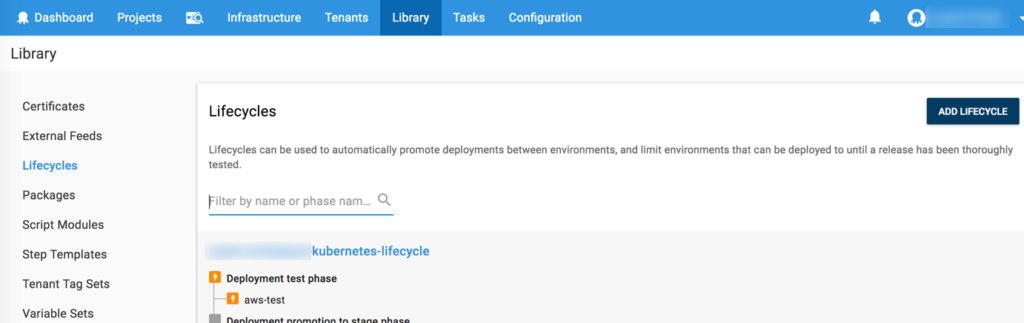
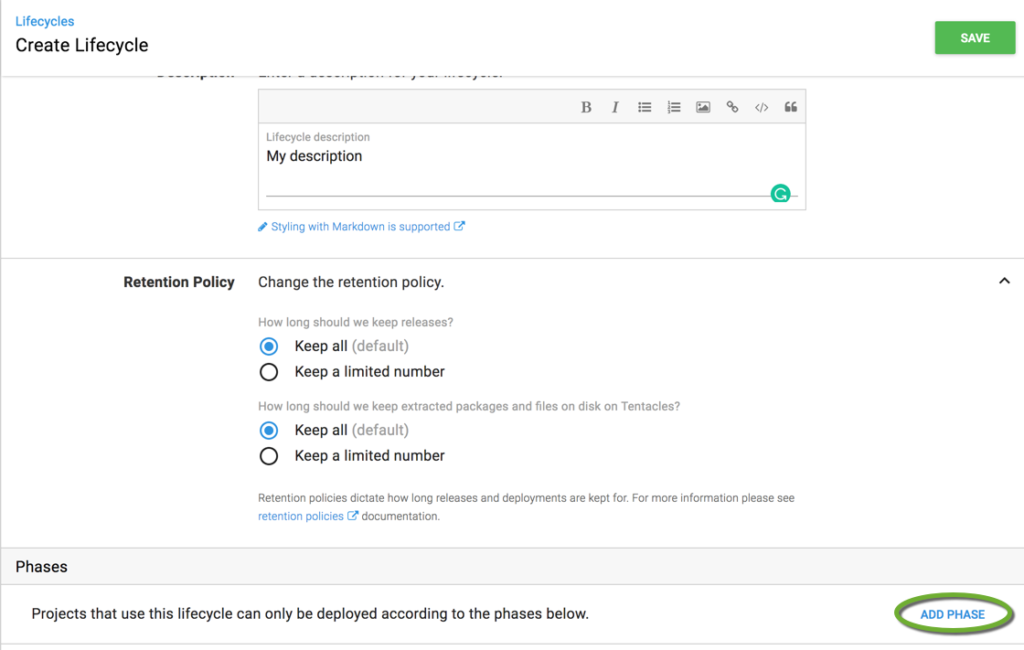
Create an application-specific lifecycle
- On the Lifecycles tab of the Library menu click the ADD LIFECYCLE button
- Click the ADD PHASE button to add a new phase for the environments
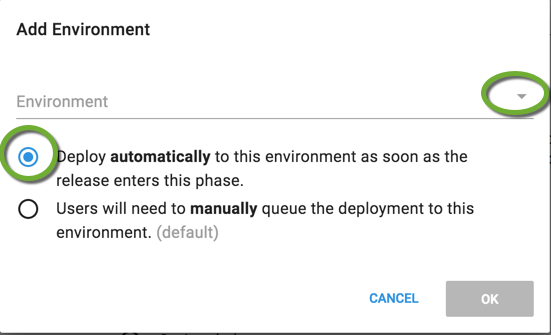
- Click the ADD ENVIRONMENT link to add the environments to the phase
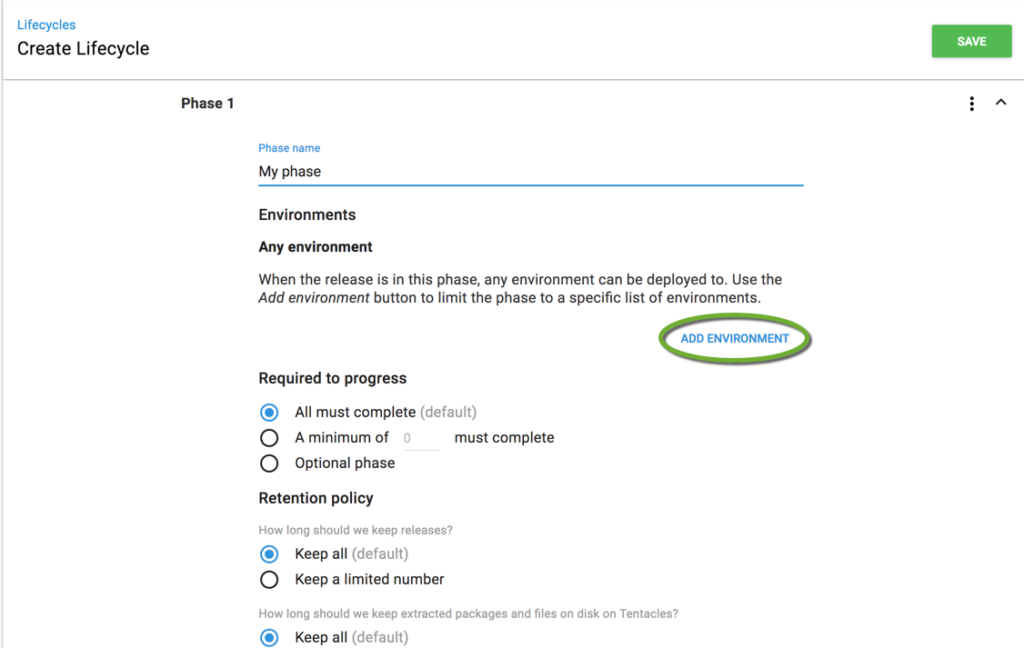
- Create a phase for every environment. For automated deployment, select the Deploy automatically… radio button, and select the application-specific environments, and click the Ok button
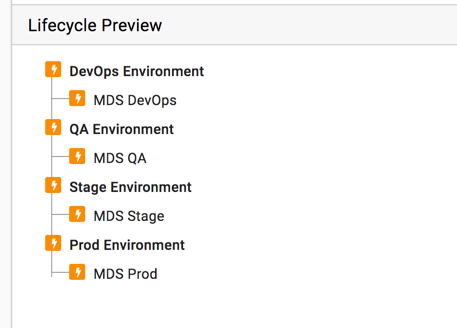
- The list of phases is at the bottom of the page. Click the Save button to save the lifecycle.
Create a project for the application deployment
- Create a new project group

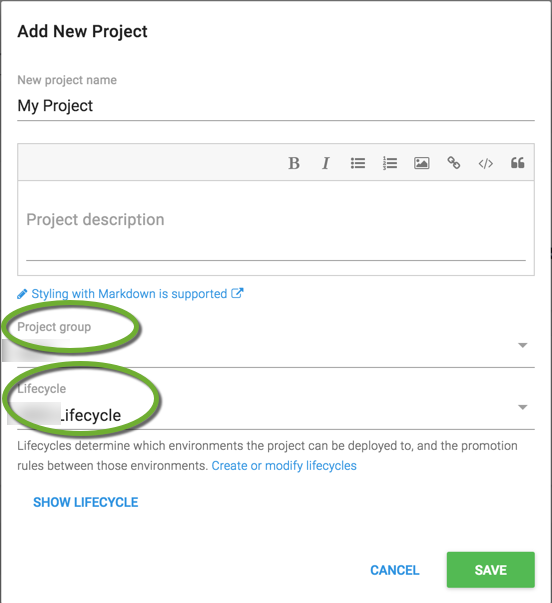
- Create a new project

- Set the project group and the lifecycle
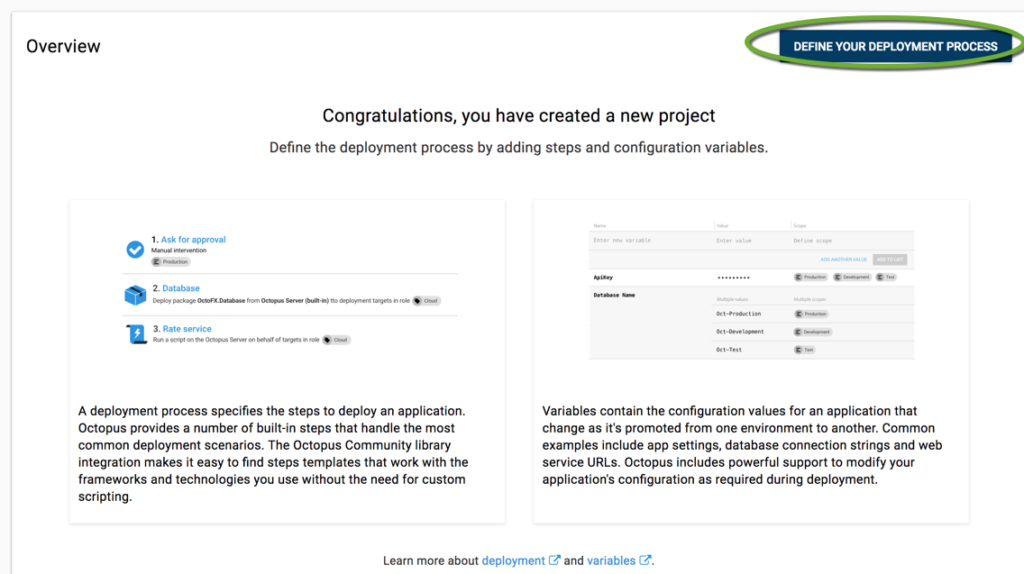
- Click the DEFINE YOUR DEPLOYMENT PROCESS button
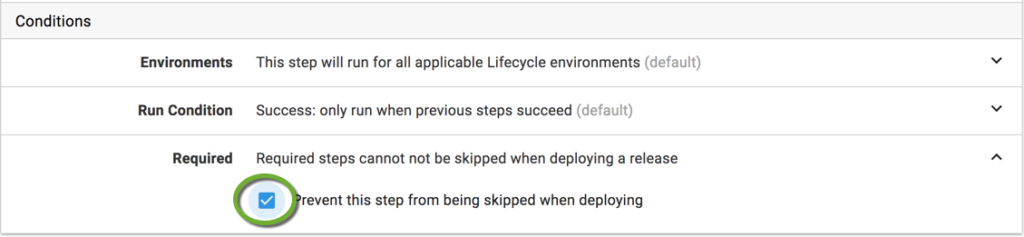
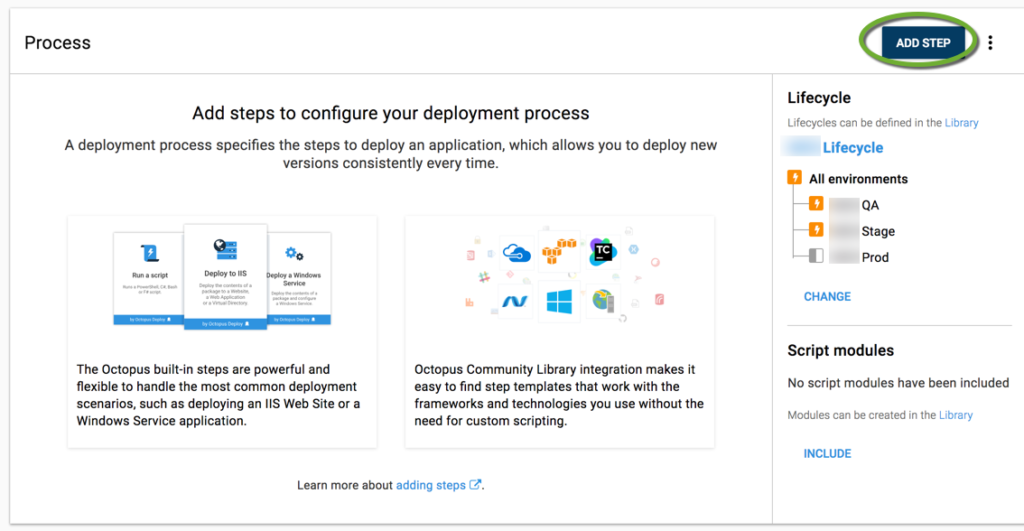
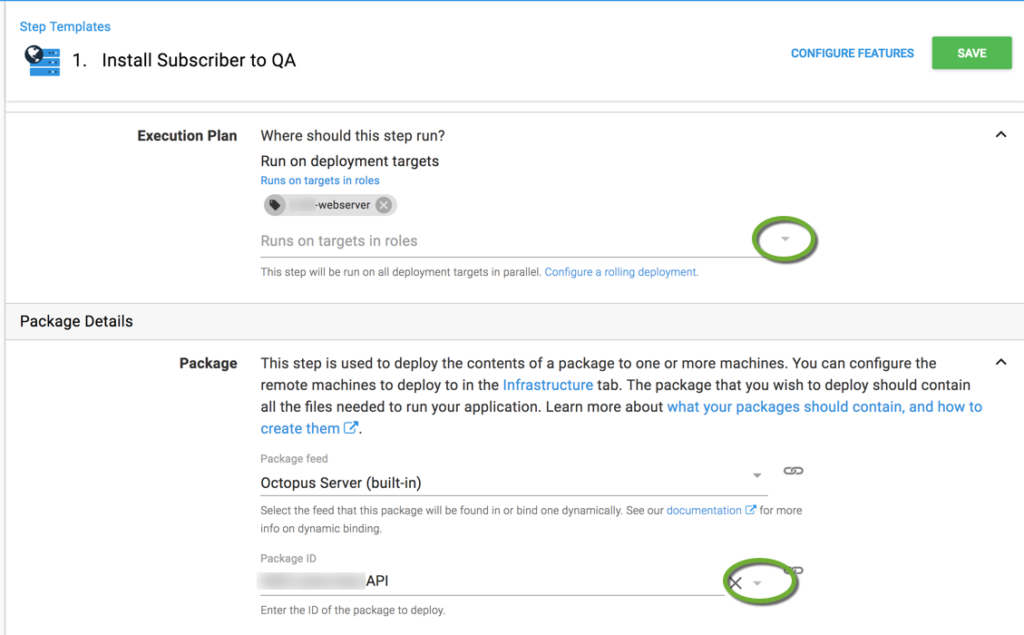
- Click the ADD STEP button
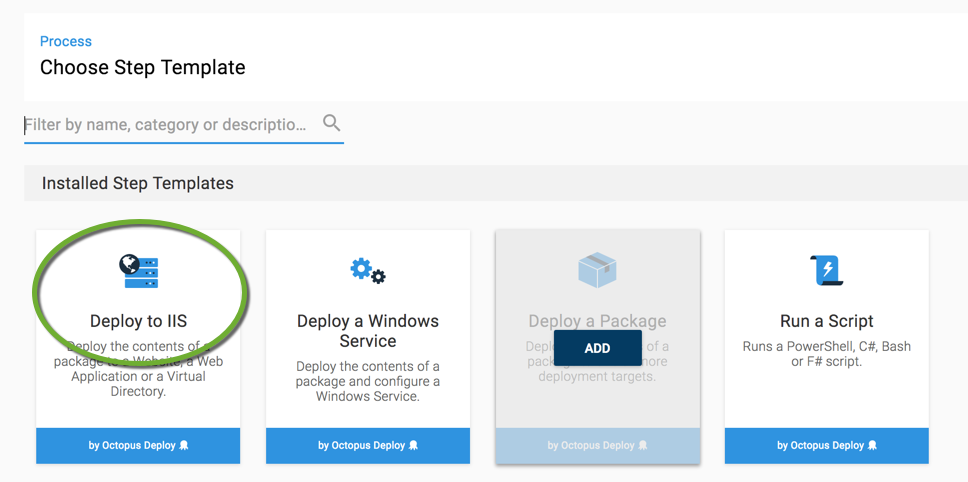
- Select the Deploy to IIS template
- Enter the name of the step and select the Role and Package ID
…