Install the Epson WF-3520 scanner driver and scanning utility
- Download the Scanner Driver and Epson Scan Utility from the Driver section.
- for Epson WorkForce WF-3520 – Scanner Driver and EPSON Scan Utility v3.7.9.6 (or later)
- Double-click the downloaded file and install the application
Connect to the Epson WF-3520 scanner
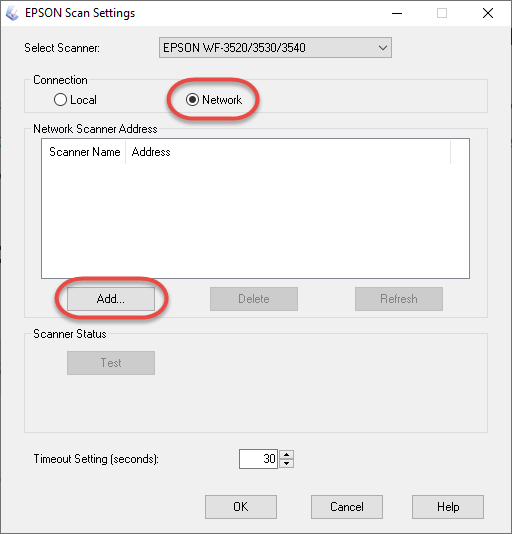
- Start the EPSON Scan Settings utility

- Select Network and click the Add button
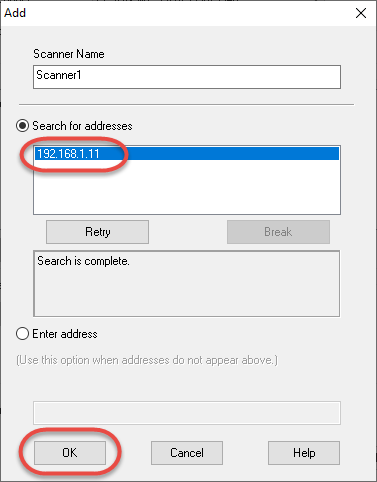
- When the search is complete click the found IP address and the OK button
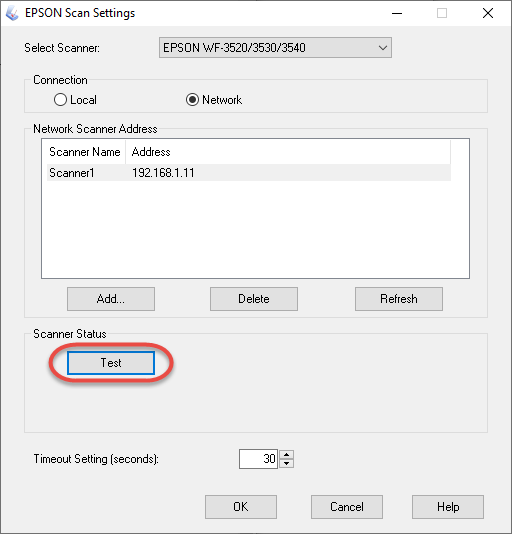
- To test the scanner connection click the Test button
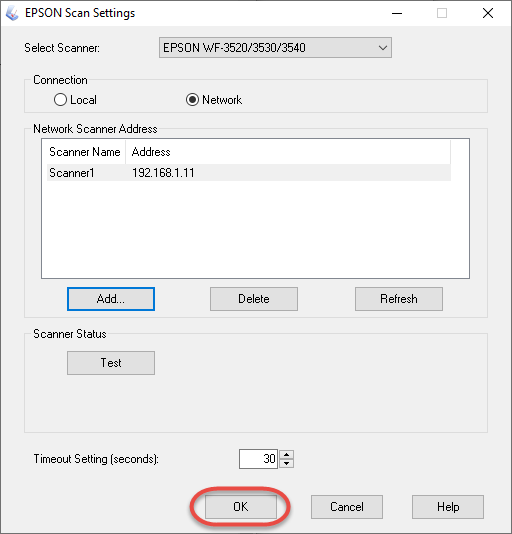
- Click the OK button to save the settings
To enable the Preview function
In Windows 11 the Preview button is not visible by default. To make the Preview button visible on the Epson Scan page, we will need to press the Alt key on your keyboard.
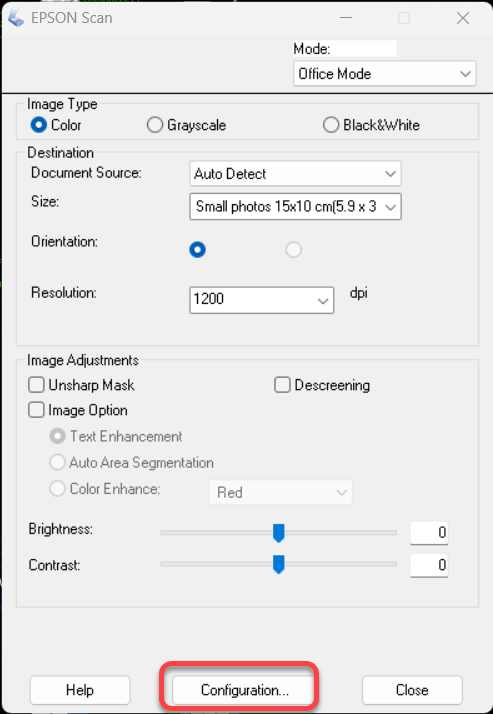
- On the first page of the Epson Scan utility click the Configuration button
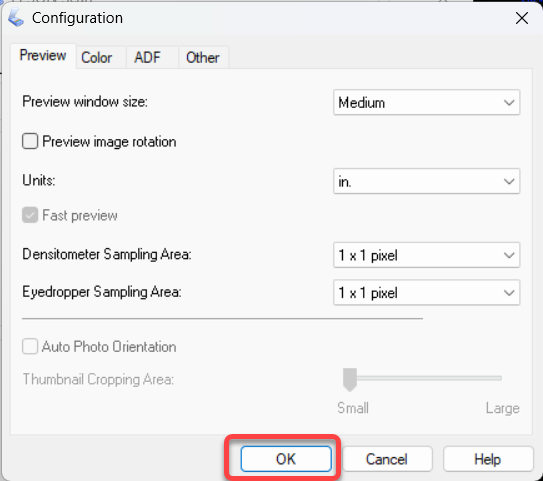
- On the Configuration page click the OK button
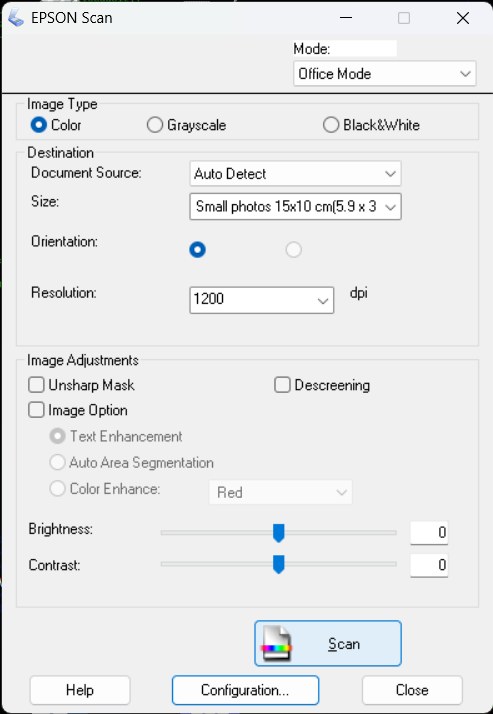
- Press the Alt key
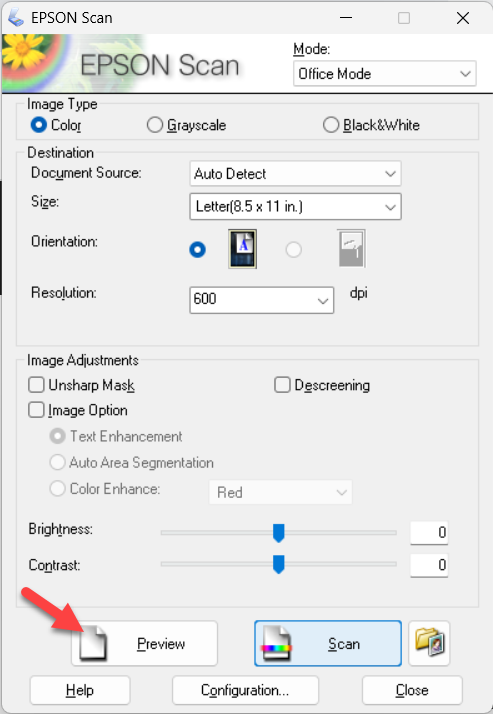
- The Preview button magically appears
Scan with the Epson WF-3520 scanner
- Open the EPSON Scan app