There is a great post at http://www.crvownersclub.com/forums/17-interior/152730-2014-center-console-removal.html on the steps to remove the center console of the 2014 Honda CR-V EX by Jepalan. I have copied his description and added my photos to help others in the process.
This is in a 2014 CRV EX that does NOT have NAV, Heated Seats, Factory Amp, or Rear Entertainment System, but should be similar for all models.
You need a taped flat head screwdriver to prevent scratching (or plastic body tools), Phillips head screwdriver, 10 mm socket with extension, pliers, and the usual panel removal tools.
There are 5 bolts (10 mm), one screw (Phillips), and two wire harnesses that need to be disconnected.
Remove front and rear floormats.
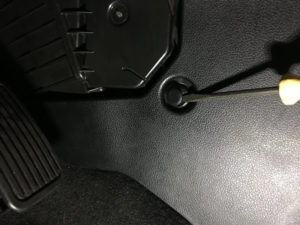
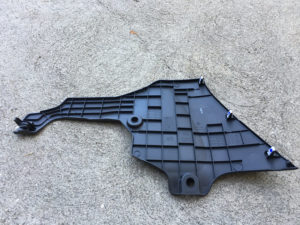
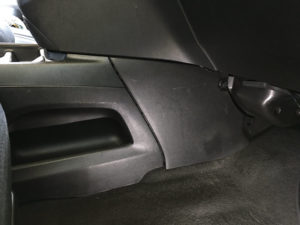
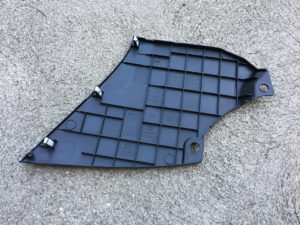
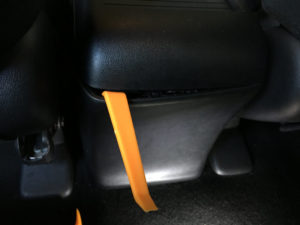
Take off the footwell center kick panels in the front of the console on both sides, both have 2 pins and clips. The driver side has a hinge-like flange at the front.
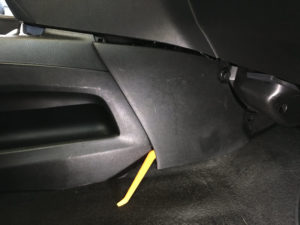
Use a flat head screwdriver to pull out the center of the pins
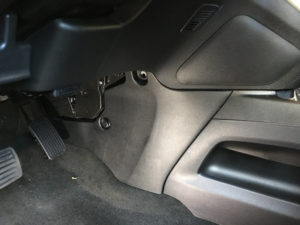
Driver side
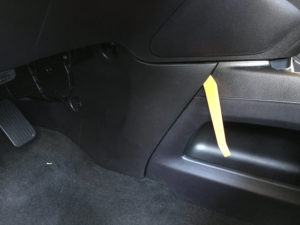
Passenger side
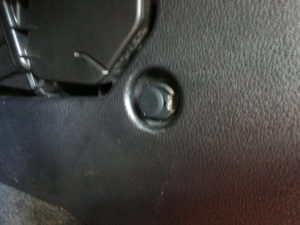
Remove the push-pin on each side revealed at the front of the console after removing the kick panels.

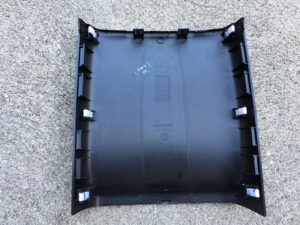
Remove the rear panel of the center console, clips around top and sides.
Remove the two bolts revealed at the rear of the center console.

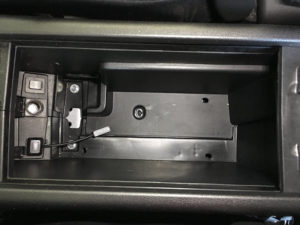
Open the center console, and by grabbing the small tab at the rear, remove the rubber mat from the bottom, it isn’t attached.
Remove the two 10 mm bolts revealed.
It is not necessary to remove the plastic piece that covers bottom & side inside the center console. If you want to remove it
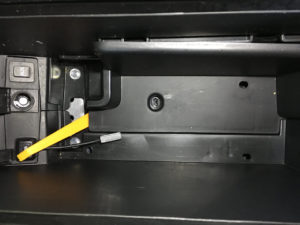
Remove the black Philips screw at the bottom of the center console.
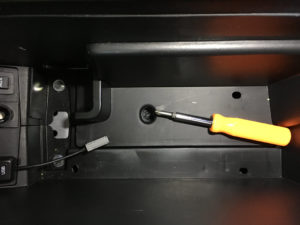
Lift up the plastic piece. Do not pry the back, it will slide up.
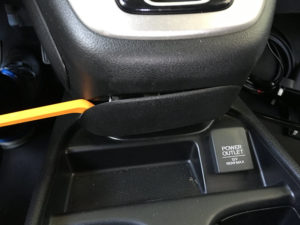
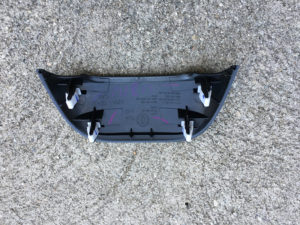
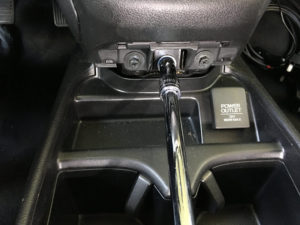
The 5th bolt is behind a small cover under the shift quadrant, just above the center console cup holders. The cover is held by 4 clips.
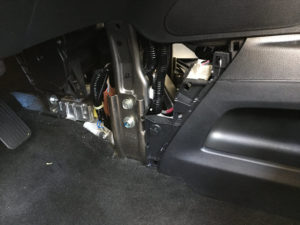
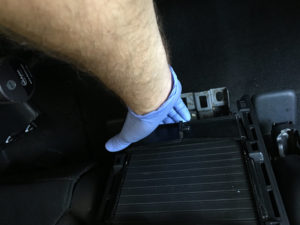
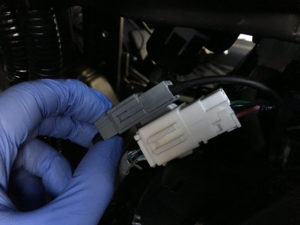
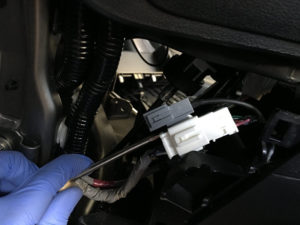
The two wiring harness connectors are on the driver side, revealed when the footwell kick panel is removed. They are connected to each other and clipped to the center console. Detach the clip holding them to the console by squeezing the tabs with the pliers, then lift the rear of the console an inch and move the console backward to get at them.
The release catch for the gray is on the top, for the white is between the two connectors. Use a flat head screwdriver to release it.
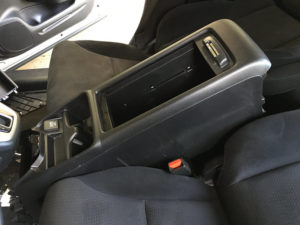
Once you have everything disconnected, fold the armrests up, then put both seat backs all the way back to make the seats as flat as possible. Move the console toward the rear of the car, then lift up the front and angle it out. The picture below shows the opposite, I moved the console to the front and lifted the rear. That works too.
Reverse the steps to put it back together.