Developer tools
To create a new mod for Cities: Skylines 2, first, we need to install the developer tools.
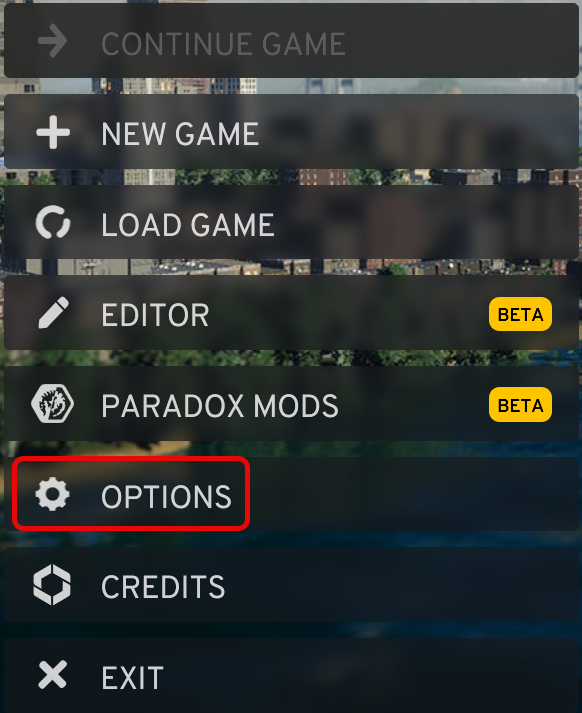
- Start Cities: Skylines II
- In the main menu select Options
- In the Options menu select Modding
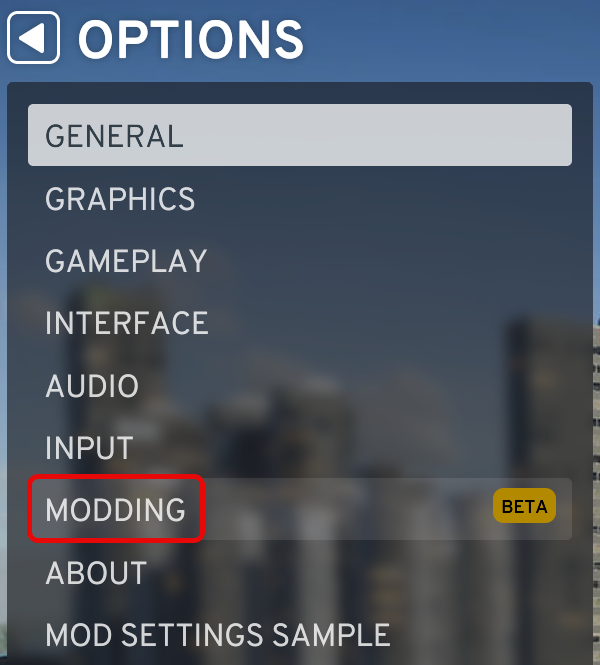
- Step through the items to install the toolchain
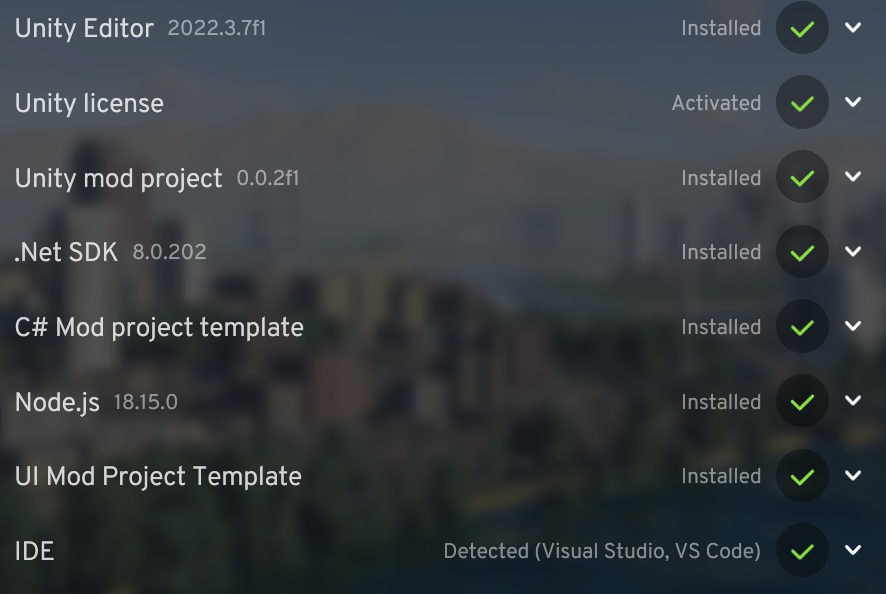
- Download and install the latest Active version of the .NET framework from .NET/.NET Core
Start a new Visual Studio solution
- Open Visual Studio and select Create a new project
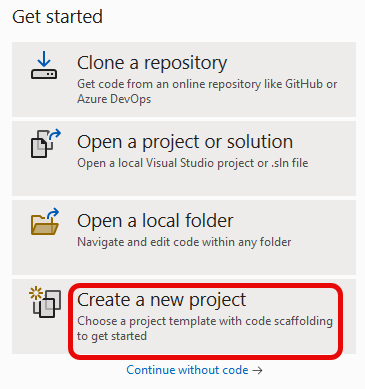
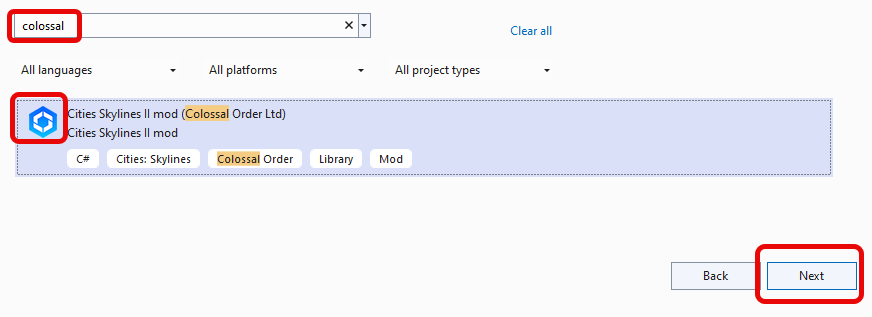
- Enter colossal into the search box and select the Cities Skylines II mod, and click the Next button at the bottom of the page
- Enter the project name, and click the button with the three dots to select the directory where Visual Studio will create a directory for the mod using the “Project name”
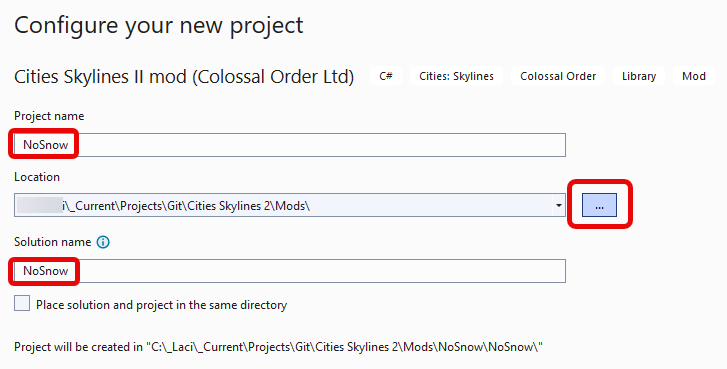
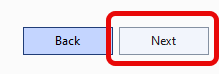
- Click the Next button
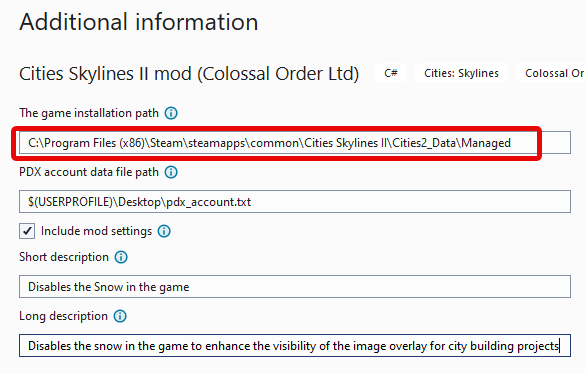
- Make sure The game installation path points to the C:\Program Files (x86)\Steam\steamapps\common\Cities Skylines II\Cities2_Data\Managed folder.
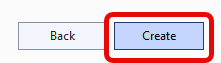
- Click the Create button
Deploy the mod locally for testing
To deploy the new mod and activate it in the game
- Exit Cities: Skylines II, otherwise the deployment will fail, because it cannot access the mod files in the Mods directory.
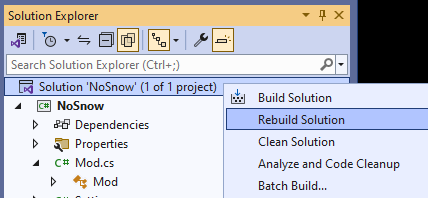
- Right-click the solution in Solution Explorer
- Select Rebuild Solution
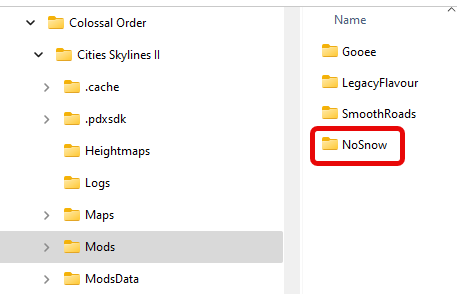
- The new mod appears in the Mods folder at C:\Users\YOUR_USER_NAME\AppData\LocalLow\Colossal Order\Cities Skylines II\Mods
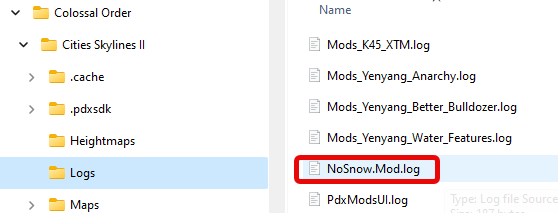
- When you open the city, the mod’s log file is created in the Logs folder at C:\Users\YOUR_USER_NAME\AppData\LocalLow\Colossal Order\Cities Skylines II\Logs
To disable the mod
To run the game without the local deployment of the mod
- Exit from the game to the desktop,
- Rename the mod folder to start the name with a period
C:\Users\YOUR_USER_NAME\AppData\LocalLow\Colossal Order\Cities Skylines II\Mods\.MY_MOD - Start the game again.
Publishing the mod
Create a Paradox account
- Navigate to Paradox Plaza
- Click Log in in the upper right corner
- Click the Create Account button

Create a forum thread for the mod
- Create a Paradox forum thread for your mod at Cities Skylines 2: User Mods. We will add the URL to the mod’s metadata, so users can ask questions, report bugs and share their experience with you and other users.
Create the Paradox account data file
To be able to publish the new mod to Paradox, we need to create the paradox account data file.
- Create a text file, the Paradox account data file, with two lines in it, and save it outside of the mod repository, like the Desktop, so it will not be pushed into source control (GitHub).
MY_PARADOX_USERNAME
MY_PARADOX_PASSWORD- Right-click the project in the Visual Studio Solution Explorer, and select Edit Project File
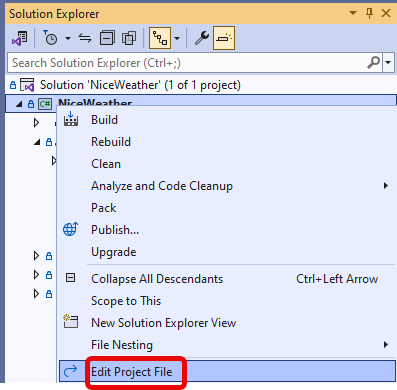
- Add the file location to the PDXAccountDataPath element of the mod’s project file. The default value will point to the “pdx_account.txt” file on the Desktop:
<PDXAccountDataPath>$(USERPROFILE)\Desktop\pdx_account.txt</PDXAccountDataPath>- Save the project file
Update the Publish Configuration
The PublishConfiguration.xml file in the Properties folder of your mod contains its metadata. We need to update it to provide the values to be displayed on the mod’s information page.
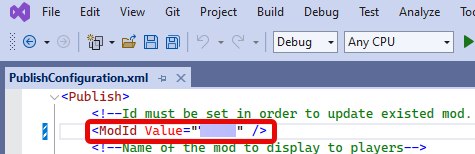
ModId
We will populate this very important value when we first publish the mod. See Publish the mod below. We will need this 5 or 6 digit number to be able to send metadata and code updates to Paradox later. For the first publishing leave it empty string.![]()
DisplayName
This will be the name of the mod in the library where users select from the list of mods.![]()
ShortDescription
The short description of the mod, at this moment it is not obvious where it is displayed.![]()
LongDescription
The long description explains the purpose and usage of the mod. For the formatting to work, make sure all lines of the LongDescription start at the left margin of the page!!!
To make it easier to format the text, create a file in the Properties directory, many modders call it LongDescription.md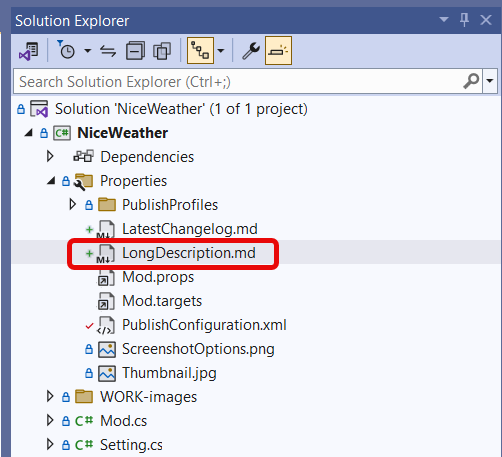
It will not be uploaded to Paradox, but the .md extension tells Visual Studio how to display the preview in the editor. Just click the Preview button in the upper left corner to see how the text will look like when Paradox displays it.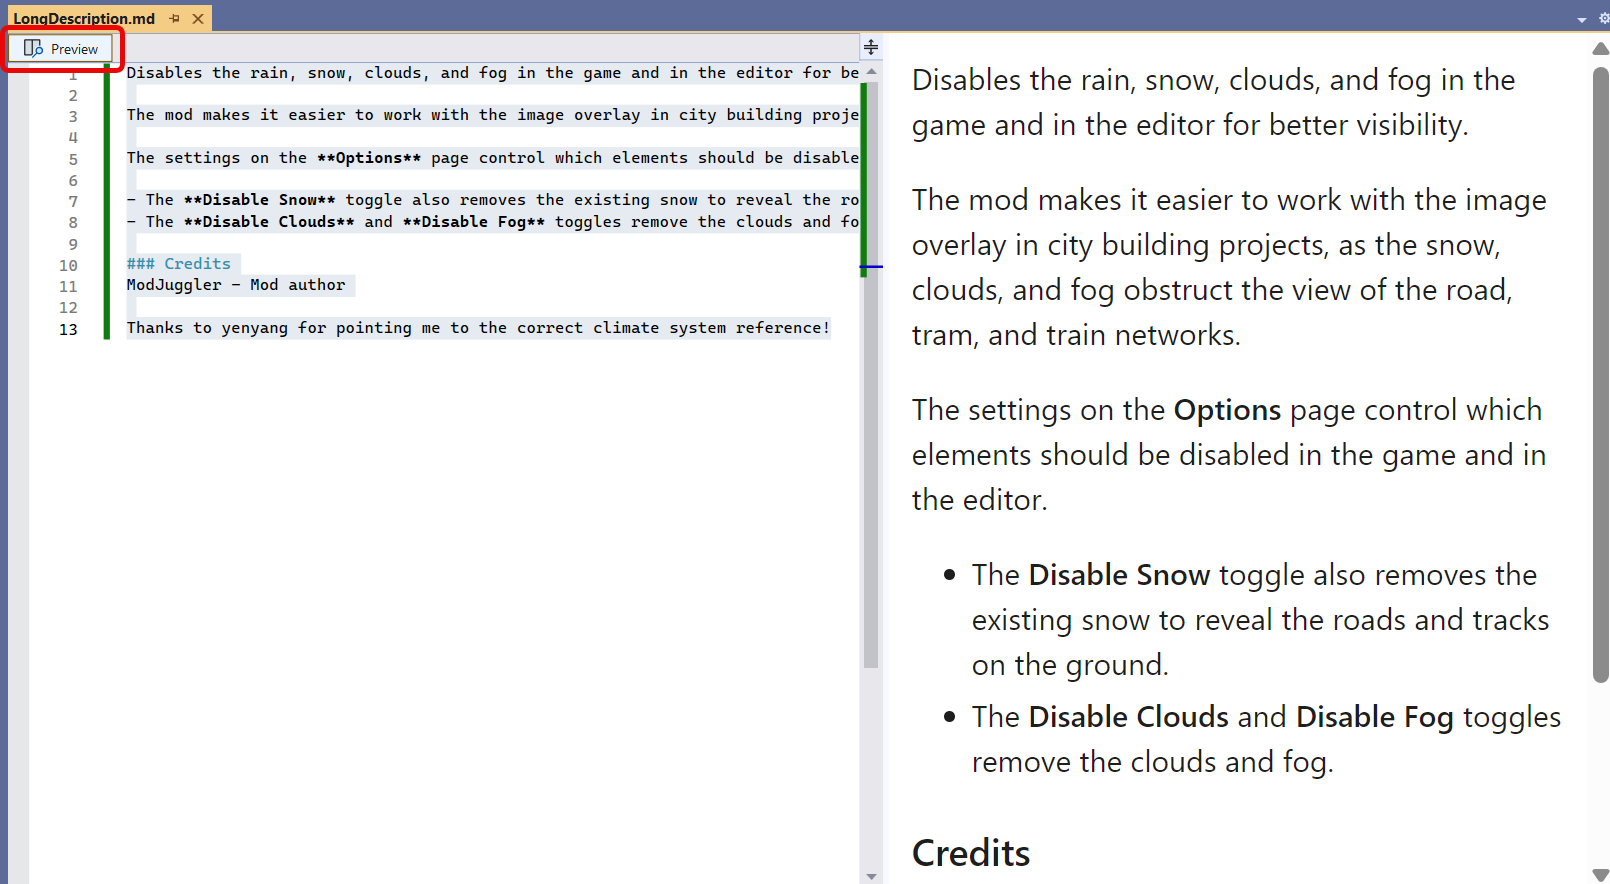
When the formatting is done,
- save the file for future reference,
- copy and paste the text into the LongDescription element of the PublishConfiguration.xml file,
- IMPORTANT: Select the pasted text in the PublishConfiguration.xml file, and press Shift-Tab twice, to move the text to the left margin. Otherwise the formatting will not work when it is displayed on the mod information page.

Thumbnail
Create a square .png or .jpg image to be the thumbnail of your mod.
Save it in the Properties folder of the mod. Update the Thumbnail element of the PublishConfiguration.xml file to point to the image.![]()
Screenshot
The screenshot images are displayed on the mod information page.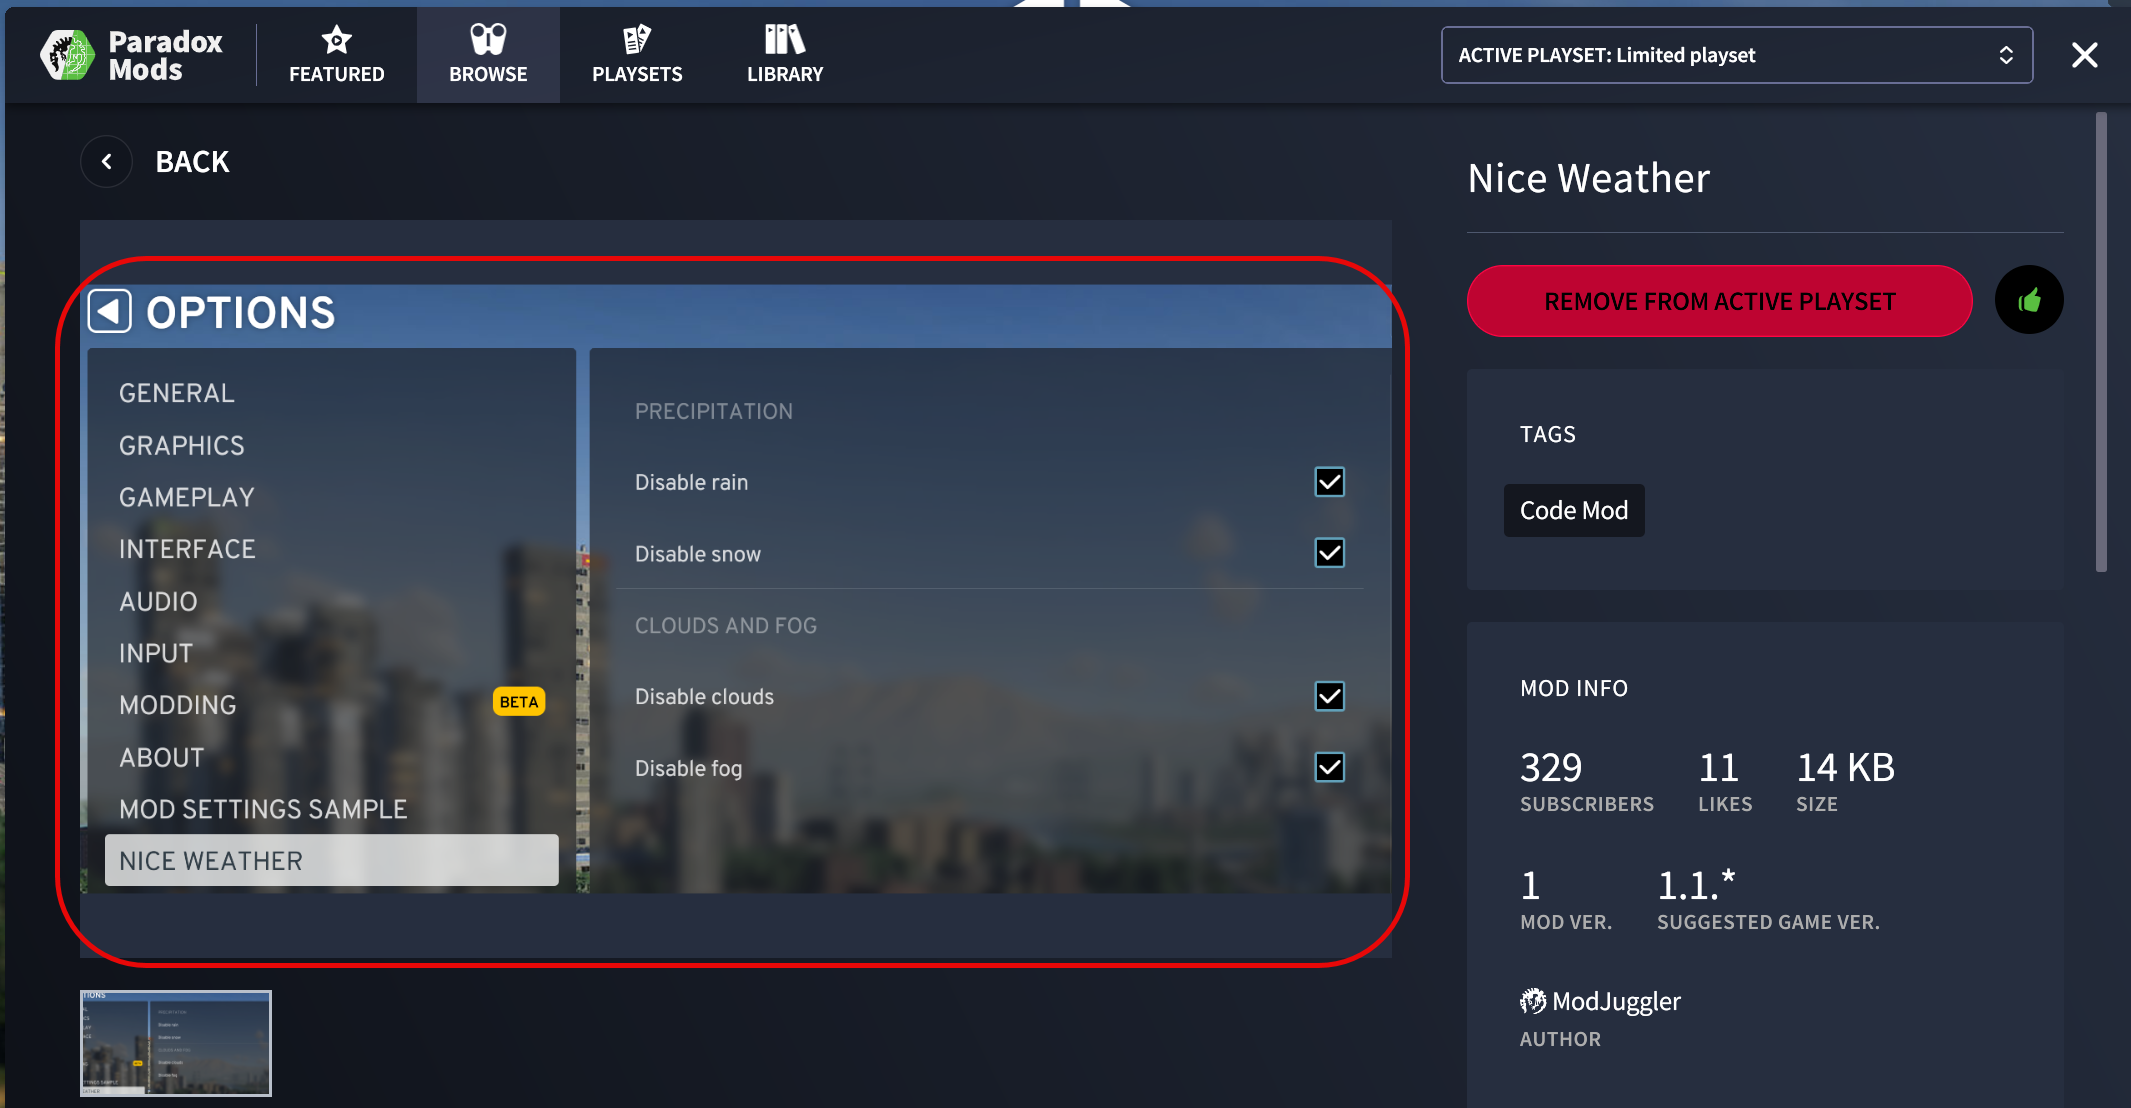
Save the .png or .jpg files in the Properties folder and update the Screenshot element. If you have multiple images, add more Screenshot lines.![]()
Tag
Regardless of the comment in the file, for code mods at this point it has to be one element with the value: “Code Mod”.![]()
ForumLink
Enter the URL of the Paradox forum thread for the mod you have created above.![]()
ModVersion
The current version of the mod.
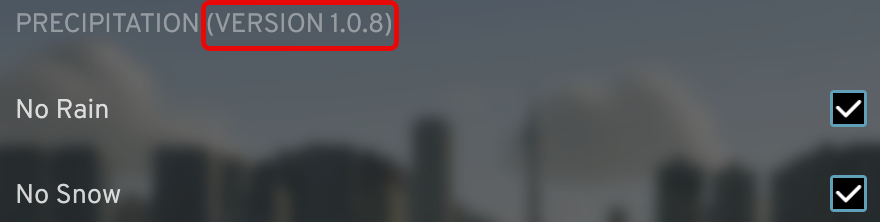
As it is not so easy to make sure the latest version of the mod is loaded, add the version to the UI too. In the Settings.cs file where the options menu is defined.
{ m_Setting.GetOptionGroupLocaleID(Setting.kPrecipitationGroup), "Precipitation (Version 1.0.8)" },This will display the version in the game
GameVersion
It is the version of the game, your mod is compatible with. When the new version of the game is released, all users will automatically receive it at the same time. It is important to test your mod with it, and update this value, otherwise a warning sign will appear on the mod’s information page telling all users, your mod is not compatible with their game version. At the time of writing the game’s “major.minor” version is 1.1 Most likely you mod will work fine until at least the next minor version, so today 1.1.* will provide the correct game version value.![]()
Dependency
If the mod depends on other mods, list them here.
If the mod does not have any dependencies, leave the value an empty string.![]()
ChangeLog
This will generate the change log entries on the mod info page. After publishing the first version of the mod, this is not yet displayed anywhere. Starting with the second version, it will be appended to the list on the right margin of the mod info page. 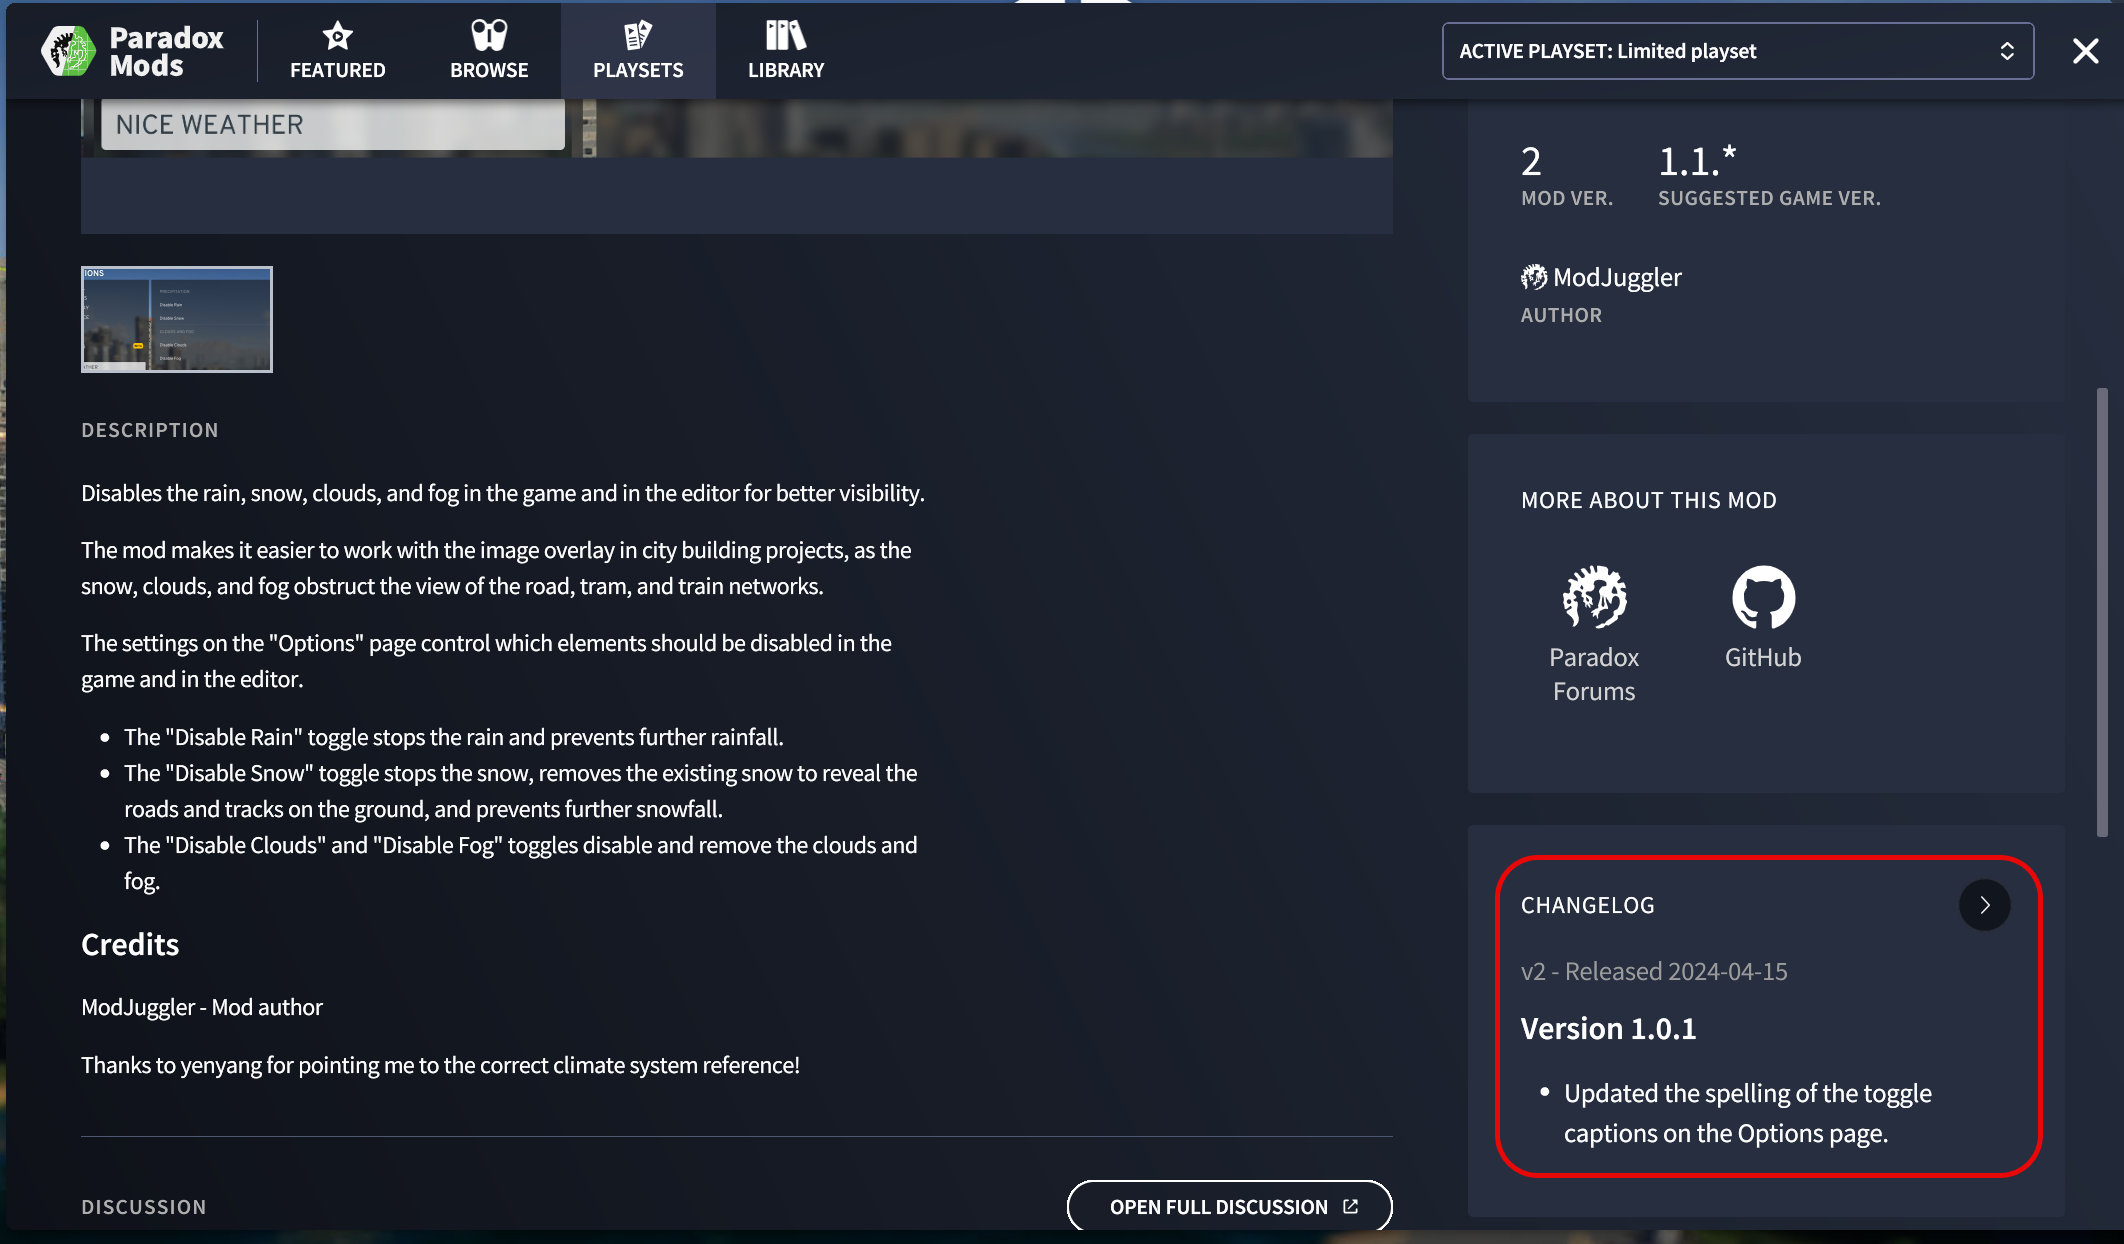
To make the ChangeLog formatting easier, like what we did for the LongDescription above, create the LatestChangelog.md file. It will not be uploaded to Paradox, but using it makes the text formatting a better experience.
There are two options to send information to the change log: One line, or multiple lines.
One line change log entry
The ChangeLog Value element can only have one formatted line.![]()
Multi-line change log entry
The ChangeLog element can have multiple formatted lines. To use it, comment out or delete the ChangeLog Value element, and uncomment the ChangeLog start and end tags. List the changes of the current update, for the formatting to work, make sure all lines start at the left margin.
ExternalLink
The URLs of YouTube videos, Discord servers, GitHub repositories, PayPal donation pages.
Publish the mod
- Exit Cities: Skylines II, so the build process can overwrite the mod in the Mods directory
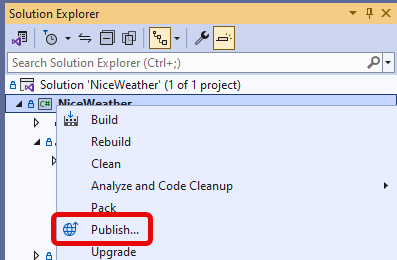
- Right-click the mod’s project and select Publish
- If this is the first time you publish this mod
- On the Publish page select the action, for the first time, leave PublishNewMod selected, and click the Publish button

- Copy the Mod ID from the output window
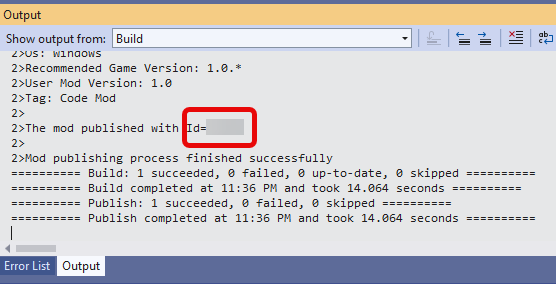
- Save it in the PublishConfiguration.xml file. It is required to publish updates in the future.
- On the Publish page select the action, for the first time, leave PublishNewMod selected, and click the Publish button
- If the mod has already been published at least one
- Make sure there is no error message in the Output window at the bottom of the screen.
- Check the Paradox web site to make sure the mod has been successfully published there. Navigate to Mods for Cities: Skylines II
- Find your mod and make sure the latest version is there.
- Remove the local copy of your mod from the game directory. Other wise always that will be active in your game, not the one installed from the Paradox web site. See To disable the mod above
Troubleshooting
Error
Error MSB3231 Unable to remove directory “C:\Users\…\AppData\LocalLow\Colossal Order\Cities Skylines II\Mods\…”. Access to the path ‘…_win_x86_64.dll’ is denied. C:\Users\…\AppData\LocalLow\Colossal Order\Cities Skylines II.cache\Modding\Mod.targets
Solution
Visual Studio cannot deploy the new version of the mod, because Cities: Skylines II is running. Exit the game to the Desktop and build the solution again in Visual Studio.
Error
PDX account data file is not found. Please check the ‘PDXAccountDataPath’ property value of your project. If you have no such file, you should create it. It is a simple text file where the first line is your PDX account login and the second line is your PDX account password.
Solution
Create and reference the Paradox account data file, see Create the Paradox account data file above.
Error:
Error while processing args
ChangeLog must be set in configuration
Solution:
To be able to publish an update to the mod, we need to add to the ChangeLog value in the PublishConfiguration.xml file
<ChangeLog Value="Updated metadata and added screenshot image" />
<!--ChangeLog>
Error:
Could not update the mod configuration: Couldn’t upload all files to the backend
Solution:
Make sure the image file name does not contain spaces.