Tomcat is one of the most popular free web servers. Tomcat runs on the Linux, Macintosh, and Windows operating systems.
To install Tomcat
Install the Java Runtime Environment (JRE)
- Download the Java JRE from http://www.oracle.com/technetwork/java/javase/downloads/index.html
- Install the Java JRE
On Windows
- Execute the downloaded .exe file
- Create an environment variable to point to the installed Java
- If you installed the Java JDK (Java Development Kit)
- JAVA_HOME=c:\Program Files\Java\jdk-…
- If you installed the JRE (Java Runtime Environment)
- JRE_HOME=C:\Program Files\Java\jre-…
- If you installed the Java JDK (Java Development Kit)
Install Tomcat
- Download the Tomcat installer from https://tomcat.apache.org/
- To select the right file to download read the explanation on the page linked to “Please see the README file for packaging information”.
On Windows
Select the installer based on the operating system and the Java environment you want to run:
- 32 bit Java Virtual Machine on32 bit or 64 bit Windows: apache-tomcat-[version]-windows-x86.zip
- 64 bit Java Virtual Machine on 64 bit Windows: apache-tomcat-[version]-windows-x64.zip
- Unzip the downloaded archive and move the apache-tomcat-x.x.x directory to C:\Program File
- Create the Tomcat environment variable
CATALINA_HOME=C:\Program Files\apache-tomcat-x.x.x
Start Tomcat
- Open a terminal or console in the Tomcat bin directory
- Execute
startup
- Enable the access to the Tomcat server through the firewall
- On Windows
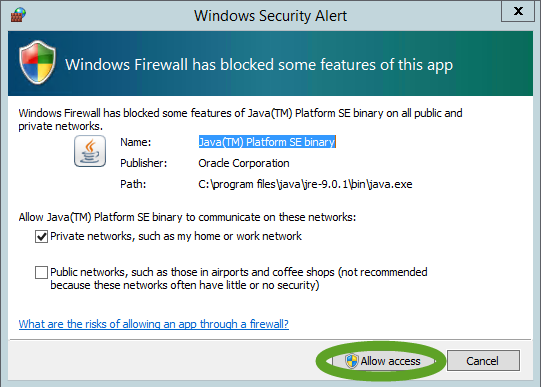
- On Windows
Test Tomcat
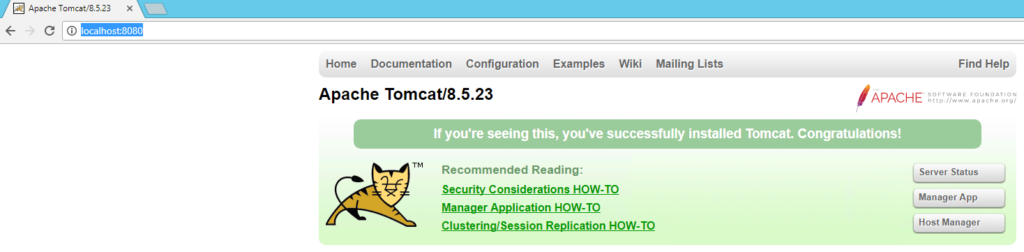
- Open a web browser on the server and navigate to http://localhost:8080/
- You should see the Tomcat default page
Auto start Tomcat
If you want to use Tomcat as a web server, it should start automatically when the computer starts.
On Windows
- Open a command prompt in the tomcat bin directory
- Execute
service.bat install
- On the User Account Control popup click the Yes button
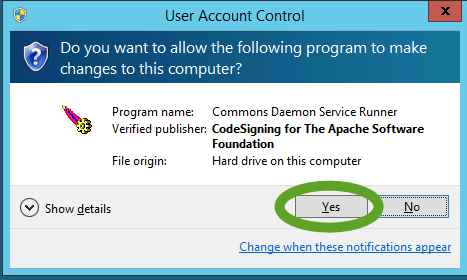
- The last message in the command prompt should say
The service ‘Tomcat..’ has been installed.
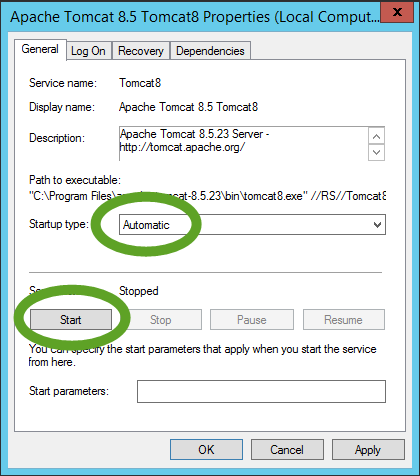
- Open Services and select the Apache Tomcat service
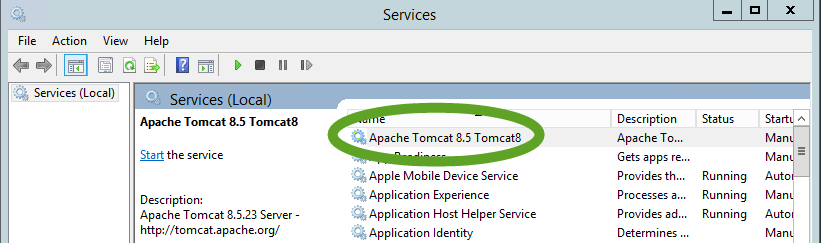
- Set the Startup type to Automatic, click the Start button to start the service, and click OK.