The React framework adds components on top of HTML and JavaScript to create dynamic one-page web applications. It does not have routing and data handling capabilities, to create a full stack web application use Next.js or Remix.
Configure the development environment
- Install npm
- Make sure npx is available on your workstation
npx comes with npm 5.2 and higher
Create the React web site skeleton
Create the web site skeleton
- Create a parent directory for the project
- To create a TypeScript project
- Open a terminal. We will add –template typescript to the end of the command to use typescript
npx create-react-app MY_WEB_SITE_NAME --template typescript - To convert an existing app to TypeScript see https://create-react-app.dev/docs/adding-typescript
- Open a terminal. We will add –template typescript to the end of the command to use typescript
- To create a non-TypeScript project
- Execute in a terminal
npx create-react-app MY_WEB_SITE_NAME
- Execute in a terminal
- To create a TypeScript project
- For more information visit https://create-react-app.dev/docs/getting-started
View the new React web site
- Step into the web application directory
cd MY_WEB_SITE_NAME - Start the web application
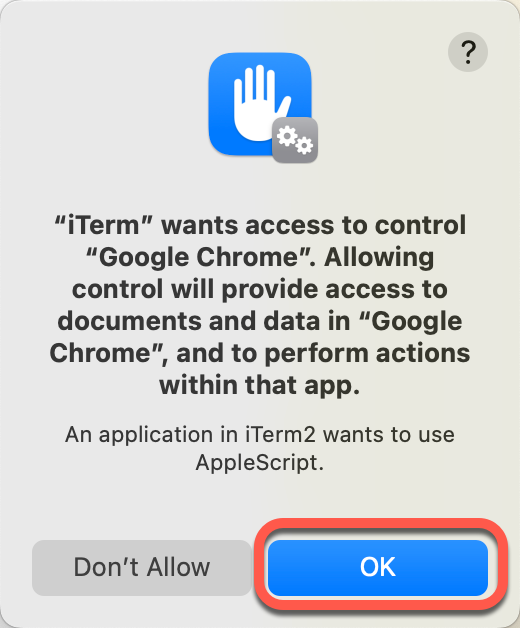
npm start - If asked, allow iTerm to control Google Chrome

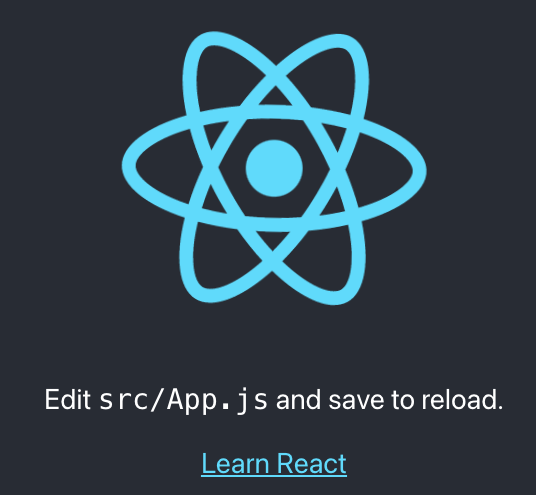
- Your React application loads in a new browser window at http://localhost:3000/

Test the application
By default the test are related to the changes made since the last Git commit.
- If running, stop the application by pressing CTRL-C
- Open the terminal in the application directory
cd MY_WEB_SITE_NAME - Execute the test
npm test
Deploy the application
Build the application
The application build process creates the minified version of the site in the “build” directory
- To build a minified bundle of the application execute
npm run build