Skip to content
Pinter Computing

Knowledge Base for IT Professionals, Teachers, and Astronauts

Pinter Computing

Knowledge Base for IT Professionals, Teachers, and Astronauts

  • Home
  • Programming
  • DevOps
  • Project Management
  • Software and Hardware
  • Miscellaneous
  • Egyebek
  • About
  • Experience
  • Education
  • Contact
  • Home
  • Programming
  • DevOps
  • Project Management
  • Software and Hardware
  • Miscellaneous
  • Egyebek
  • About
  • Experience
  • Education
  • Contact
Close

Search

Knowledge Base

Image overlay in Cities: Skylines 2

By Laszlo Pinter
March 18, 2024 2 Min Read
0

Image overlay enables us to display a transparent map over our layout in the game and in the Editor.

In the Editor this makes is easy to place outside connections to the correct locations, so when we build our city replica, the roads start at the right place.

In the game it makes it possible to follow the original city layout.

Installation

In the Main Menu of Cities: Skylines II select Paradox Mods

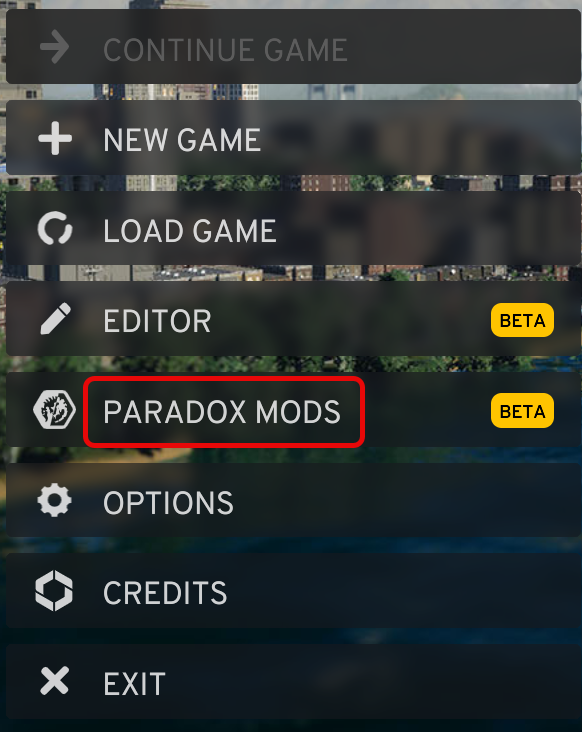
Subscribe to the Image Overlay mod
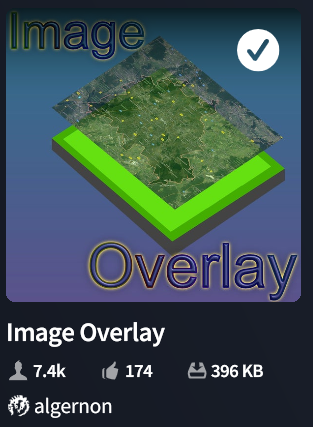
Configuration

Disable image movement

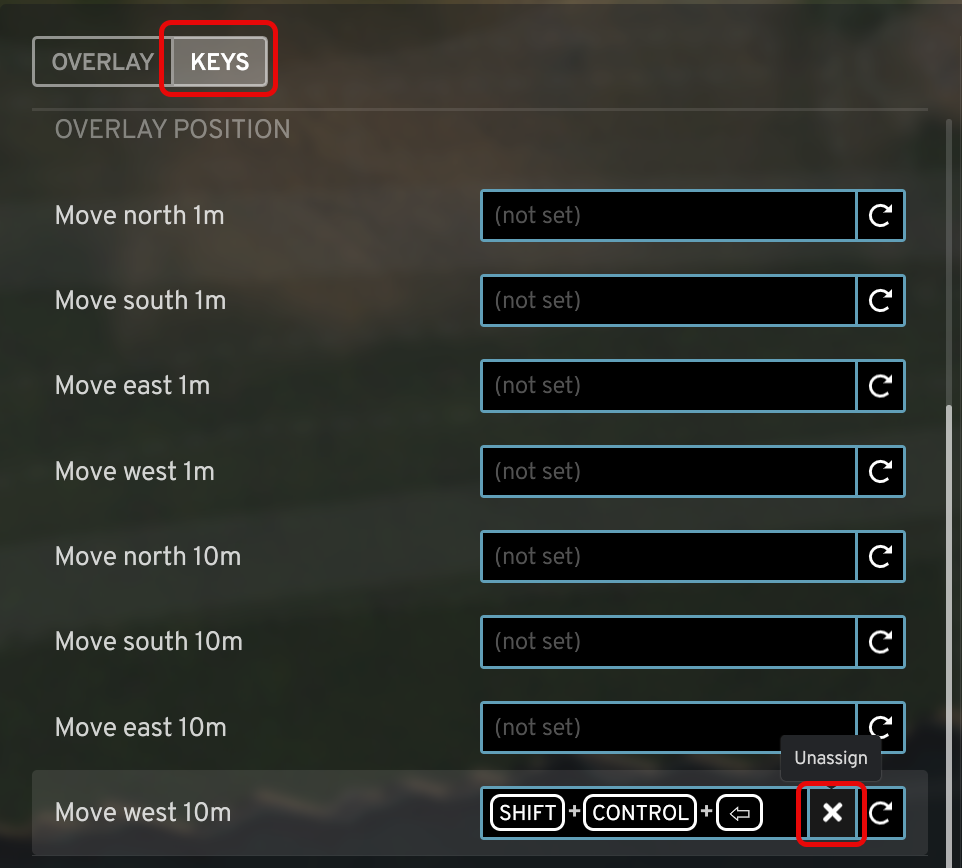
On laptops without dedicated PgUp and PgDown keys we usually have to use the Fn + cursor keys to have the same effect. For the Fn key to work, we first have to press the Fn key and only after the Ctrl, Shift and other keys. If we miss pressing the Fn key first, the cursor function will be executed instead of the PgUp or PgDwn. The Image Overlay mod uses the Ctrl-Up, Ctrl-Down, Ctrl-Left, Ctrl-Right keys to move the image horizontally. If for any reason our computer does not recognize the press of the Fn key, instead of moving the image up and down, we move the image horizontally out of the center position causing frustrating alignment errors. To disable the horizontal image movement

  • On the KEYS tab of the Image Overlay options page click the X next to all Move… keyboard shortcuts

Usage

Overlay file location

To make the overlay image file available to the mod

  • Create the Overlays directory at “%LocalAppData%Low\Colossal Order\Cities Skylines II”
  • Place the .png overlay files into the Overlays directory. The image size has to be a multiply of 2, up to 16,384×16,384 pixels.

Image selection and transparency setting

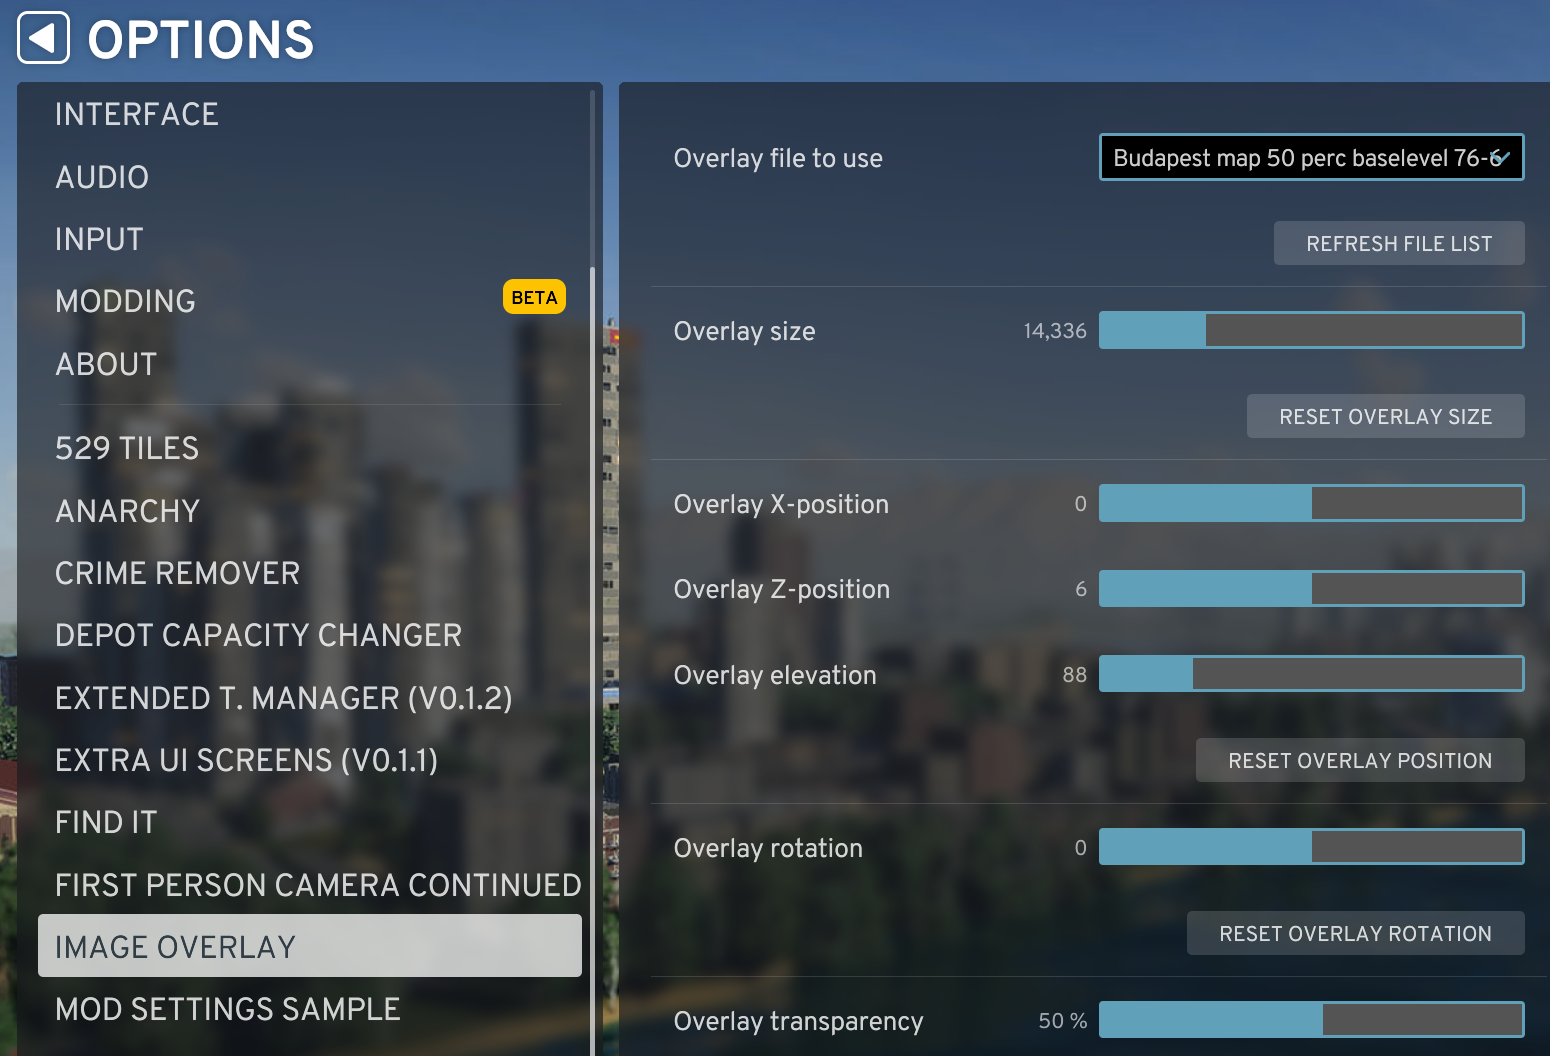
To select the image, and set the transparency in the game or in the Editor

  • In the Main Menu of Cities: Skylines II select Options
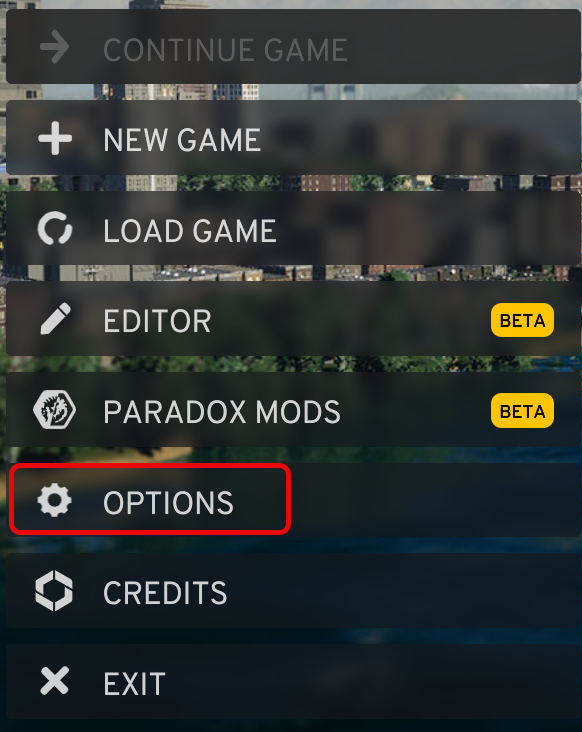
  • On the Image Overlay page select the image file and set the transparency
Author

Laszlo Pinter

Follow Me
Other Articles
Previous

Creating an AWS Q AI application

Next

Installing and using BepInEx

No Comment! Be the first one.

Leave a Reply Cancel reply

Your email address will not be published. Required fields are marked *

Search

Last Changes

  • Japan travel tips June 22, 2026
  • Argument of type '(number | null)[]' is not assignable to parameter of type '(err: Error, result: QueryResult) => void' June 20, 2026
  • Cities: Skylines II Developer Mode June 20, 2026
  • How to stop the rain and snow in Cities: Skylines II June 20, 2026
  • 'CSII_MANAGEDPATH' has incorrect path(s) when building Cities: Skylines II mod June 20, 2026

Tags

.NET .NETcore 3Dprinting ASP.NET Core AutodeskInventor AWS C# Chef cloud DevOps Docker EntityFramework Games Git Go iOS iPad iPhone iPod Java Kubernetes Linux MacOSX MSSQL MVC Node.js Packer PowerShell Python RDS RightScale Ruby security Splunk TeamCity Terraform TestKitchen Tomcat Ubuntu Vagrant VirtualBox VisualStudio Windows WordPress Xcode

Recent Comments

  • Zengei László on MyHeritage családfa exportálása és küldése emailben
  • Raúl Castillo on DynDns update error
  • MICHAEL on Windows Media Player 12 cannot find the album information
  • Nargis on Configure Epson ET-3850 scanning on Windows 11
  • Venczelné Zemen Erika on Delta S2302 termosztát programozása

–

  • Log in
  • Entries feed
  • Comments feed
  • WordPress.org
Copyright 2026 — Pinter Computing. All rights reserved.