Newer PostgreSQL versions introduce useful functionalities, so it is a great idea to keep our database engines up-to date. In addition if the version of the database engine stays very old, in the future it can be difficult to “catch up” and upgrade the data to the new version.
This is the official documentation of the pg_upgrade process: https://www.postgresql.org/docs/current/pgupgrade.html
To upgrade the PostgreSQL database engine version
Check the version of the PostgreSQL server
- In pgAdmin4 open a Query Tool window
- Execute:
SELECT version();
Create a backup of the old server
- Open pgAdmin4 and right-click the local database server
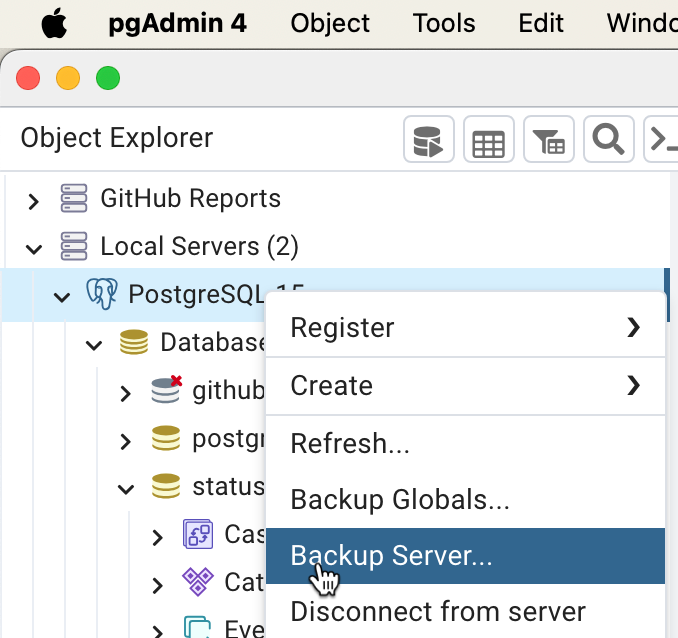
- Click the folder icon to select the backup file location
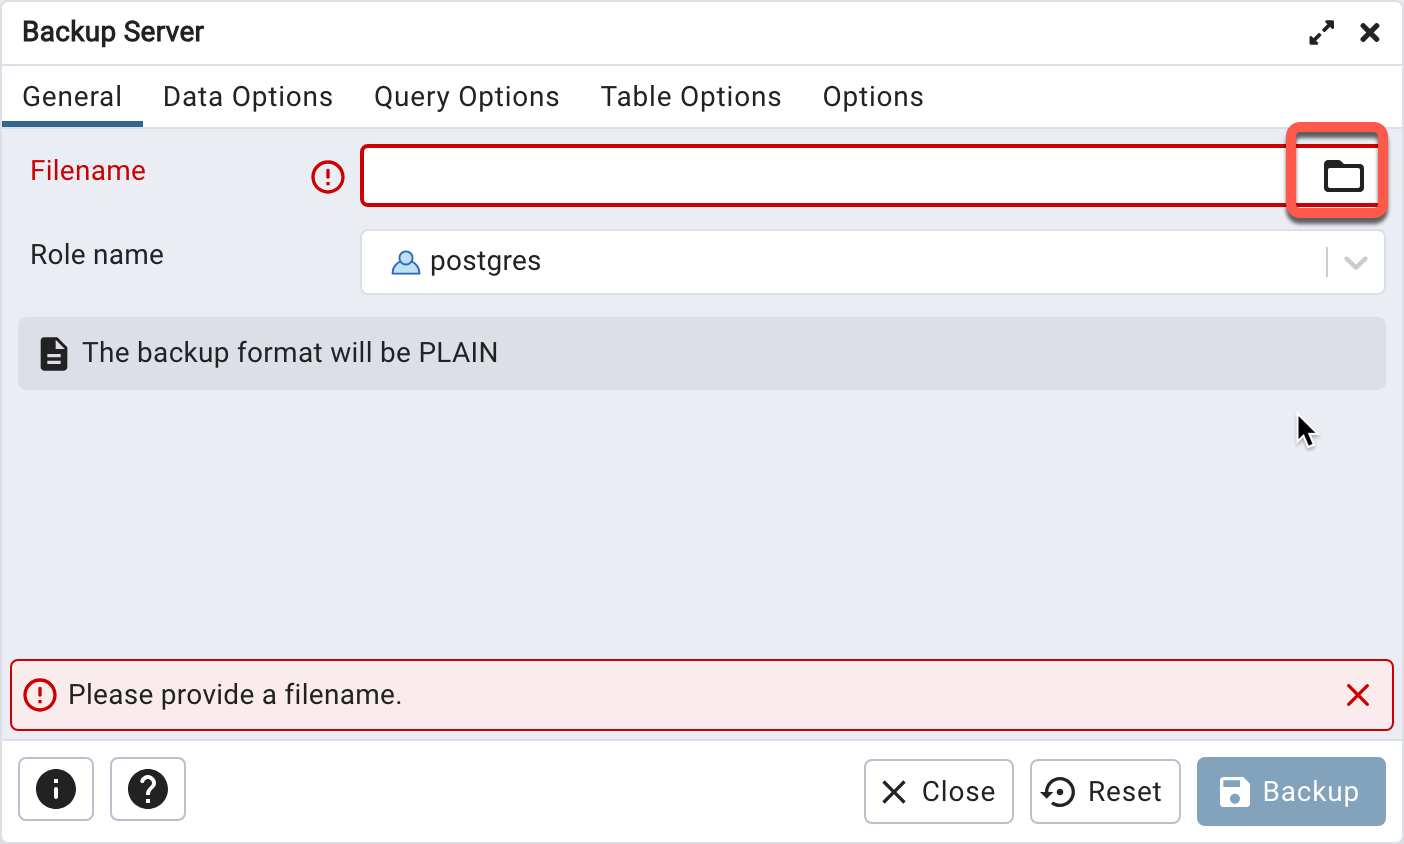
- Select the postgres role, and click the Backup button
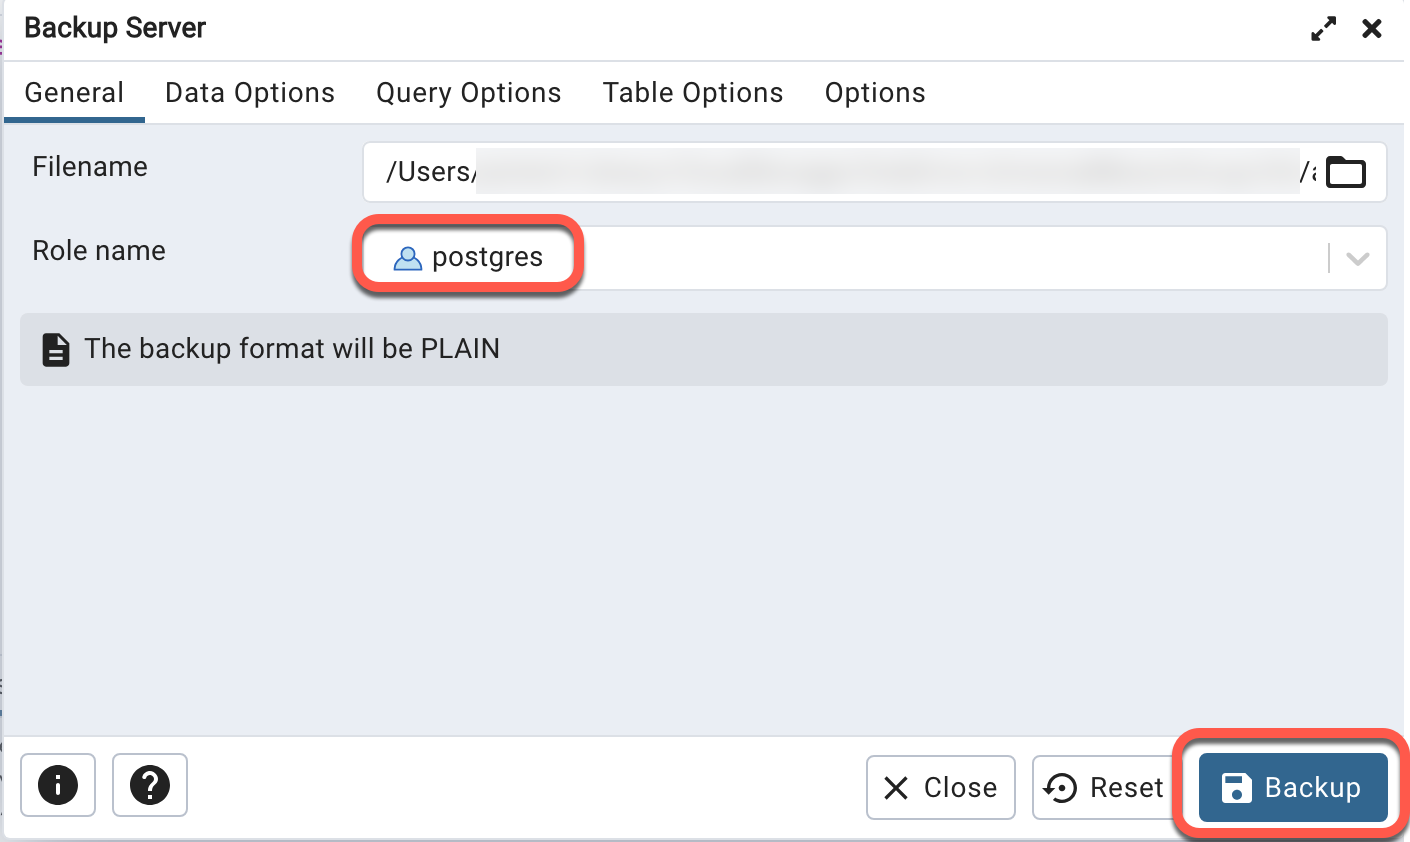
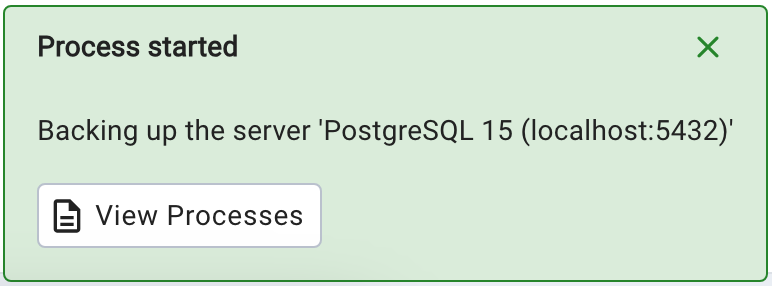
- The confirmation appears in the lower right corner
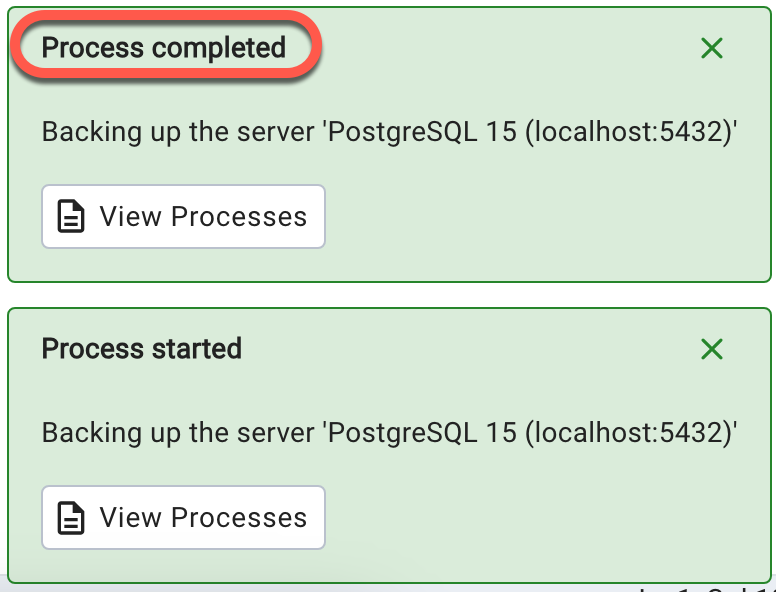
- Wait until the process completes
Get the PostgreSQL data directory
To get the name of the current PostgreSQL data directory
On macOS
On macOS the location of the server installation is /Library/PostgreSQL/MY_SERVER_VERSION/
The binary (executable) files are in the “bin” directory, the data files are in the “data” directory
Remove deprecated libraries
Some old versions of the PostgreSQL server contain deprecated libraries. As those are not part of the new installation anymore, pg_upgrade will stop with an error message.
Upgrading from version 15
Version 15 of the PostgreSQL server contained the adminpack library which is not part of later versions. Before we shut down the old server we will need to remove the library:
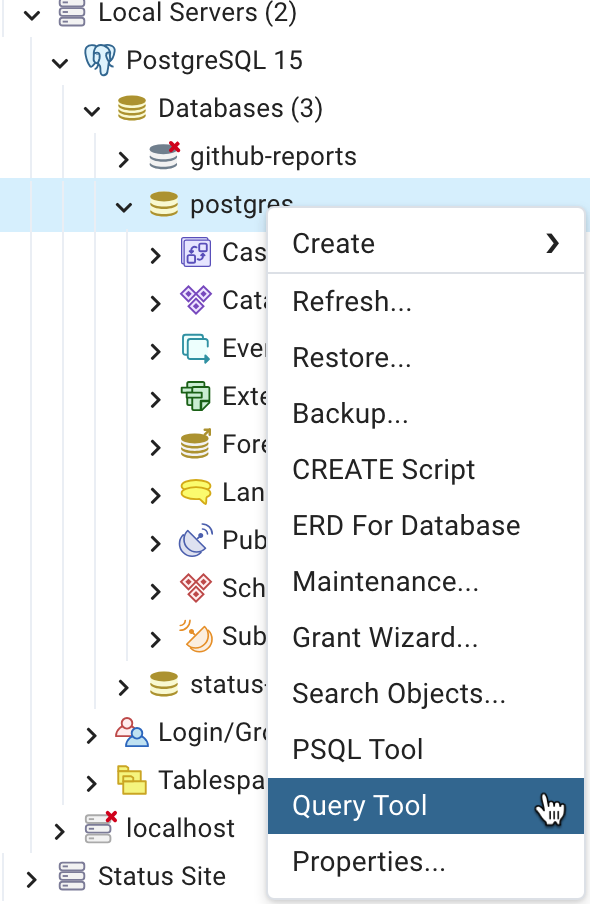
- In pgAdmin4 right-click the postgres database and select Query Tool
- Execute the following command
DROP EXTENSION adminpack CASCADE;
Stop the old PostgreSQL server
- Find the the PostgreSQL command line utility
locate pg_ctl - If the message appears “WARNING: The locate database (/var/db/locate.database) does not exist.”, execute the following command:
sudo launchctl load -w /System/Library/LaunchDaemons/com.apple.locate.plist- There is no indication when the “locate” database build completes, so try to execute the “locate” command after a few minutes to see if the database is available.
- Switch to the root directory to avoid directory access issues, and execute the found
pg_ctlcommand to shut down the PostgreSQL server.
The -D option specifies the location of the data directory:
cd /

sudo -u postgres /Library/PostgreSQL/15/bin/pg_ctl -D /Library/PostgreSQL/15/data stop- After a few seconds the server stops

Install the new version of the server
- Download the latest version of the PostgreSQL installer from https://www.enterprisedb.com/downloads/postgres-postgresql-downloads
- Start the installer,
- Follow the prompts
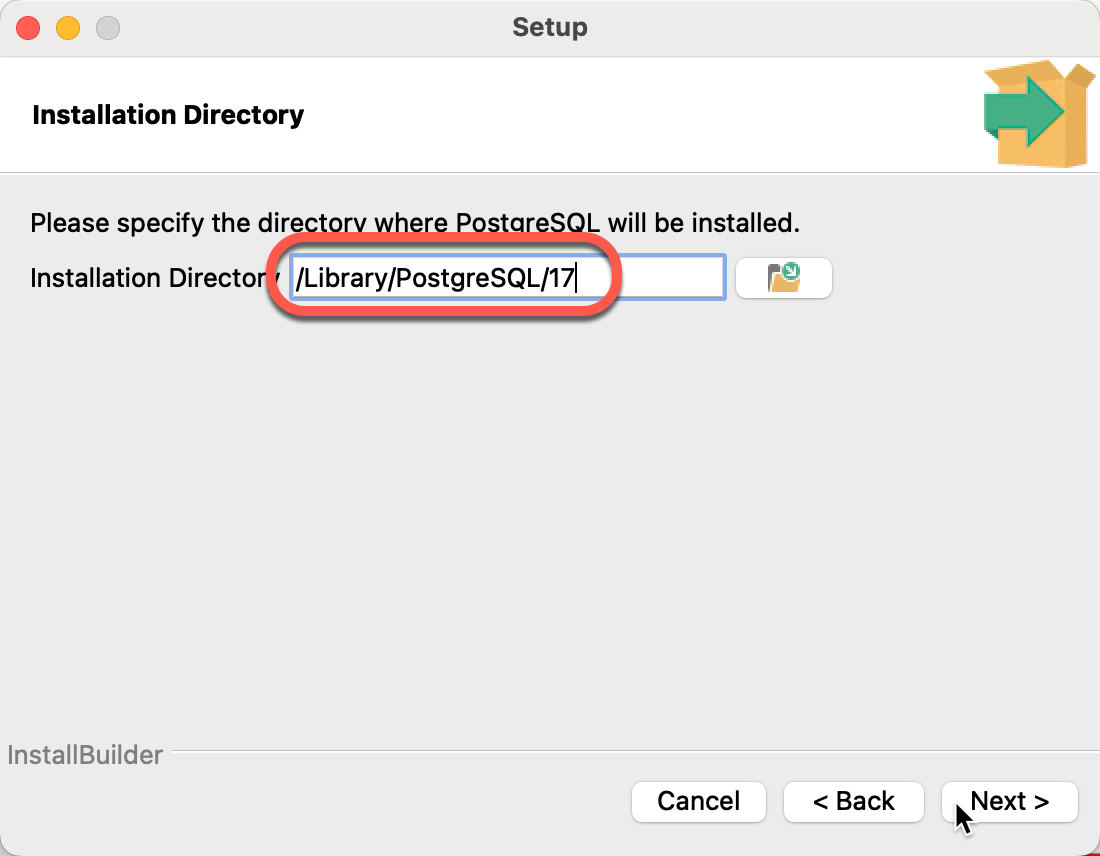
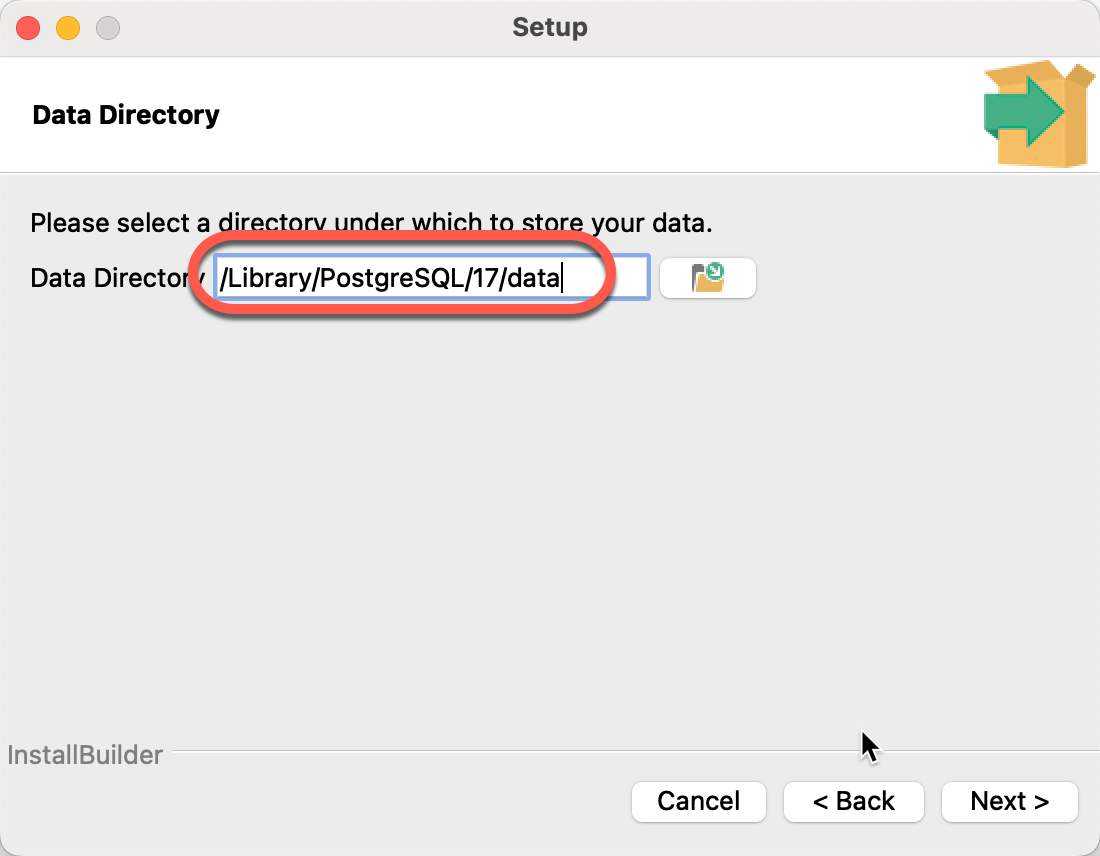
- IMPORTANT, use the recommended, version specific installation directory names
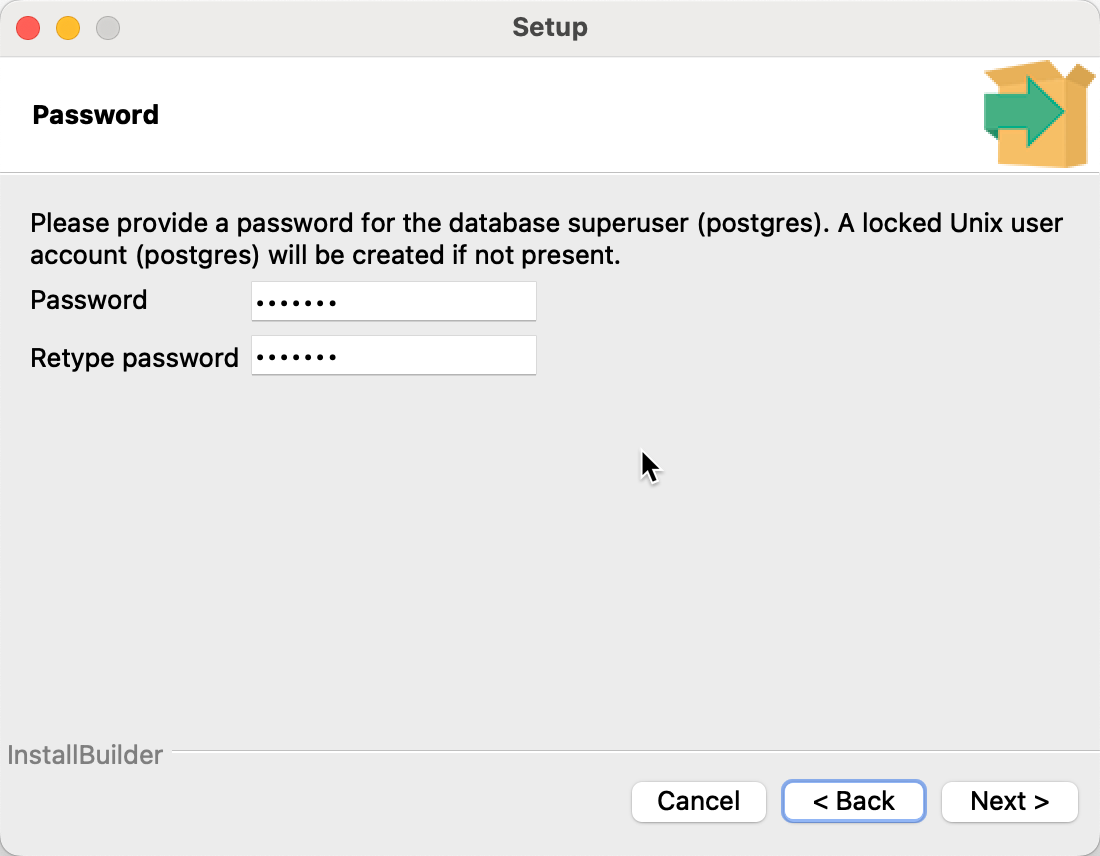
- Create a password for the database superuser called “postgres”
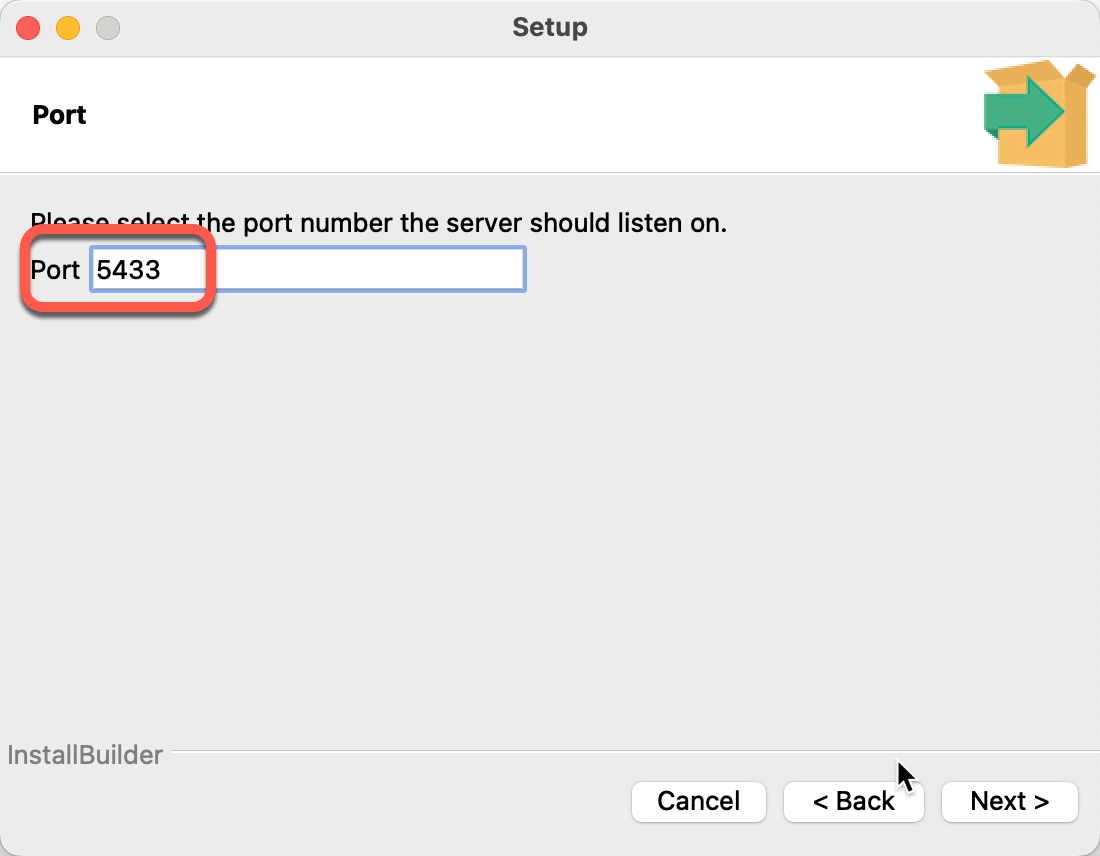
- If the old version of the PostgresSQL server is running, a new port number will be recommended
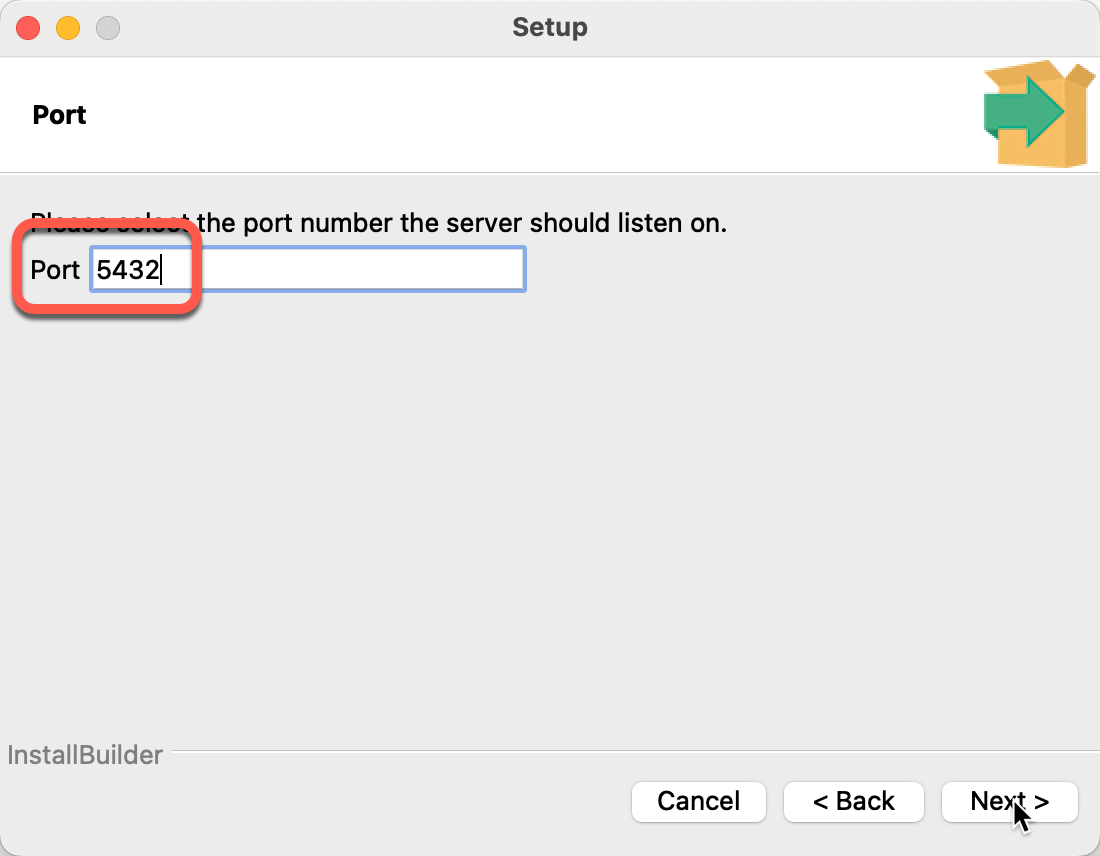
- If no PostgreSQL instance is running, the standard 5432 port number is populated:
- If the old version of the PostgresSQL server is running, a new port number will be recommended
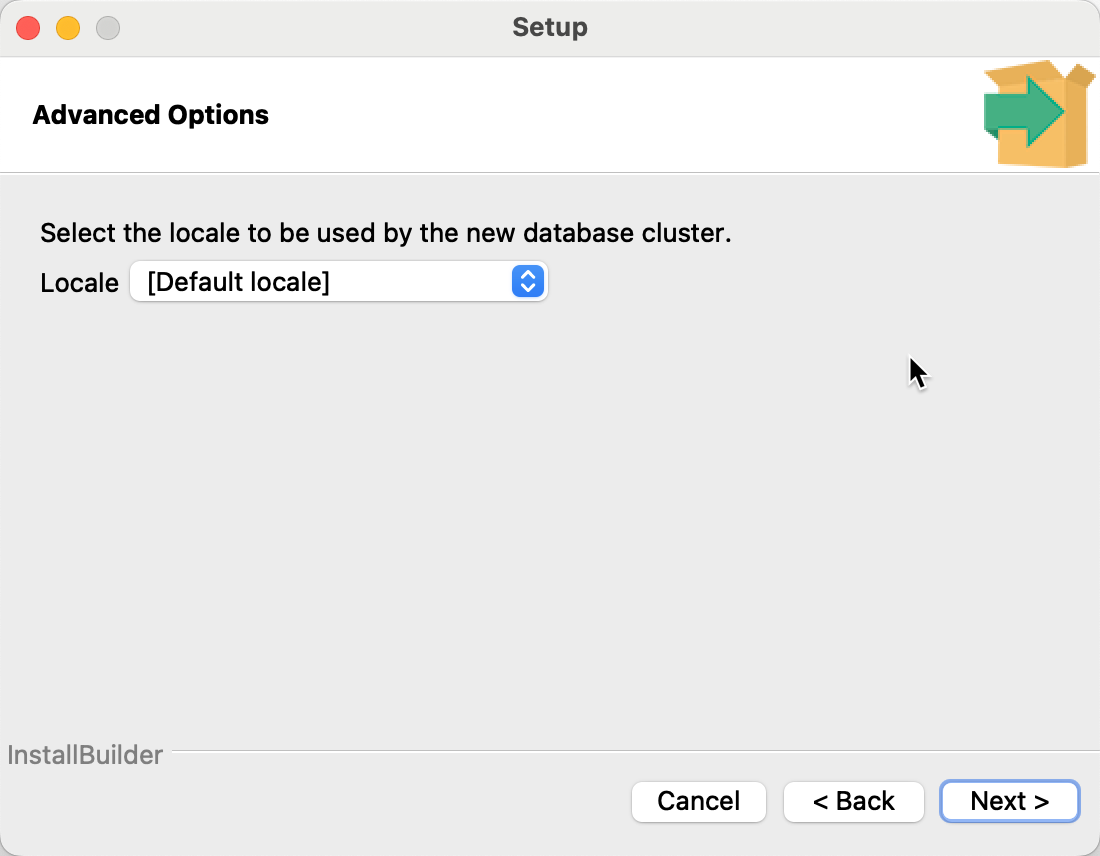
- Keep the Default locale setting
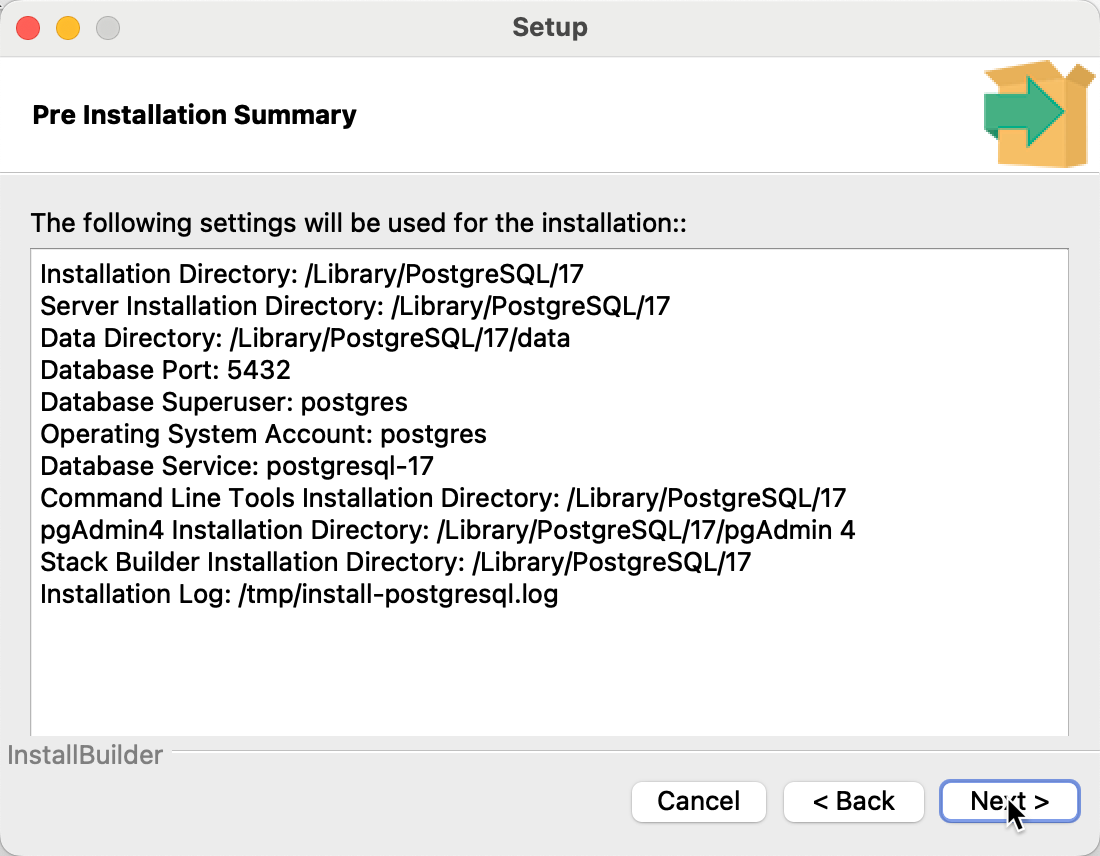
- The summary page shows the location of the components
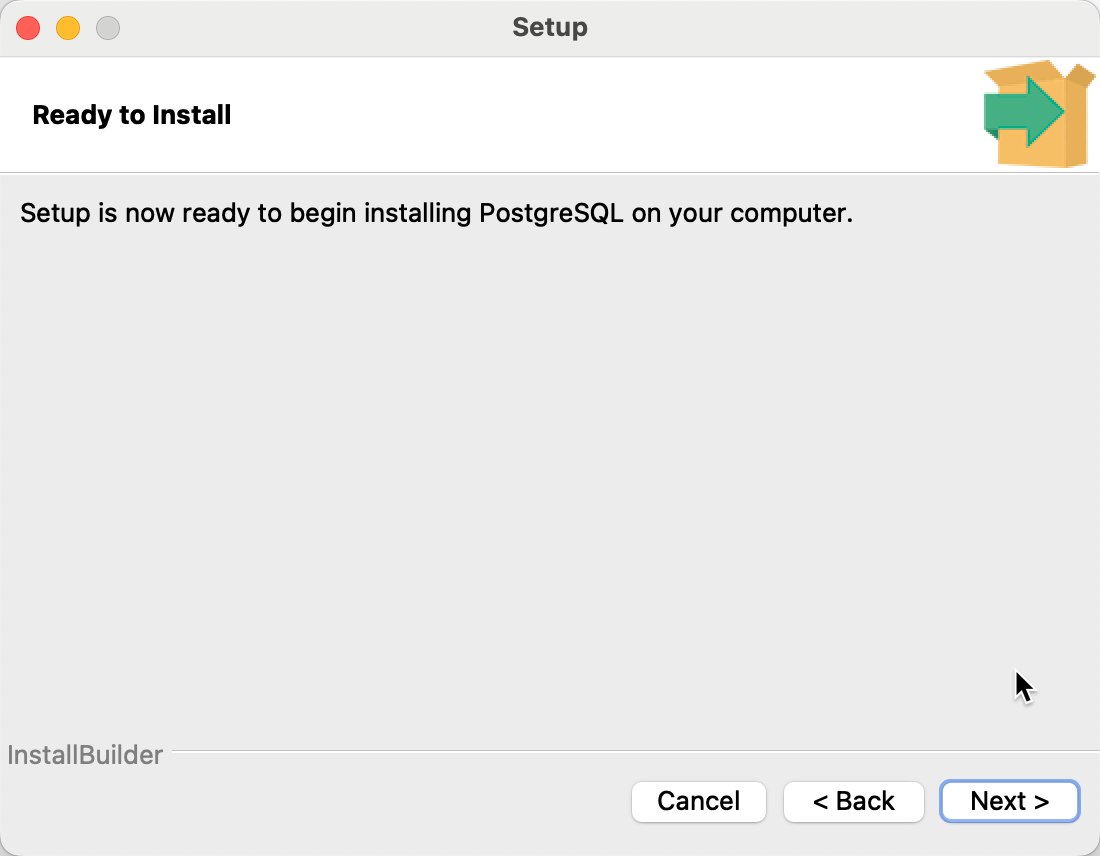
- Click Next to start the installation
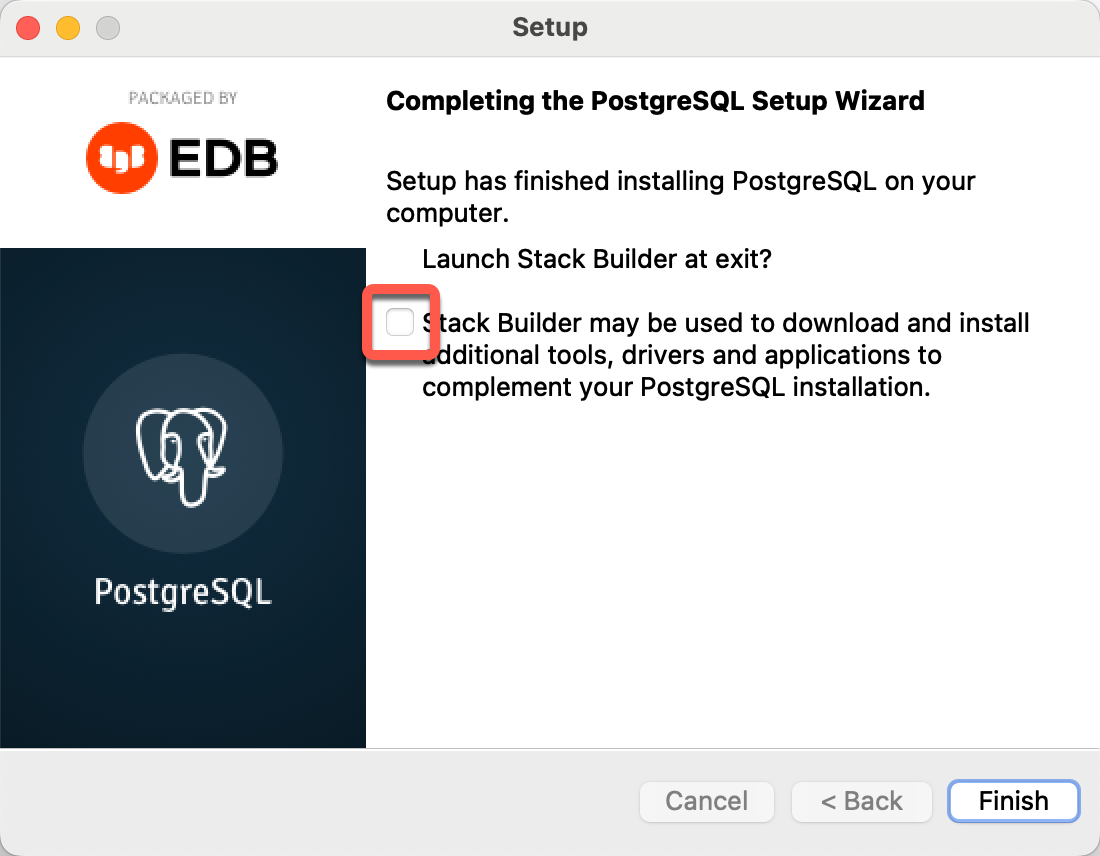
- If you don’t want to install other components, uncheck the Stack Builder launch.
Configure the environment
As the upgrade process will connect to the old and new instance multiple times, save the access credentials in the PostgreSQL password file in the user’s root directory at ~/.pgpass
Create the password file
Official documentation is at https://www.postgresql.org/docs/current/libpq-pgpass.html
- Open or create the password file from the command line with
code ~/.pgpass - Specify the database admin credentials in the file:
# EXAMPLE: hostname:port:database:username:password
localhost:*:*:postgres:MY_ADMIN_PASSWORD - Set the file access permissions to disallow access by world, otherwise the file will be ignored by the process:
chmod 0600 ~/.pgpass
If the error message during upgrade is
connection to server on socket “/private/tmp/.s.PGSQL.50432” failed: fe_sendauth: no password supplied
could not connect to source postmaster started with the command:
Enable connection to local servers without a password. Update the config files for the old and new version to trust the local connection.
- Edit the old server’s config file
vi /Library/PostgreSQL/15/data/pg_hba.conf - In the line of the local connection change the method from “scram-sha-256” to “trust”
local all all trust- Edit the new server’s config file
vi /Library/PostgreSQL/17/data/pg_hba.conf - In the line of the local connection change the method from “scram-sha-256” to “trust”
local all all trustStop both PostgreSQL servers
Even though we have stopped the old server, the installation of the new version started the new.
- Stop the new server with
sudo -u postgres /Library/PostgreSQL/17/bin/pg_ctl -D /Library/PostgreSQL/17/data stop
Start the upgrade
pg_upgrade needs write access to the current directory, so let’s create a working directory for the process, othrewise we get the error message:
You must have read and write access in the current directory.
Also, as we will run the pg_upgrade comamnd as the user “postgres” we need to start the process in a directory it has access to, otherwise we get the error message:
could not determine current directory
To satisfy both requirements, we need to be in a directory where the postgres user can be and have write access. We will use the temp directory:
cd /tmp- To upgrade the PosgreSQL server from version 15 to 17 execute the command as the postgres user:
sudo -su postgres- When asked, enter your macOS password to allow the user switching:

- Switch to the /tmp directory and start the upgrade process
cd /tmp

/Library/PostgreSQL/17/bin/pg_upgrade --old-datadir /Library/PostgreSQL/15/data --new-datadir /Library/PostgreSQL/17/data --old-bindir /Library/PostgreSQL/15/bin --new-bindir /Library/PostgreSQL/17/bin
After successful upgrade
Start the new server
Open the terminal and execute the command below. Use the new server’s version number in the command
sudo -u postgres /Library/PostgreSQL/17/bin/pg_ctl -D /Library/PostgreSQL/17/data startCheck the version of the new PostgreSQL server
- In pgAdmin4 open a Query Tool window
- Execute:
SELECT version();
Rebuild the optimizer statistics
As the optimizer statistics were not transferred to the new server environment, after starting the new server execte the command from the terminal
sudo -su postgres /Library/PostgreSQL/17/bin/vacuumdb --all --analyze-in-stagesTo delete the old cluster
Once you have validated the new cluster, you can delete the data files of the old cluster. In the /tmp directory, where we have executed the pg_upgrade comand, the process created a customized script. Execute from the command line
cd /tmp

./delete_old_cluster.sh
Troubleshooting
If the old version of the PostgreSQL server used extra libraries, we need to install those for the new version too:
Checking for presence of required libraries fatal
Your installation references loadable libraries that are missing from the
new installation. You can add these libraries to the new installation,
or remove the functions using them from the old installation. A list of
problem libraries is in the file:
/Library/PostgreSQL/17/data/pg_upgrade_output.d/20241002T161901.823/loadable_libraries.txt
Open the text file and install the referenced libraries. In my case the message was:
could not load library “$libdir/adminpack”: ERROR: could not access file “$libdir/adminpack”: No such file or directory
In database: postgres
If the missing library is the adminpack, see Remove deprecated libraries above.
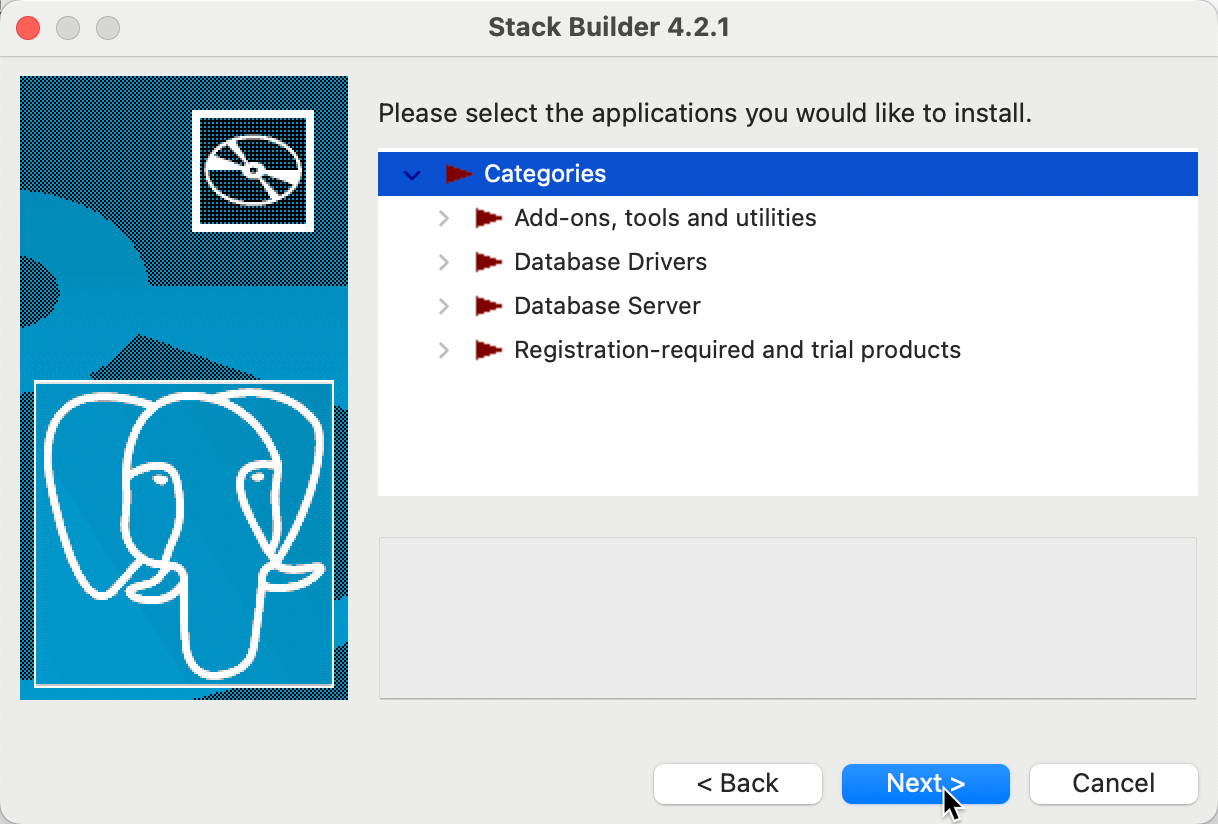
To install the missing libraries
- Start the Application Stack Builder utility from the Launchpad

- Select the new PostgreSQL server version
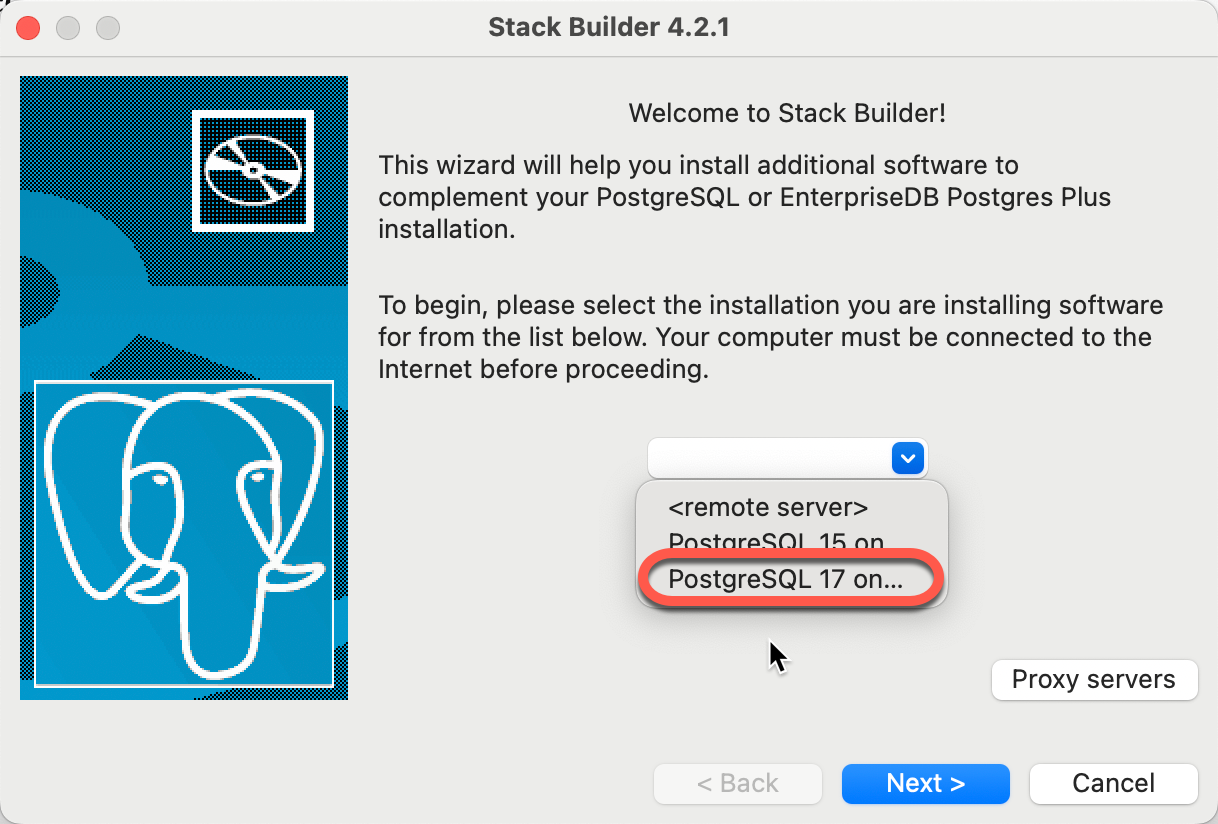
- Select the missing library