
Step-by-Step Setup: LM Studio (Leveraging NVIDIA CUDA)
- Install LM Studio: Download the Windows version from lmstudio.ai.
- Enable CUDA: During setup or in the application settings, ensure that NVIDIA CUDA is selected as your hardware acceleration backend. This forces the software to use your RTX 3080 Ti.
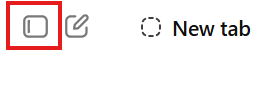
- In LM Studio click the button to open the side menu
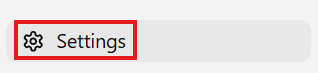
- At the bottom of the left menu click the Settings item
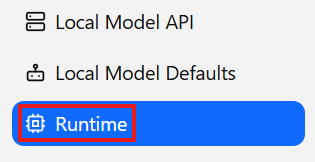
- At the bottom left corner click Runtime
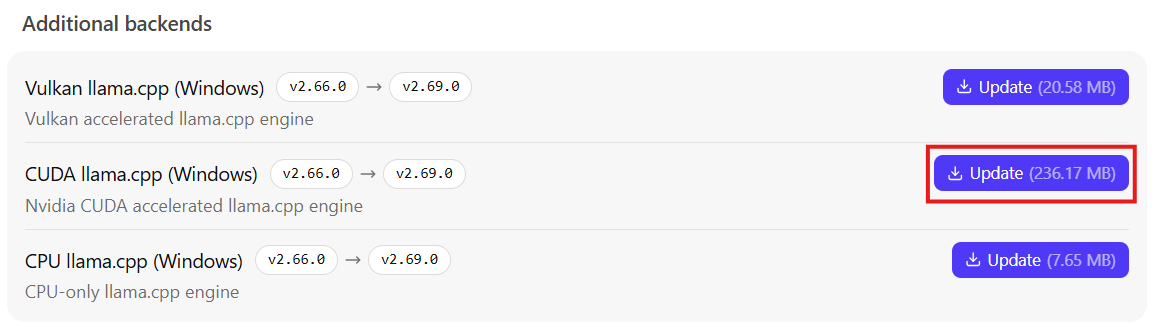
- If your computer has an Nvidia graphics card click the Update button in the CUDA section
- In the upper right corner click the Back to app button
- Download the Model: Go to the search tab and search for
Gemma 4 26B. Look for the GGUF formats (often provided by repositories like Unsloth or Bartowski). Download the Q4_K_M format.
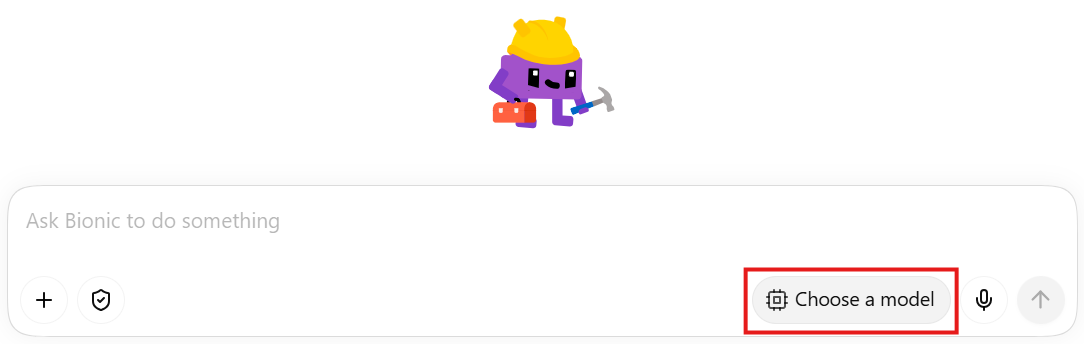
- On the main page click the Choose a model button
- Click the Get local models button
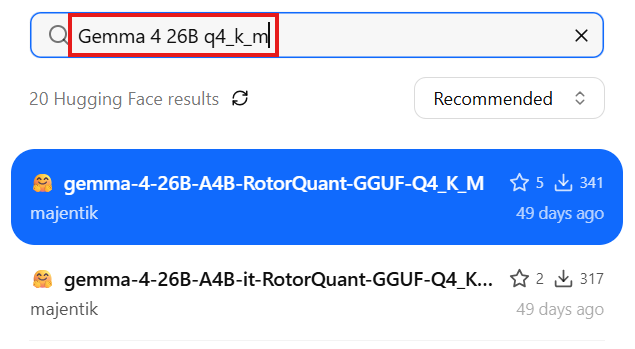
- Enter Gemma 4 26B q4_k_m into the search field and select the latest model
- On the right side click the Download button
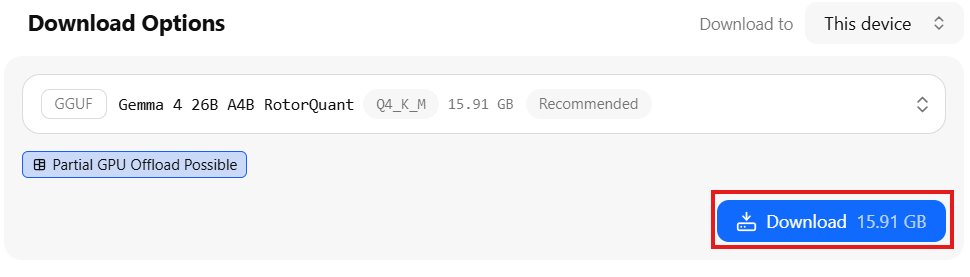
LM Studio settings for this version of the model
- Download the GGUF file and load in LM Studio.
- Enable Developer Mode (Settings → Developer).
- In the model loader’s advanced settings, set Flash Attention to ON.
- Set K Cache Quantization and V Cache Quantization to
q8_0(orq4_0for more aggressive VRAM savings). - Note: LM Studio does not currently support RotorQuant’s
iso3cache types. Track this feature request for updates.
- Configure GPU Offload:
- Go to the Chat tab and select the model from the top dropdown.
- On the right-hand settings panel, look for Hardware Settings / GPU Offload.
- Move the slider to Max (or set it to offload all layers) to ensure the 3080 Ti handles the heavy lifting.
