
When Microsoft releases a new version of Visual Studio developers would like to use the new features of the new IDE. Usually the new version of Visual Studio converts the solution and project files to a new format to be able to save the new settings of that version of the IDE. More seasoned developers already experienced this conversion madness multiple times migrating their applications from VS 2003 to VS 2005 to VS 2008 to VS 2010 and now to VS 2012. Knowing the past we can predict that this trend will continue in the foreseeable future, so it is better to be prepared and set up our applications for easy conversion from the get go.
This post explains how to convert an application from Microsoft Visual Studio 2010 to 2012.
First prepare your application for the conversion. Read the “How to set up Microsoft Visual Studio solutions for easy conversion…” post to get all the details step-by-step.
Copy the project folder
For every Console Application, Windows Service and Class Library project make a copy of the Project_2010 folder as Project_2012
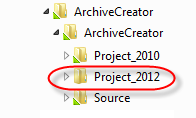
Remove the read only attribute from the folder and all sub folders and files in it:
- Right click the Project_2012 folder and select “Properties”
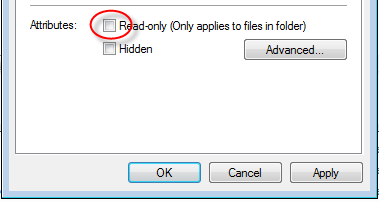
- In the Properties window clear the “Read only…” check box and click “OK”
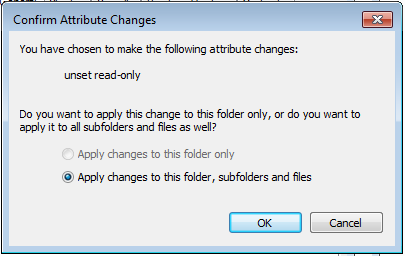
Click OK on the next window to remove the read only flag from all files and the sub folders too.
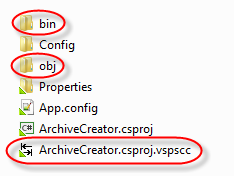
Open the “Project_2012” folder and delete the “bin”, “obj” folders and the “.csproj.vspscc” TFS file.
Copy the web project file
For Web Applications and Web Services make a copy of the …_2010.csproj web project file as …_2012.csproj and remove the read only attribute from the _2012 version:
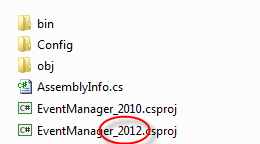
Edit the project file in the Project_2012 folder
In Visual Studio 2012 select “Open”, “File…” from the menu,
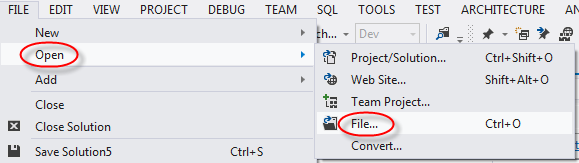
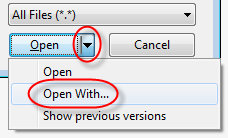
- Click the down arrow on the Open button
- Select “Open With…”
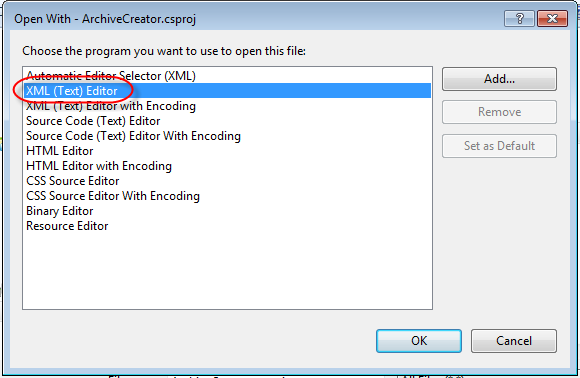
- Select “XML (Text) Editor” and click “OK”
- In the project file replace “_2010” with “_2012”. In the replace dialog turn off “Match whole word” to find all occurrences of the _2010 reference.
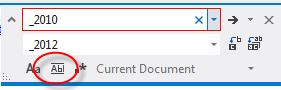
Add the new “Project_2012” folder to source control.
Copy the solution folder
Make a copy of the Solution_2010 folder as “Solution_2012”.
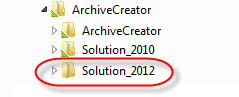
Remove the read only flag from the “Setup_2012” folder and its sub folders as you did it with the Project_2012 folder above.
Delete the “.vssscc” file. Visual Studio 2012 cannot work with setup projects, so also delete the “Setup” folder with the VS 2010 setup project in it.
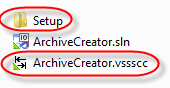
Edit the solution file in Visual Studio
Open the solution file as XML in the “Solution_2012” folder and replace “_2010” with “_2012” as you did it in the Project_2012 file above.
Open the 2012 solution in Visual Studio 2012
Open the solution in Visual Studio 2012, and click OK on the warning dialog about the Setup project. Visual Studio 2012 does not support the Setup project any more. If you want to create MSI files use WIX to generate them.
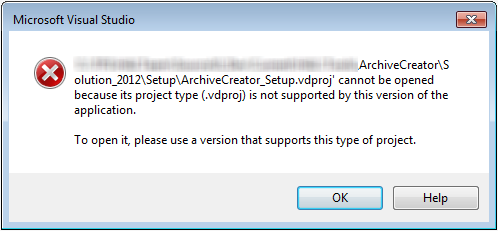
To remove the Setup project from the solution right click the setup project and select “Remove”
Make sure all of your projects use the same .NET framework. See the “Yellow exclamation point next to a project reference…” post for more information.
Add the “Solution_2012” folder to source control.
Make a copy of the Config_2010 folder as Config_2012
- Remove the read only flag from the Config_2012 folder
- Add the Config_2012 folder to source control
Modify the config files
For command line executives and windows services
Modify the App.config files in the Config_2012 folder
If the solution was created in Visual Studio 2008 or an earlier version
- Remove encoding=”utf-8″ from the first line
- Insert
<startup><supportedRuntime version="v4.0" sku=".NETFramework,Version=v4.5"/></startup>
into the <configuration> element
If the solution was created in Visual Studio 2010
- Change the value of the sku attribute of the <supportedRuntime> element from “.NETFramework,Version=v4.0” to “.NETFramework,Version=v4.5”
For web applications and web services
Modify the Web.config files in the Config_2012 folder
- In the <system.web> node
- in the <compilation> element set the value of the targetFramework to “4.5”
(targetFramework="4.5") - in the <pages> element set the value of the controlRenderingCompatibilityVersion to “4.0”
(controlRenderingCompatibilityVersion="4.0")
<compilation defaultLanguage="c#" debug="false" targetFramework="4.5" /><pages controlRenderingCompatibilityVersion="4.0" clientIDMode="AutoID"/>
- in the <compilation> element set the value of the targetFramework to “4.5”
