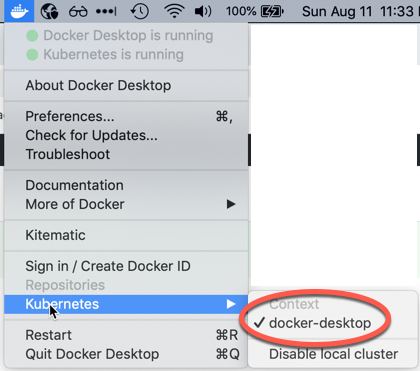
This is a tutorial to script a simple web application deployment in an enterprise grade Kubernetes cluster that you can follow on your Macintosh. You only need to install Docker and enable Kubernetes.
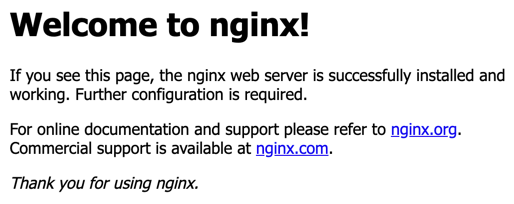
The frontend of the web application is represented by an NGINX container that listens on port 80 and returns the NGINX default page. The application is exposed outside of the cluster via a kubernetes/ingress-nginx NGINX Ingress Controller, at the address http://localhost
Save all files in the same directory. During the development process open a terminal in the directory of the files, and periodically test the configuration with kubectl apply -f . to check the code (don’t forget the period at the end of the command). This way Kubernetes will build the system step-by-step giving you continuous feedback.
I have used unique label values to demonstrate which labels make the connection between the resources using the label and selector values. Most of the time the application name is used as label for easy maintenance, but as you learn Kubernetes, it is important to understand the relationships between the resources..
Script the deployment
The deployment configures the containers running in the pods and contains the label that has to match the selector of the service.
Connect the deployment to the pods
The label in spec: selector: matchLabels: connects the deployment to the pods specified in the deployment template via the same deployment’s spec: template: metadata: labels:
app1-frontend-deployment.yam
apiVersion: apps/v1
kind: Deployment
metadata:
  name: app1-frontend-deployment
spec:
  replicas: 1
  selector:
    matchLabels:
      app: app1-frontend-template-label
  template:
    metadata:
      labels:
        app: app1-frontend-template-label
    spec:
      containers:
        - name: app1-frontend-container-label
          image: nginx:1.7.9
          ports:
          - containerPort: 80
Create the pod
Launch the pod from the terminal. Don’t forget the period at the end of the line.
kubectl apply -f .Test the pod
To make sure the container in the pod is running, we can test the pod. Get the list of pods
kubectl get podsNAME READY STATUS RESTARTS AGE MY_POD_NAME 1/1 Running 0 10m
Temporarily set up port forwarding to access the pod from outside of the cluster. We only use this to test the pod.
kubectl port-forward MY_POD_NAME 8080:80Forwarding from 127.0.0.1:8080 -> 80 Forwarding from [::1]:8080 -> 80
Connect to the pod with a web browser. Navigate to http://127.0.0.1:8080/
You should see the NGINX default page.
To stop the port forwarding, press CTRL-C in the terminal.
See Kubernetes Deployments for more info
Script the service
The service specifies the environment variables of the pods backing the service and exposes the pods to the rest of the Kubernetes cluster or to the outside world.
Connect the service to the pods
The label in the service’s spec: selector: has to match the label in spec: template: metadata: labels: of the deployment.
We will expose the service outside of the cluster with type: LoadBalancer
app1-frontend-service.yaml
apiVersion: v1
kind: Service
metadata:
  name: app1-frontend-service
spec:
  selector:
    app: app1-frontend-template-label
  type: LoadBalancer
  ports:
    - protocol: TCP
      port: 8080
      targetPort: 80
See Kubernetes Services for more info.
Create the resources
To launch the application and configure the resources to expose it outside of the Kubernetes cluster, open a terminal in the directory where you saved the files and execute
kubectl apply -f .Accessing the application
To access the application get the address of the service
kubectl get serviceNAME TYPE CLUSTER-IP EXTERNAL-IP PORT(S) AGE app1-frontend-service LoadBalancer 10.99.210.235 localhost 8080:32569/TCP 9s
Open a web browser and navigate to the address indicated by the EXTERNAL-IP and PORT: http://localhost:8080
You should see the NGINX default page

Delete the resources
If you want to delete these resources from the Kubernetes cluster, execute
kubectl delete -f .