The Microsoft Azure Entra ID provides federated authentication and authorization services for applications running in the Azure Cloud. Easy Auth enables application to use Single Sign On (SSO) services transparent to the user to detect the identity of the user of the application. To set up Easy Auth
- Open the Microsoft Azure management portal at https://portal.azure.com/
There are two ways to set up Easy Auth for an Azure Container App: automatically from the Container App or manually using Entra ID by an administrator.
Automatic configuration ( does not require Azure Cloud account admin rights)
Configure the authentication
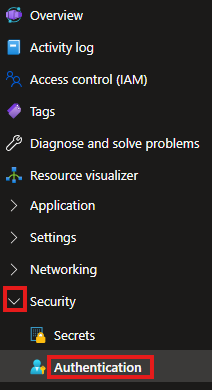
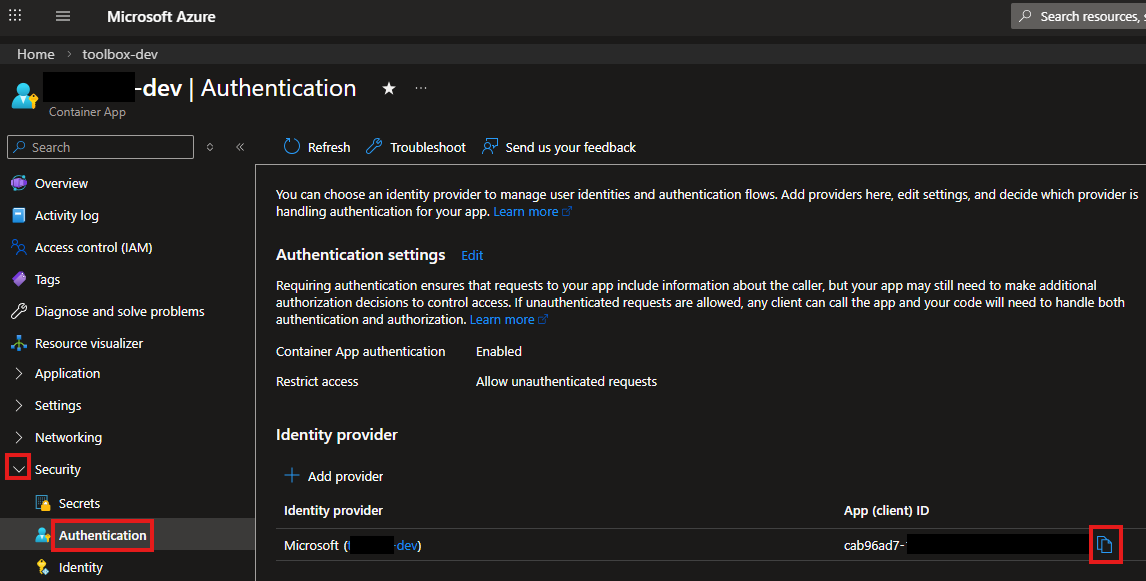
- On the Azure Container App page in the Security section select Authentication
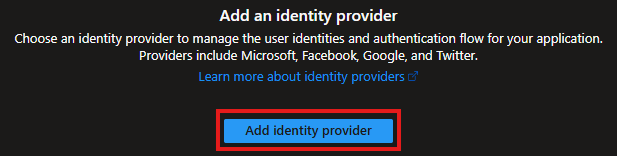
- On the page select the Add Identity Provider button
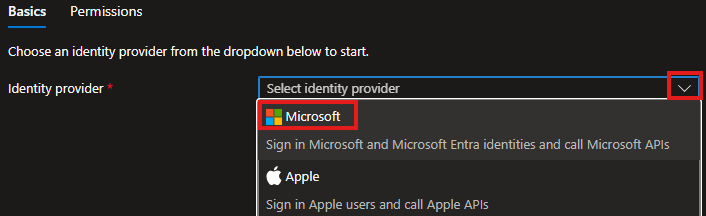
- In the list select Microsoft as the identity provider
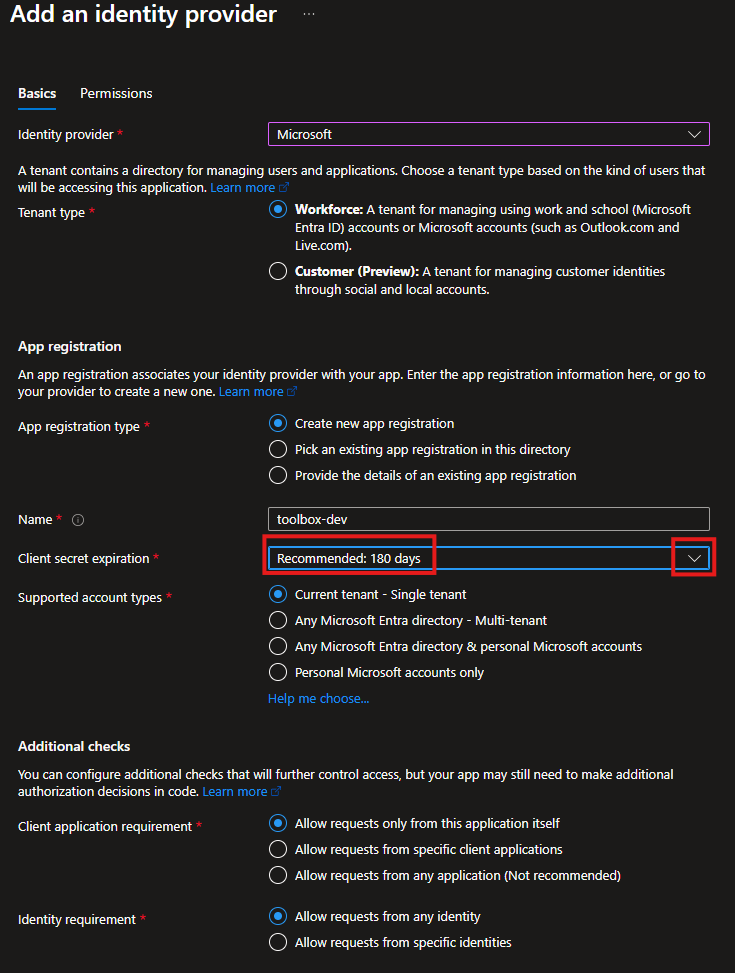
- Configure the identity provider. Set the client secret expiration date
- To require users to authenticate when thay use the application elect Require authentication and for web applications leave HTTP 302 selected
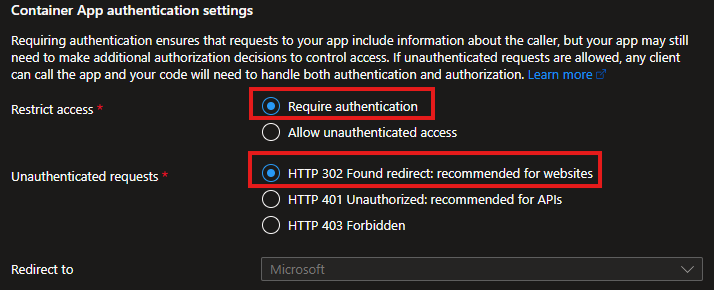
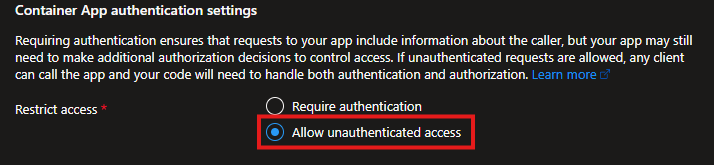
- To allow users to access the application without the login page, select Allow unauthenticated access. If this is an internal application and the users have already authenticated to access the network, the user information will be included in the web request header.
- To require users to authenticate when thay use the application elect Require authentication and for web applications leave HTTP 302 selected
- Click the Next: Permissions button to configure the Microsoft Graph permissions

- Keep the User.Read permission
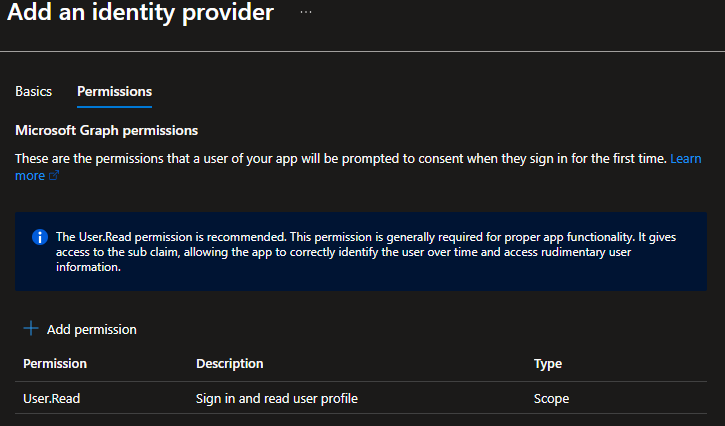
- Click the Add button to save the settings

- It takes a minute to generate all objects.
- The App (client) ID is on the Authentication page of the Security tab
Get the tenant ID
- Install the Azure CLI
- In the Terminal execute
az account show - The Tenant ID is displayed in the output
Manual configuration by an Azure Cloud account admin
Register the application
- On the main page select the Microsoft Entra ID icon
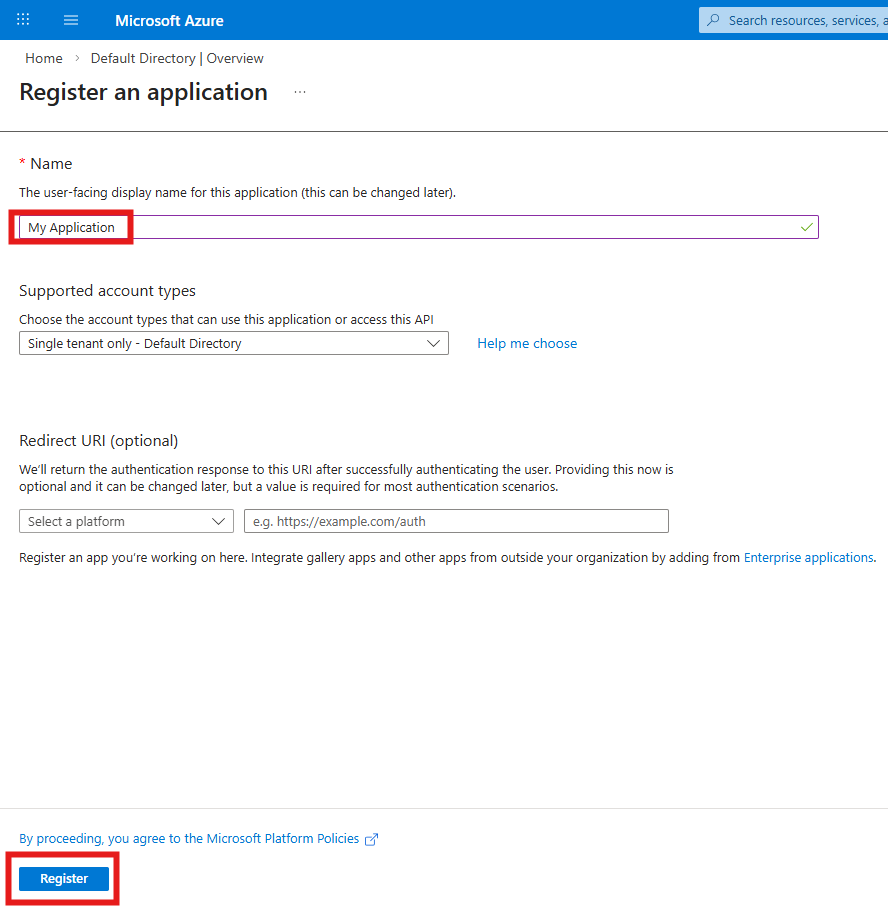
- Click the Add item in the header and select App Registration

- Enter the display name of the application. If the application does not use Azure Entra as the authentication provider, leave the Redirect URI empty and click the Register button
Set the permissions
Make sure the Microsoft Graph User.Read permission is enabled
- On the left side open the Manage menu and select API permissions
- Make sure the Microsoft Graph User.Read permission is enabled

- If the Microsoft Graph User.Read permission is not enabled
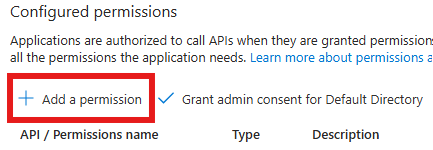
- Click the Add a permission option
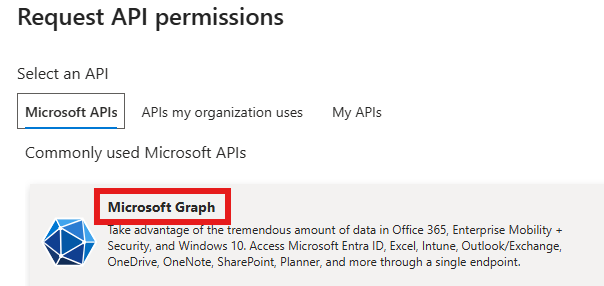
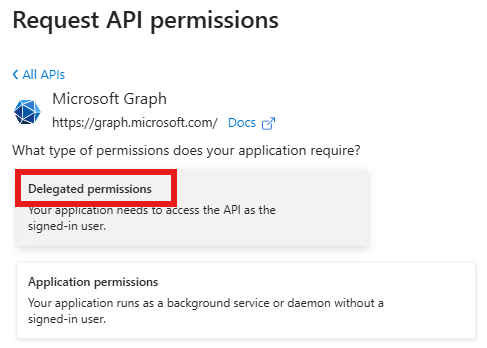
- Select the Microsoft Graph option
- Select Delegated permissions
- In the User section enable User.Read permission
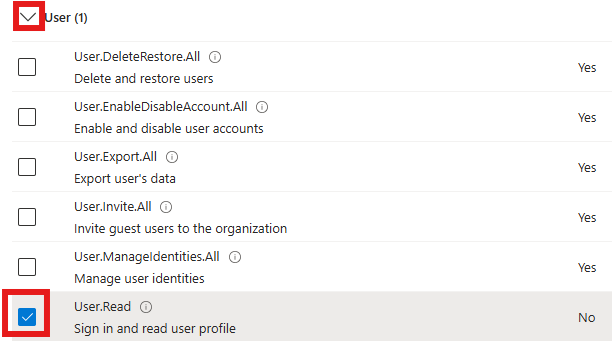
- Click the Add permission button at the bottom of the page

- Click the Add a permission option
- Click the Grant admin-consent for … button
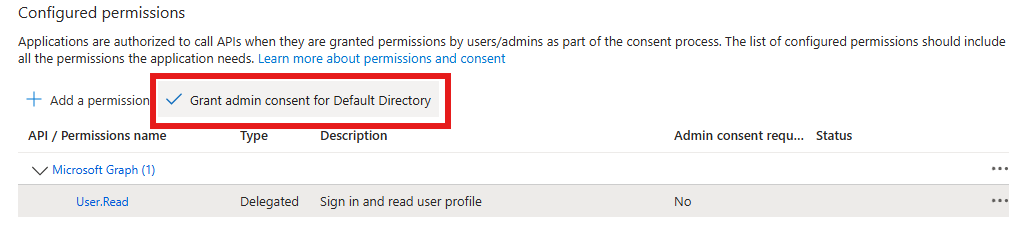
- Click the Yes button

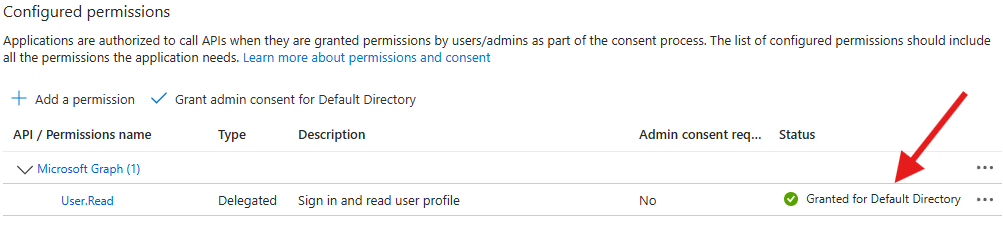
- The status should be Granted for …
Use the Easy Auth feature in your application
Configure your Azure Container Apps application to use Easy Auth
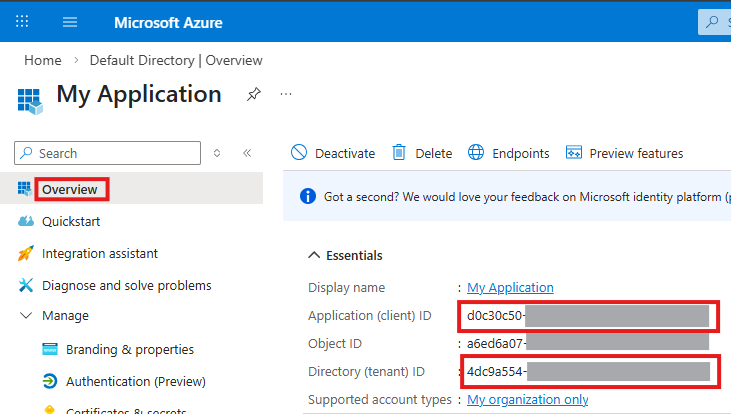
- Copy the Application (client) ID and Directory (tenant) ID from the Overview page
In the Azure Container Apps deployment script update the application to use the Easy Auth feature with the authTenantId and authClientId values extracted above:
# Entra ID issuer URL for built-in authentication (Easy Auth)
authIssuer="https://login.microsoftonline.com/${authTenantId}/v2.0"

# Enable Entra ID (Azure AD) built-in authentication (Easy Auth)
            # This injects the X-MS-CLIENT-PRINCIPAL-NAME header with the user's UPN on every authenticated request.
            echo "Configuring Entra ID authentication..."
            az containerapp auth microsoft update \
                --name $applicationName \
                --resource-group $resourceGroupName \
                --client-id $authClientId \
                --issuer $authIssuer \
                --yes
Extract the user information in the application
In the loader() function of the React Router 7 (Remix) web application read the “x-ms-client-principal-name” header value. It will contain the email address of the user.
export async function loader({ request }: Route.LoaderArgs) {
  let userName = "";

  // 1. Check for Azure AD / Entra ID auth header (production)
  const principalName = request.headers.get("x-ms-client-principal-name");
}
For more information on configuring Azure Container Apps for Easy Auth see Authentication and authorization in Azure Container Apps