If you are just starting your WordPress blog, or you already have a site hosted somewhere AWS Lightsail provides a cost effective hosting solution.
To create a WordPress site in AWS Lightsail
Create a Lightsail instance
- Log into your AWS account
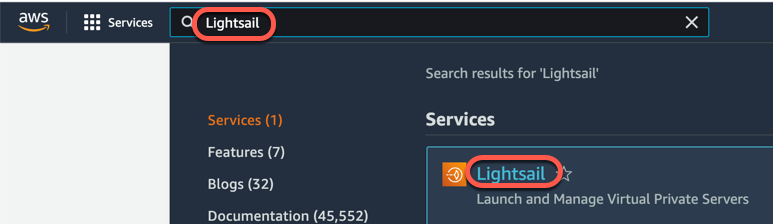
- Navigate to the Lightsail service
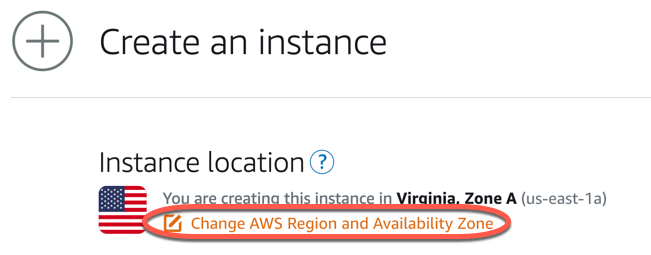
- Set the instance location bu clicking on the Change AWS Region and Availability Zone
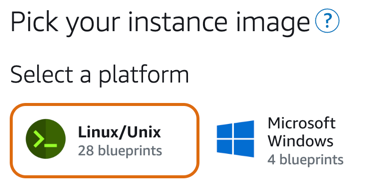
- Select the Linux operating system (Linux has many application blueprints)
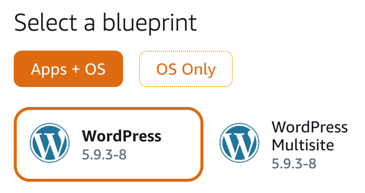
- Select WordPress
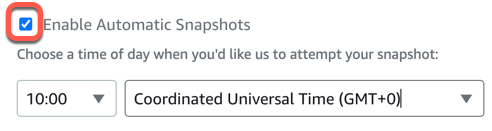
- Enable automatic snapshots to create daily backups
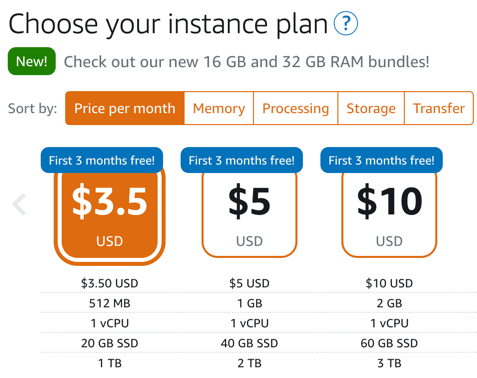
- We will start with the smallest instance plan, it that serves the site well there is no reason to pay more for it.
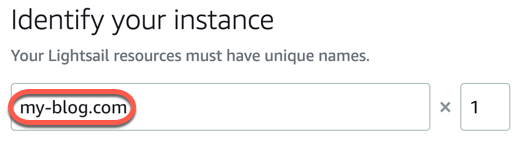
- Enter a unique name for this instance
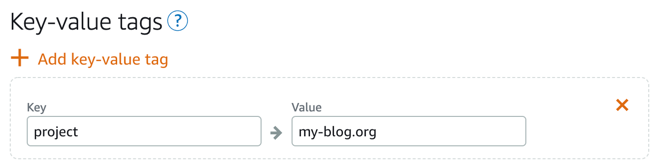
- If you want to keep track of project costs in your AWS account you can tag the instance with the project name in key-value tag
- Click the Create instance button

Check the new WordPress site
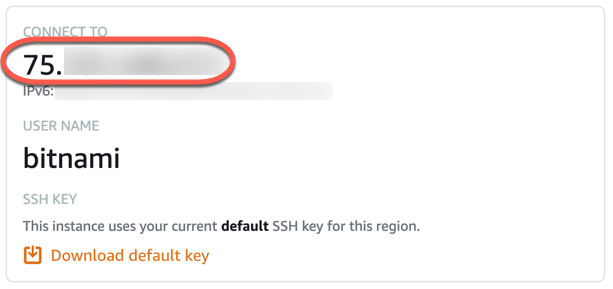
- You can test the WordPress site with your browser at the IP address shown on the page. For now just check if the site is running, we will log in once we created a static IP address below.
Create a static IP address
The IP address is your instance’s unique identifier on the internet. Behind the scene in the internet everything is addressed by IP addresses. Your domain name points there, and you can use it to connect to your instance. Lightsail instances have public IP addresses, but if you restart you instance it will change, so your site will be inaccessible to your visitors until you manually point your domain name to the new IP address. Statis IP addresses are free if those are connected to Lightsail instances, so there is no reason to not to create one.
- On the Networking tab of your Lightsail instance click the Create static IP link
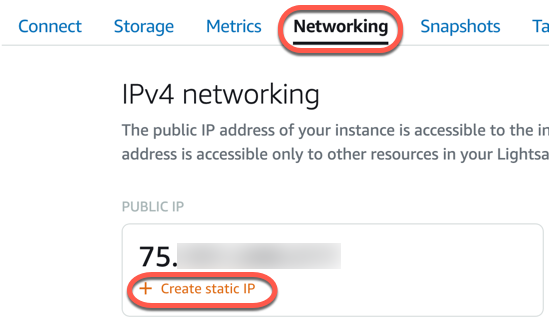
- Enter a unique name for the static IP address

- Click the Create button

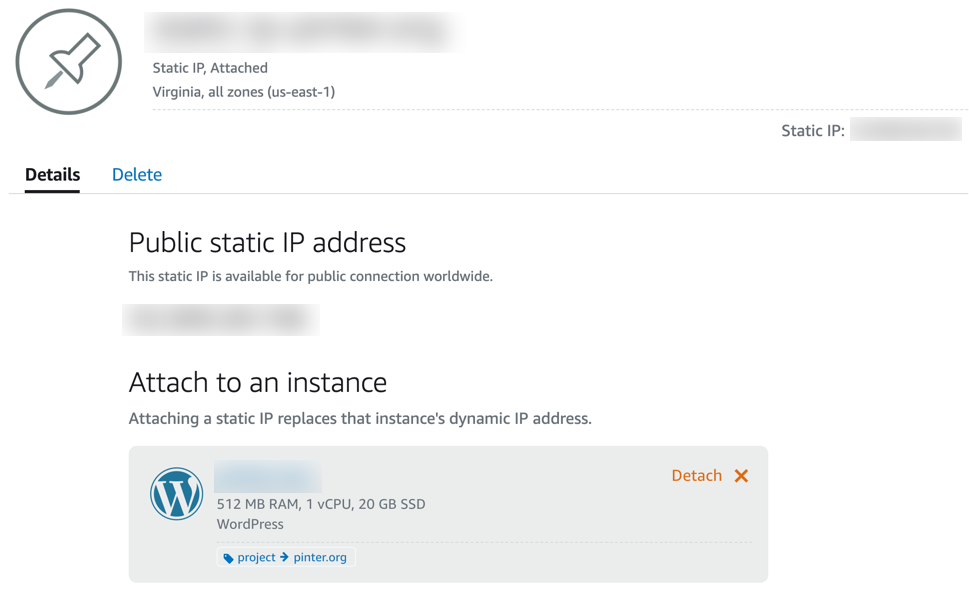
- Your site’s static IP address has been created
Log into your WordPress site
Get the temporary default password
To find the temporary default password we need to connect to the Lightsail instance
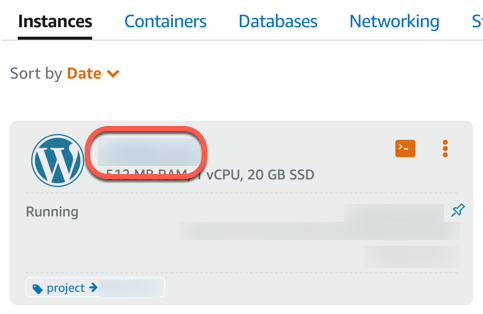
- In the AWS console navigate to the Lightsail home page at https://lightsail.aws.amazon.com/ls/webapp/home/instances
- On the Instances tab click the instance name
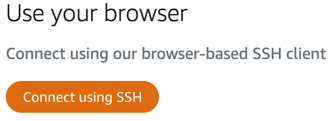
- Connect to your Lightsail instance using a browser based SSH client by clicking the Connect using SSH button
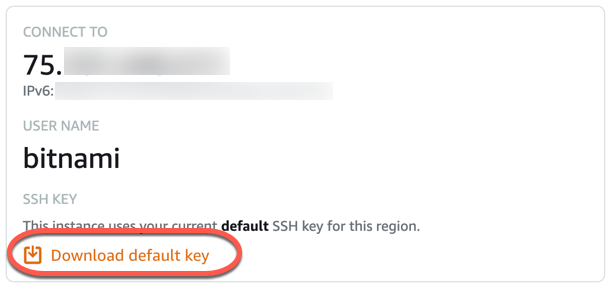
- or if you want to use your workstation’s terminal or any other SSH client, save the SSH key created by Lightsail in the ~/.ssh directory on your workstation. Click the Download default key link.
- or if you want to use your workstation’s terminal or any other SSH client, save the SSH key created by Lightsail in the ~/.ssh directory on your workstation. Click the Download default key link.
- Execute this command in the SSH connection to get the temporary password
cat $HOME/bitnami_application_passwordLog into your WordPress blog
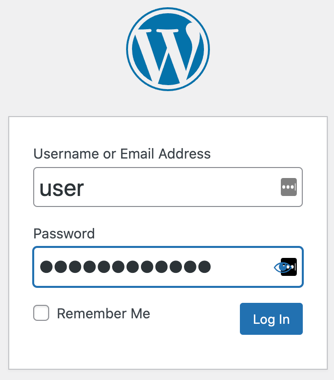
- Using your browser navigate to the login page using the public IP of your site MY_PUBLIC_IP/wp-login.php
- Enter user as the user name, and the password copied from the terminal
Migrate your existing WordPress blog to the new Lightsail instance
If you have an existing WordPress blog at another hosting provider see Migrate an existing WorPress site to AWS Lightsail to move it to this new Lightsail instance.
Point your domain name to the new Lightsail instance
Once you set up your site, point your domain name to the new Lightsail instance.
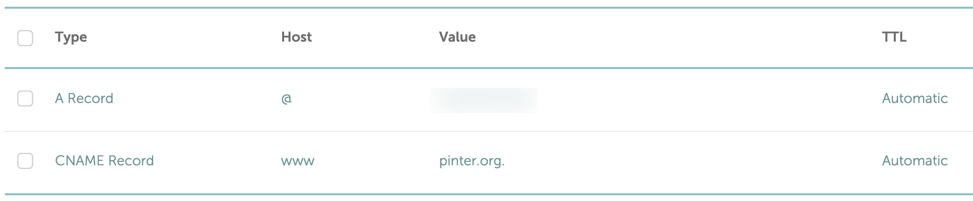
- Create an A (address) DNS record at your domain registrar to point your domain to the public IP address of your site.
- Also create a CNAME record to redirect www. traffic to your domain.
After making DNS changes wait at least 30 minutes for the global propagation to the Lightsail instance.
Fix the permalinks
Once the domain is pointed to the WordPress site update the permalinks to include the domain name in the database entries.
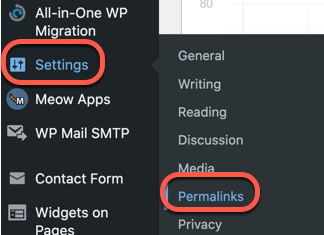
- Log into your WordPress blog’s dashboard
- In the Settings menu select Permalinks
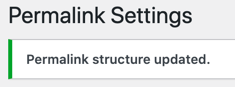
- At the bottom click the Save Changes button

- The confirmation message should appear on the top of the page
Set up a Let’s Encrypt SSL certificate
Secure the connectivity to your site with an SSL certificate. Let’s Encrypt provides free SSL certificates with auto renewal service, so you will never have to manage or pay for your SSL site certificate anymore.
If the Lightsail instance is directly exposed to the internet
If you don’t use load balancer, NGINX proxy or CDN (AWS Cloudfront) the Bitnami configuration script can create a Let’s Encrypt certificate and create a cron job for monthly automatic renewal.
- Connect your Lightsail instance via an SSH connection described above
- Execute the command
sudo /opt/bitnami/bncert-tool- Domains
Please provide a valid space-separated list of domains for which you wish to
configure your web server.- Enter the domain name of your site
- The following domains were not included: www.MY-BLOG.COM. Do you want to add them? [Y/n]:
- Answer Y
- Enable/disable redirections
Please select the redirections you wish to enable or disable on your Bitnami
installation.
Enable HTTP to HTTPS redirection [Y/n]:- Answer Y
- Enable non-www to www redirection [Y/n]:
- Answer N
- Enable www to non-www redirection [y/N]:
- Answer Y
- The utility will list the pending changes.
Do you agree to these changes? [Y/n]:- Answer Y to start the update process.
For more information see https://docs.bitnami.com/aws/how-to/generate-install-lets-encrypt-ssl/
If you use a CDN, load balancer or NGINX proxy
If you use a CDN network (AWS CloudFront) for content caching and delivery, you need to use the Alternative Approach to set up the Let’s Encrypt SSL certificate.
Our WordPress Lightsail instance uses the Approach A: Using system packages. configuration. (to check this, execute the command in the SSH terminal of your Lightsail instance:
test ! -f "/opt/bitnami/common/bin/openssl" && echo "Approach A: Using system packages." || echo "Approach B: Self-contained installation."Follow the instructions below to set up the SSL certificate.