If your WordPress site is already hosted at another provider you may be able to save money if you manage it yourself in AWS Lightsail.
Create the WordPress Lightsail instance
To migrate your existing site to AWS Lightsail, first create a WordPress Lightsail instance. See Host WordPress in AWS Lightsail
Migrate an existing site to a Lightsail WordPress instance
Export your old WordPress site
- Log into you old WordPress site
- Install the All-in-One WP Migration plugin to export the existing WordPress site.
Warning: This plugin can only import sites for free under 80 MB size. If your blog export file is larger, you need to buy the “All-in-One WP Migration Unlimited” plugin for $69. - Using the plugin export the old WordPress site. In the WordPress Dashboard select Plugins, All-in-One WP Migration, Export
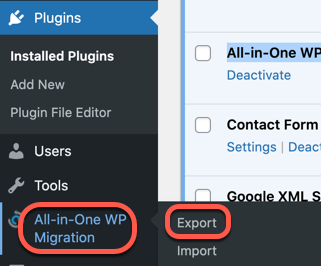
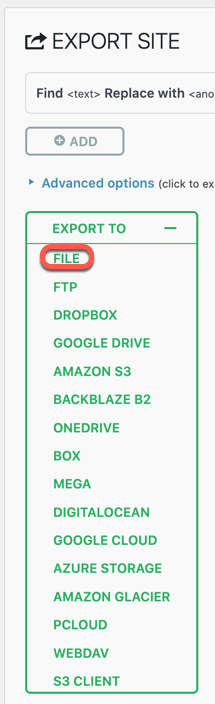
- Click Export to to select the export location

- Select File as the export location. Other methods require you to pay additional fees to the plugin creators.
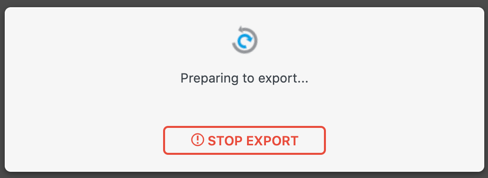
- The export will start automatically
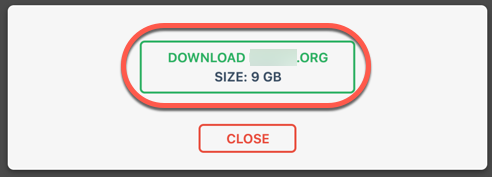
- When the export process completed, download the export file
- Close the browser window of the old site, and do not make any more modifications in the old WordPress blog.
Import the WordPress site into the new hosting location
Import the site into the new instance
- Log into your new WordPress blog with the temporary credentials described at “Log into your WordPress blog” on Host WordPress in AWS Lightsail
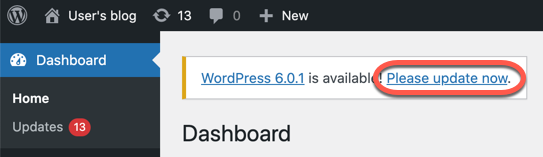
- Update the new WordPress instance to the version of your existing blog
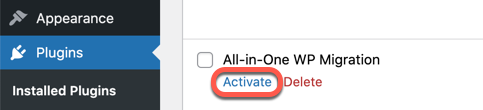
- Install and activate the All-in-One WP Migration plugin to import the existing WordPress site into the new location.
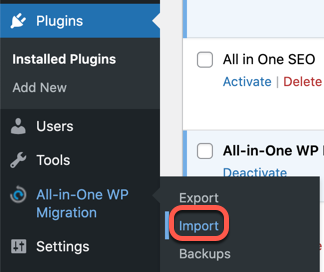
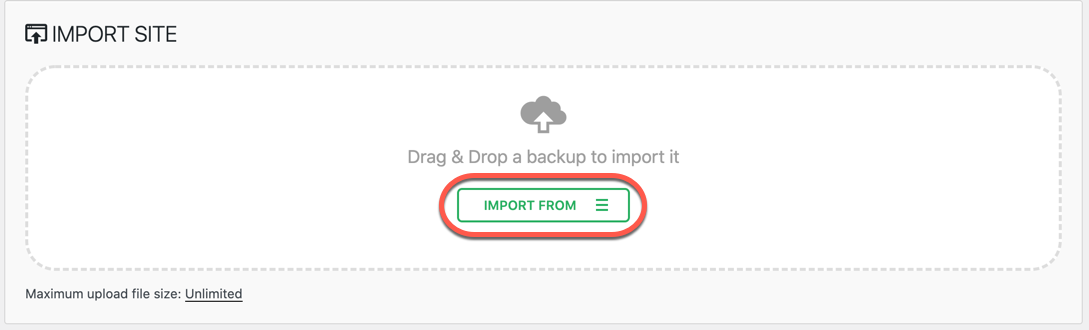
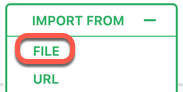
- In the Dashboard select Plugins, All-in-One WP Migration, Import
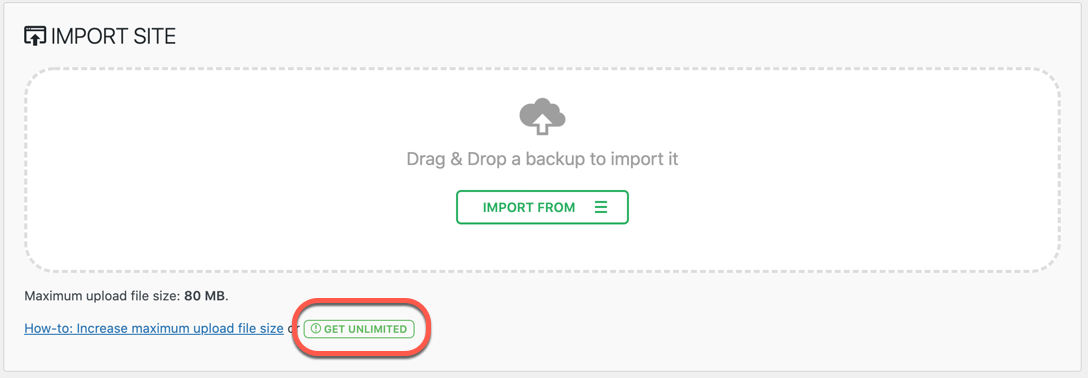
- The free plugin imports maximum 80 GB export files. If your site is larger, you need to purchase the “Unlimited” plugin. The price at the time of writing is $69.
- Once you installed and activated the “Unlimited” plugin, start the import again.
- Once you installed and activated the “Unlimited” plugin, start the import again.
- Select the File option
- If you have selected a too small instance you get the error message
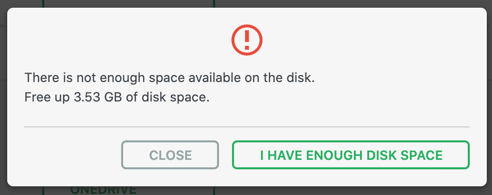
There is not enough space available on the disk. Free up … GB of disk space.- In this case migrate your Lightsail instance to a larger type.
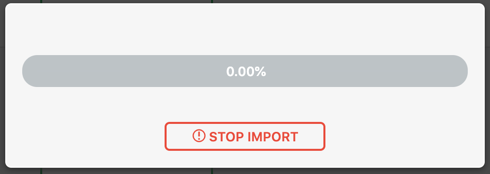
- The import will display a few message boxes
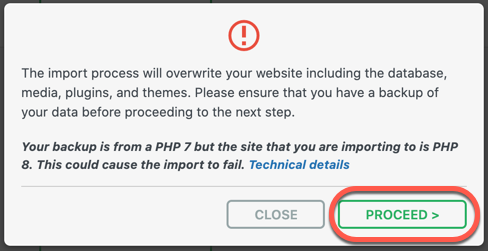
- Once the file has been uploaded to the instance the plugin is ready to for the modification. If you are really sure you want to overwrite the target WordPress installation, click Proceed to continue.
- The actual update starts
- When the update completed this message appears. If you are planing to change the domain name of the site slick the Save permalinks structure link.
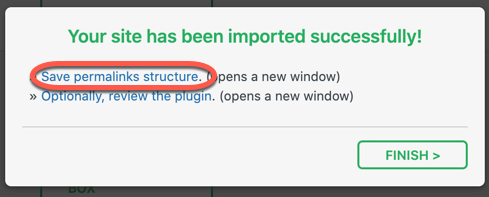
- When the update completed this message appears. If you are planing to change the domain name of the site slick the Save permalinks structure link.
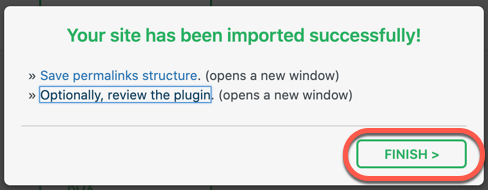
- Close the message with the FINISH button
Until the domain name and SSL certificate pointed to the new site
Update your “hosts” file
Permalinks in your WordPress blog contain the domain name of your site. To be able to test the new site until you point your domain to it, you can instruct your computer to use the public IP of the new site when you enter the domain name into the browser.
- Open the /etc/hosts file in a text editor
- Add this line and save the file:
PUBLIC_IP MY-BLOG.COM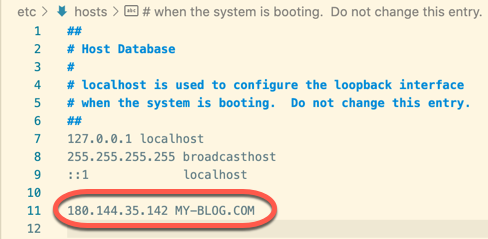
Navigate to specific pages, not to the landing page
Open you site browsing to a specific page without using “https” in the URL to force the site to use the “http” protocol, ( MY-BLOG.COM/wp-admin/ or MY-BLOG.COM/archives/1). If you browse to the domain name only, ( MY-BLOG.COM ) the site will redirect you to the “https” protocol, the browser will constantly display warning messages, the page save and image upload will not work.

Your connection is not private
Attackers might be trying to steal your information from MY-BLOG.COM (for example, passwords, messages, or credit cards). Learn more
NET::ERR_CERT_AUTHORITY_INVALID
Once your domain has been pointed to the new LightSail instance
Update the links in the database
Replace the http://IP_ADDRESS with https://YOUR_DOMAIN
- SSH into the LightSail instance as described above
- Open the /opt/bitnami/wordpress/wp-config.php file
cd /opt/bitnami/wordpressnano wp-config.php - Replace
define( 'WP_HOME', 'http://' . $_SERVER['HTTP_HOST'] . '/' );define( 'WP_SITEURL', 'http://' . $_SERVER['HTTP_HOST'] . '/' );
withdefine('WP_HOME', 'https://MY_DOMAIN/');define('WP_SITEURL', 'https://MY_DOMAIN/'); - Save the file
Update the links in the database
Even after changing the config file some of the links in the database still contain the IP address used during the migration.
Based on https://docs.bitnami.com/aws/how-to/get-started-wordpress-aws-marketplace-intermediate/
We need to update the database directly.
Set up an SSH tunnel to be able to use the phpMyAdmin MYSQL client installed on the LightSail instance
- We will open an SSH tunnel from our workstation to the LightSail host
- Redirect our workstation’s localhost:8888 to port 80 on the LightSail instance
- Using the browser on our workstation we will use phpMyAdmin installed on the LightSail instance to update the database
On Macintosh
Use the bundled SSH client to connect to the instance
- Open a new terminal window
- Set the permission of the downloaded private key to 600
chmod 600 KEYFILE.pem - To connect to the server via SSH and administer it using your terminal
- In the terminal execute
ssh -i KEYFILE.pem bitnami@SERVER-IP - Your terminal will ask you if you trust the server, answer yes
Are you sure you want to continue connecting (yes/no/[fingerprint])? yes
- In the terminal execute
- To redirect localhost:8888 on your workstation to port 80 on the LightSail instance and use phpMyAdmin installed on the LightSail instance
- Open a new terminal window and execute
ssh -N -L 8888:127.0.0.1:80 -i KEYFILE.pem bitnami@SERVER-IP - Keep this terminal open for the duration of the redirection.
- Open a new terminal window and execute
On Windows
Use Putty to connect to the instance
- Install the Putty SSH client from https://www.chiark.greenend.org.uk/~sgtatham/putty/latest.html
- Generate a Putty key from the pem file
- Load the .pem private key
- Download the LightSail private key on the Connect tab of your LightSail instance page
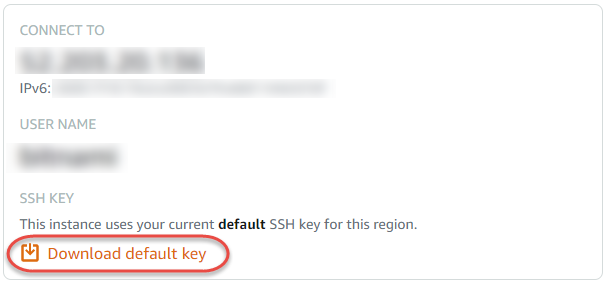
- Download the LightSail private key on the Connect tab of your LightSail instance page
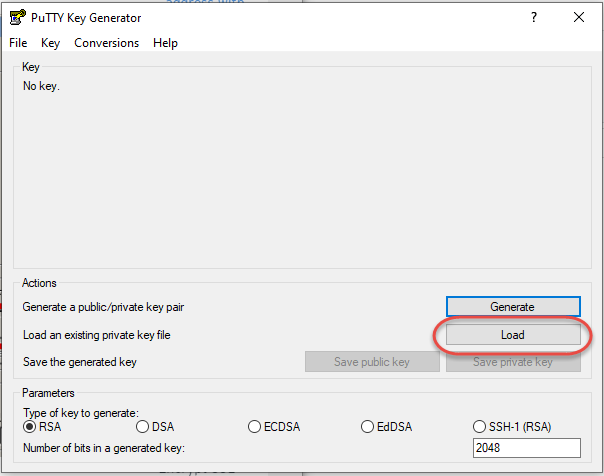
- Start the C:\Program Files\PuTTY\puttygen.exe aplication
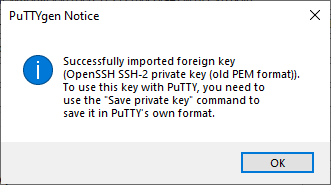
- Click the Load button and open the downloaded private .pem key
- Select All files (*.*)
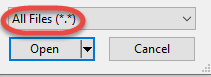
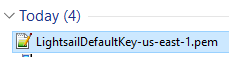
- Select the file
- Save the private key
- Click OK in the dialog
- Click the Save Private Key button

- Click Yes to save the key without a passcode
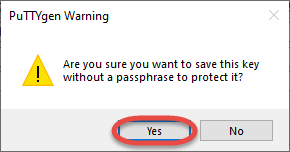
- Click OK in the dialog
- Load the .pem private key
Open a secure SSH connection to the LightSail instance
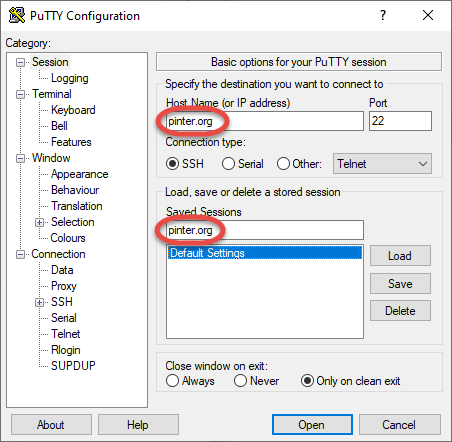
- Start the Putty application
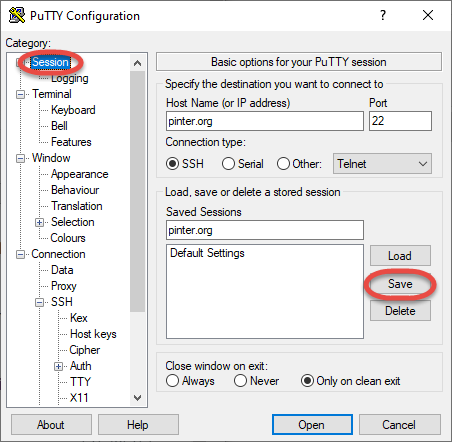
- Enter the domain name and connection name
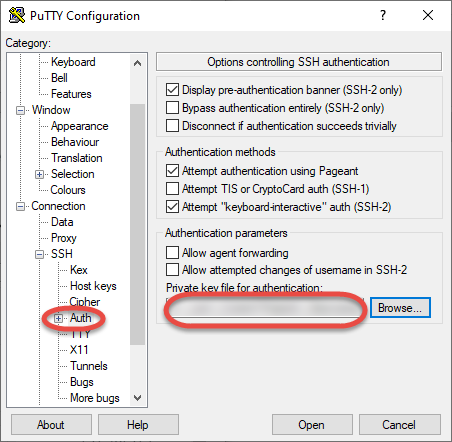
- On the Connection, SSH, Auth page select the saved private key
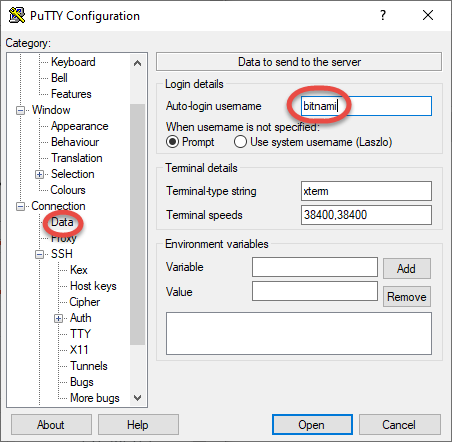
- On the Connection, Data page enter bitnami as the user name
- On the Session page click the Save button
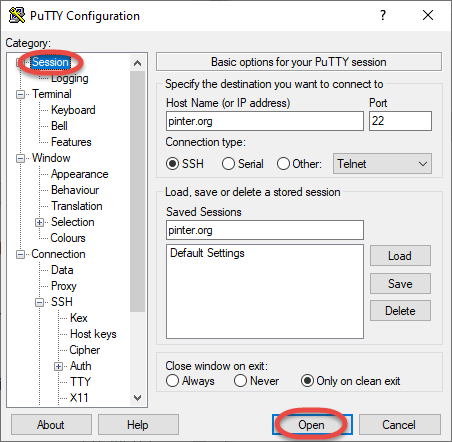
- Click the Open button to start an SSH connection
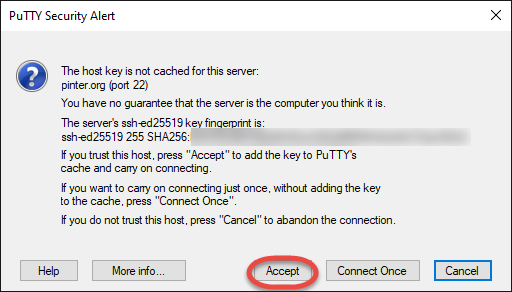
- Click Accept to add the server to the list of trusted hosts
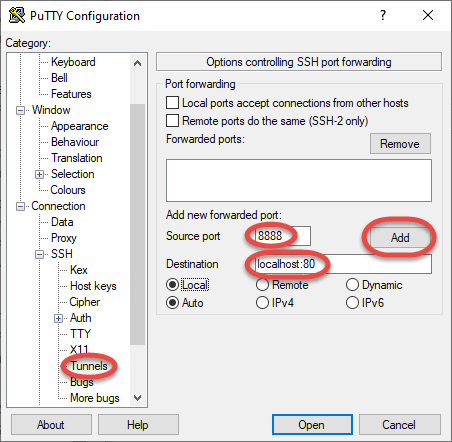
Open an SSH tunnel to use the MYSQL web interface
- Open Putty
- On the Connection, SSH, Tunnels page enter 8888 to the Source port, localhost:80 to Destination, and click the Add button
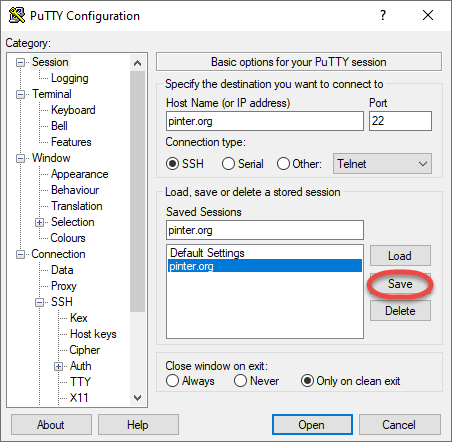
- Save the configuration. On the Session page select the session name and click the Save button
Start a new connection
- On the Session page select the session name and click the Load button
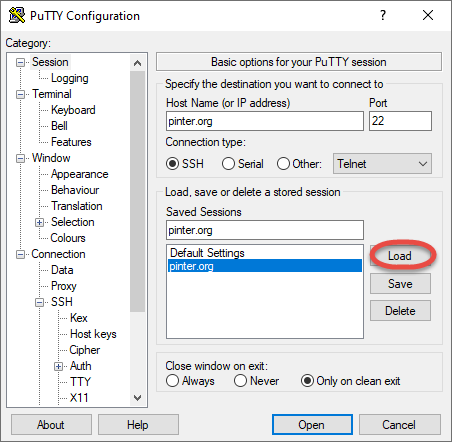
- Click the Open button

Open the phpMyadmin page
- Get the database credentials from the /opt/bitnami/wordpress/wp-config.php file on your LightSail instance
- Get the user name from: define( ‘DB_USER’, ‘…..’ );
- Get the password from: define( ‘DB_PASSWORD’, ‘….’ );
- On your workstation in your browser navigate to http://localhost:8888/phpmyadmin
Update the WordPress database
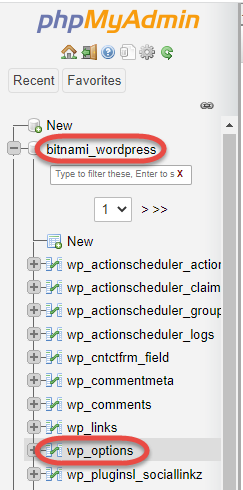
- Select the bitnami_wordpress database on the left side. In the wp_options table you can see the current configuration settings for ‘siteurl’ and ‘home’
- On the top select the SQL tab, and enter the query below. Replace
THE_OLD_URLTHE_NEW_URLwith the actual values of your site. Make sure to set the correct “http” or”https” values for the old and new addresses.
set @old_url = 'http://THE_OLD_URL';
set @new_url = 'http://THE_NEW_URL';
UPDATE wp_options SET option_value = replace(option_value, @old_url, @new_url) WHERE option_name = 'home' OR option_name = 'siteurl';
UPDATE wp_posts SET post_content = replace(post_content, @old_url, @new_url);
UPDATE wp_postmeta SET meta_value = replace(meta_value, @old_url, @new_url);
UPDATE wp_usermeta SET meta_value = replace(meta_value, @old_url, @new_url);
UPDATE wp_links SET link_url = replace(link_url, @old_url, @new_url);
UPDATE wp_comments SET comment_content = replace(comment_content, @old_url, @new_url);
UPDATE wp_posts SET post_content = replace(post_content, @old_url, @new_ur);
UPDATE wp_links SET link_image = replace(link_image, @old_url, @new_ur);
UPDATE wp_posts SET guid = replace(guid, @old_url, @new_url);
- Click the Go button

Check the changes
- To check the database changes execute the query
select * from bitnami_wordpress.wp_options where option_name = 'siteurl' or option_name = 'home';