View rotation
Preset view rotations
Use the icons in the toolbar for preset rotations
Free view rotation
Press the shift key and rotate the view with the right mouse button.
See https://wiki.freecadweb.org/Mouse_navigation for more options.
To cut a hole
- Create the object
- Create a cylinder for the hole
- Position the cylinder where the hole should be
- On the left side of the “Part” workbench select the Model tab
- First click the base object, after that control-click the hole object
- On the toolbar select the Cut icon
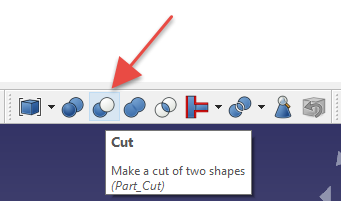
- On the left side set the object as the base, the hole as the tool

Multiply objects
Create an array to multiply objects
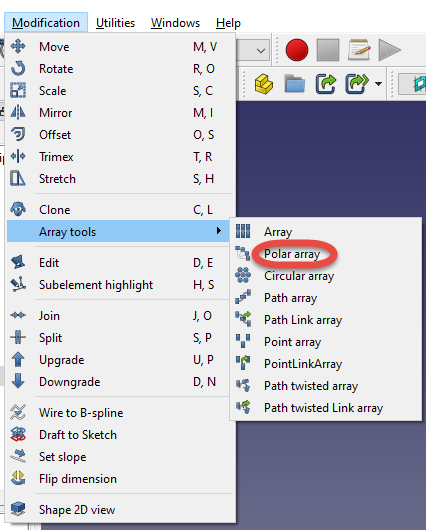
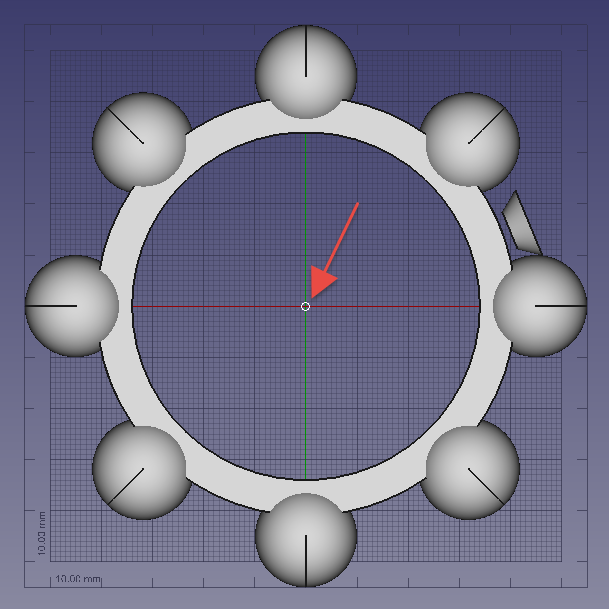
To arrange the objects along a circle, create a polar array
- Switch to the “Draft” workbench
- Select the object to multiply
- In the Modification menu select Array, Polar array
- On the left side set the
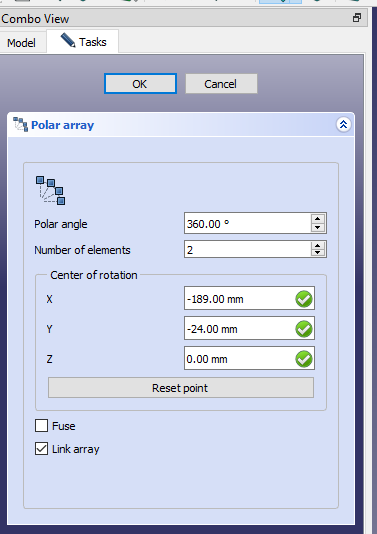
- Click the center of the circle to set the Center of rotation
Export part for 3D printing
Export from FreeCAD
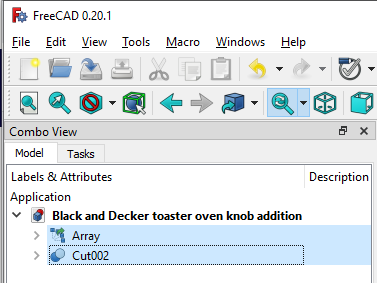
To make sure the exported mesh contains the final object including all cuts
- On the Model tab select the top level nodes
- In the File menu select Export
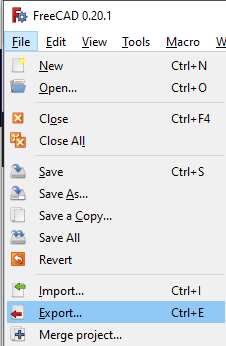
- Export as .stl
Convert the .stl file to .gcode in Cura
- Open the .stl file in Ultimaker – Cura
- Set the printer-specific parameters
- Save the project in .3mf file for further modifications
- Export the file to .gcode for 3D printing