Skip to content
Pinter Computing

Knowledge Base for IT Professionals, Teachers, and Astronauts

Pinter Computing

Knowledge Base for IT Professionals, Teachers, and Astronauts

  • Home
  • Programming
  • DevOps
  • Project Management
  • Software and Hardware
  • Miscellaneous
  • Egyebek
  • About
  • Experience
  • Education
  • Contact
  • Home
  • Programming
  • DevOps
  • Project Management
  • Software and Hardware
  • Miscellaneous
  • Egyebek
  • About
  • Experience
  • Education
  • Contact
Close

Search

Home/Knowledge Base/Set the ASUS ROG Strix laptop keyboard key colors one-by-one
Knowledge Base

Set the ASUS ROG Strix laptop keyboard key colors one-by-one

By Laszlo Pinter
January 11, 2023 4 Min Read
1

For certain games it is very useful to set the keyboard background colors based on their function in the game. You can group keys by color to find them easier during game play.

Create the effect

The effect contains the color of each key or key group.

  • Open the ARMOURY CRATE preinstalled application

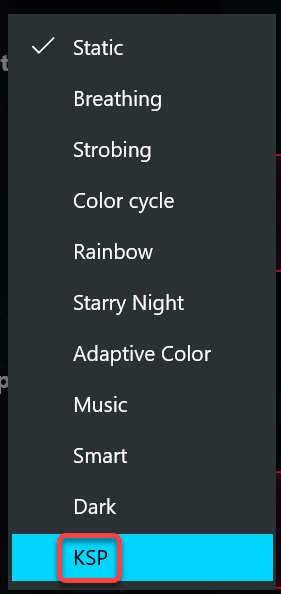
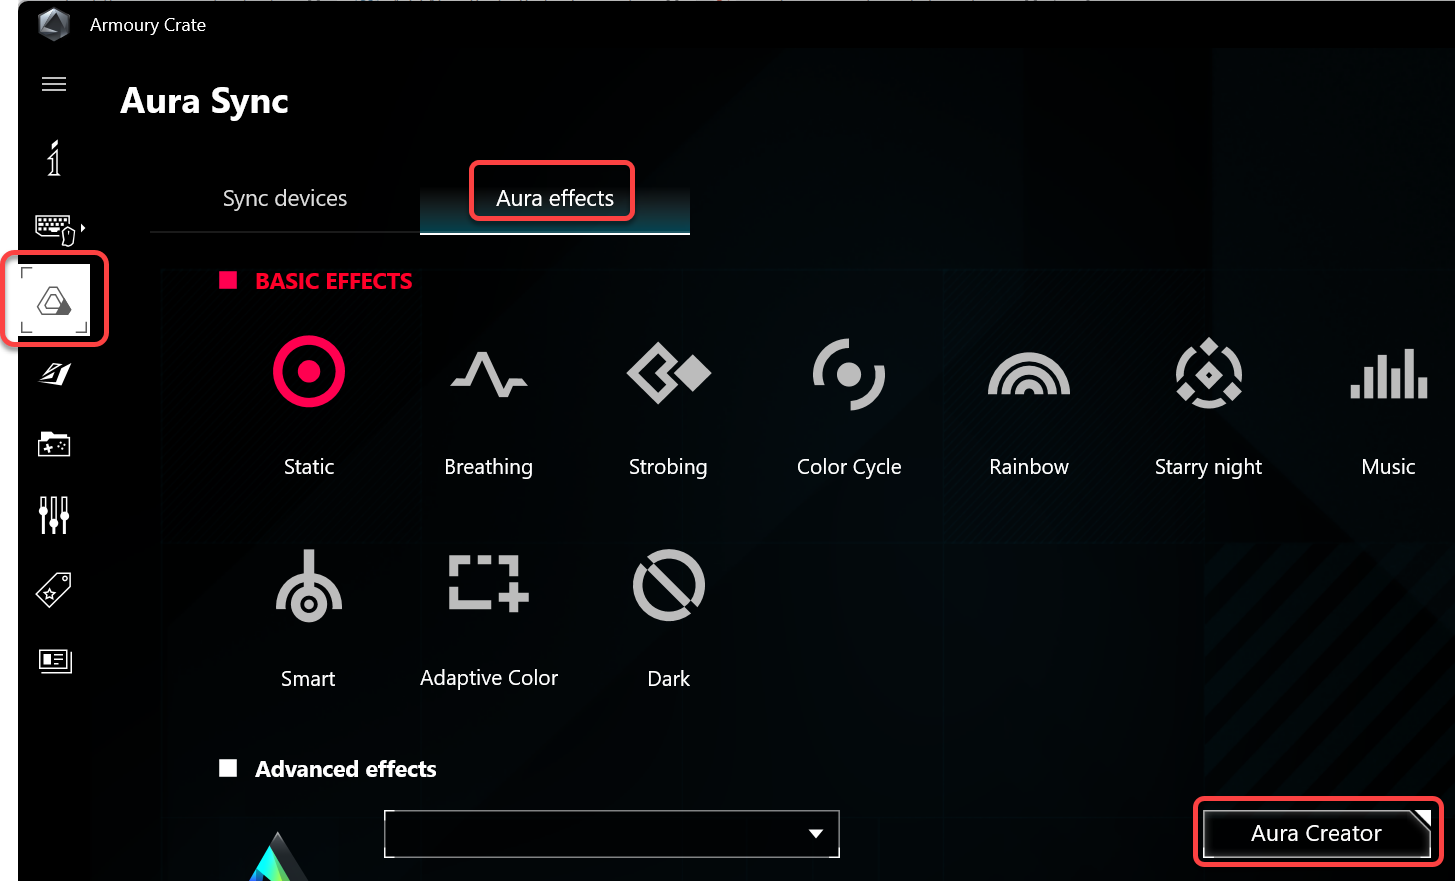
  • On the Aura Sync page select the Aura effects tab, and click the Aura Creator button
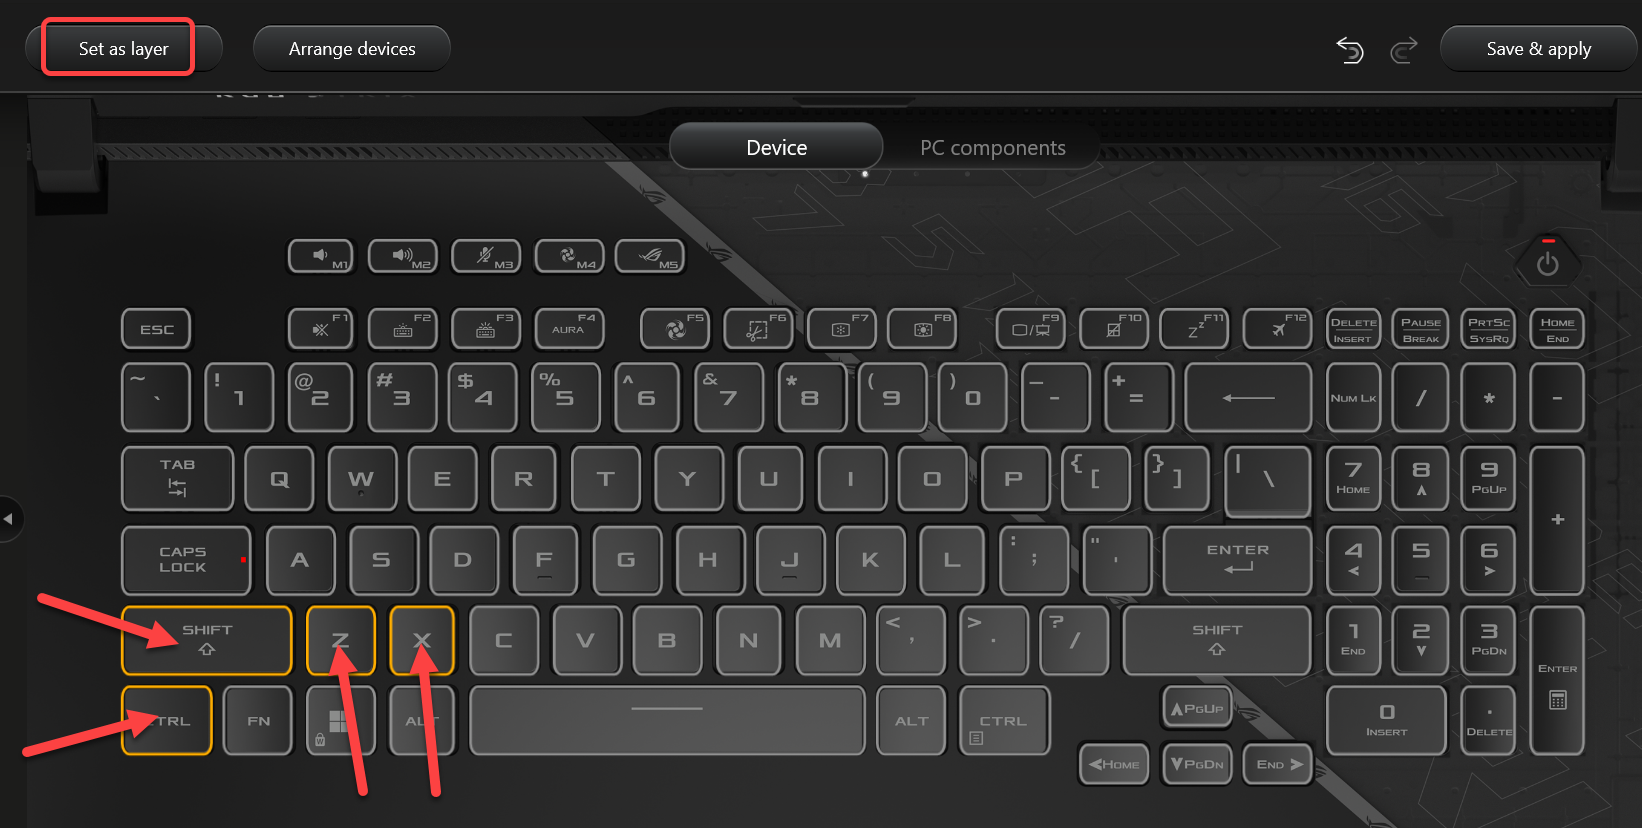
  • Click the Device button, hold the CTRL key and select the keys to cerate a group, and click the Set as layer button
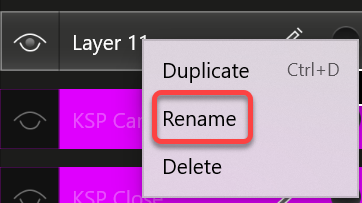
  • Right-click the name of the layer and select Rename
  • Enter the new name and hit Enter
  • Drag down the Static effect to the timeline
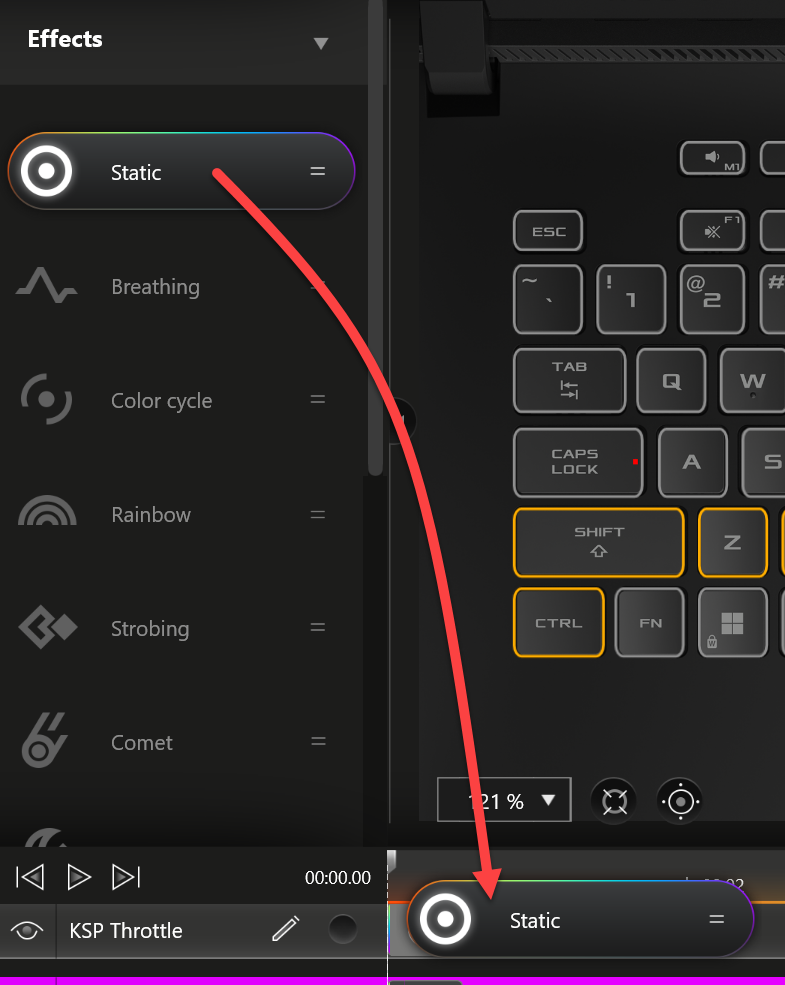
  • Make sure all layers have the same length, and start at the beginning of the timeline, otherwise a lightshow is created.

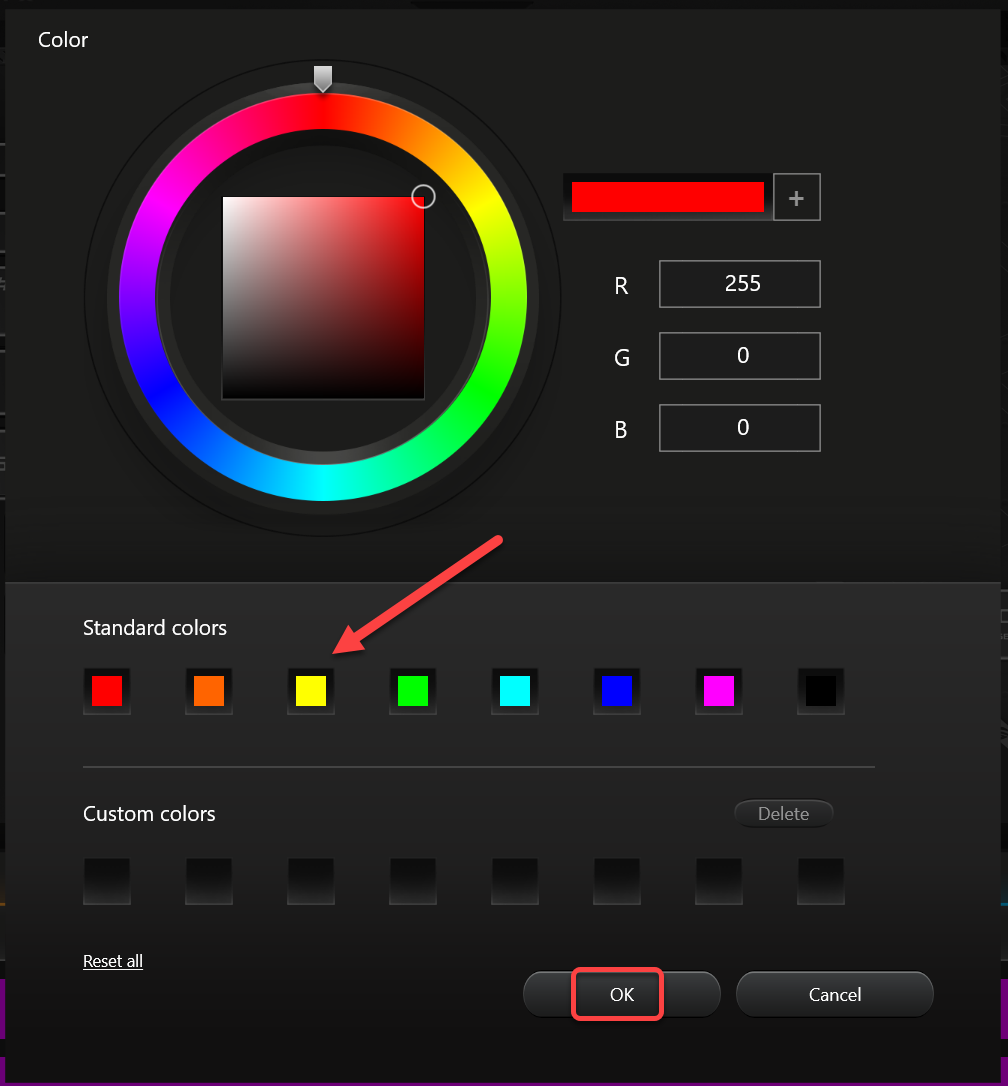
  • In the upper right corner click the color indicator
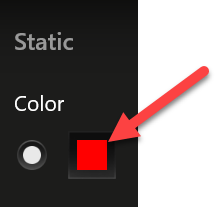
  • Select the color and click OK
  • Drag the layers to order them, the top layer will cover the lower layers. This way you can create a base layer with a single color for all keys (press CTRL-A to select all keys) and build the rest on top of it
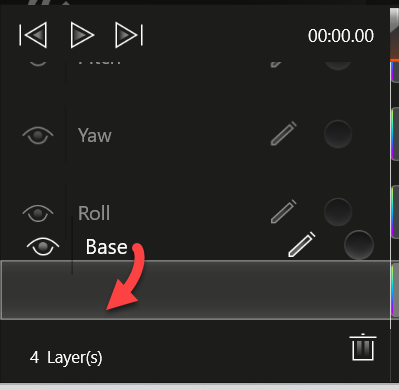
  • When all layers have been created click the Save & apply button in the upper right corner

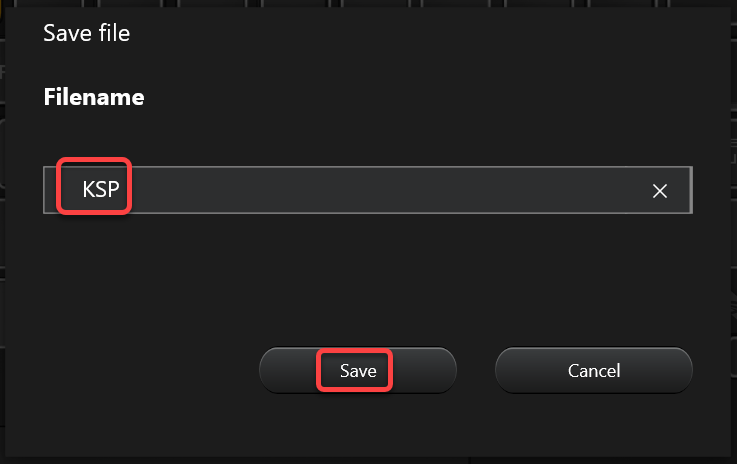
  • Enter the name of the effect and click the Save button
Assign the effect to the application

  • Return to the Armoury Crate application
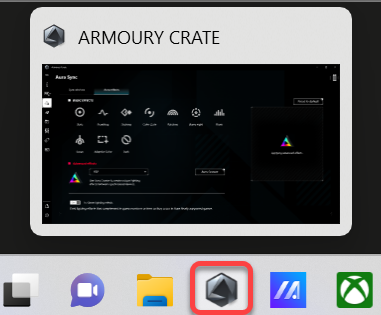
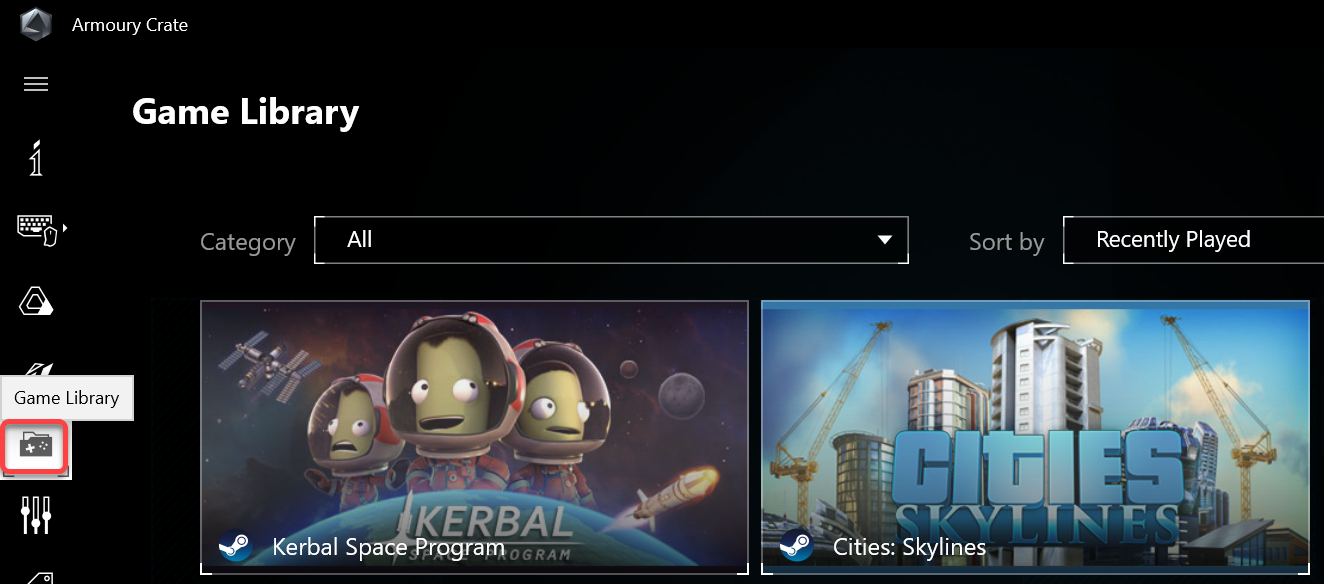
  • Select the Game Library page
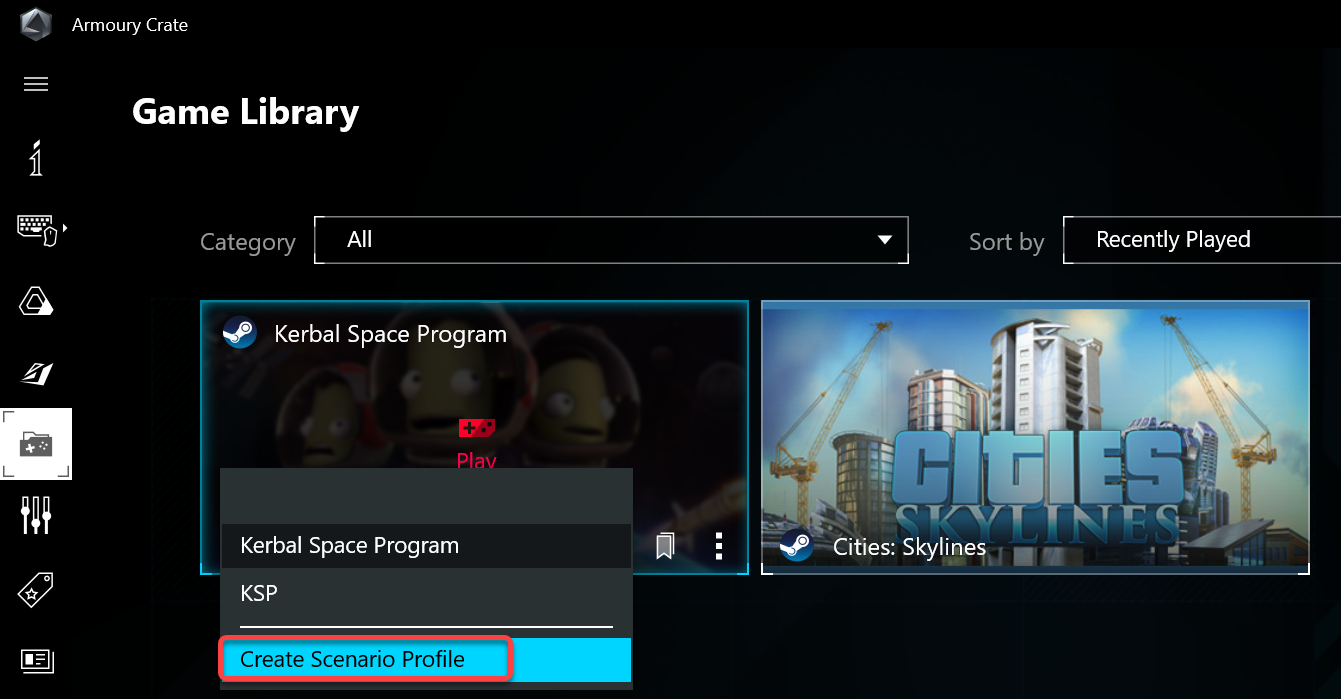
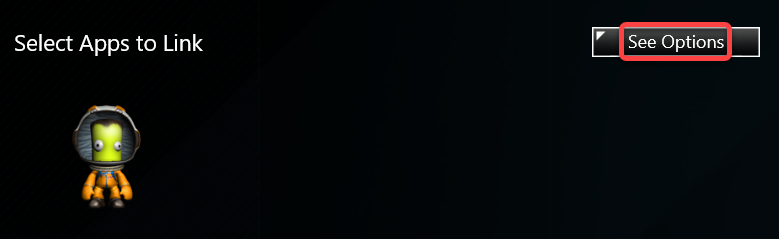
  • Select Create Scenario Profile
    • To select another, or add more application to the scenario, click the See Options button
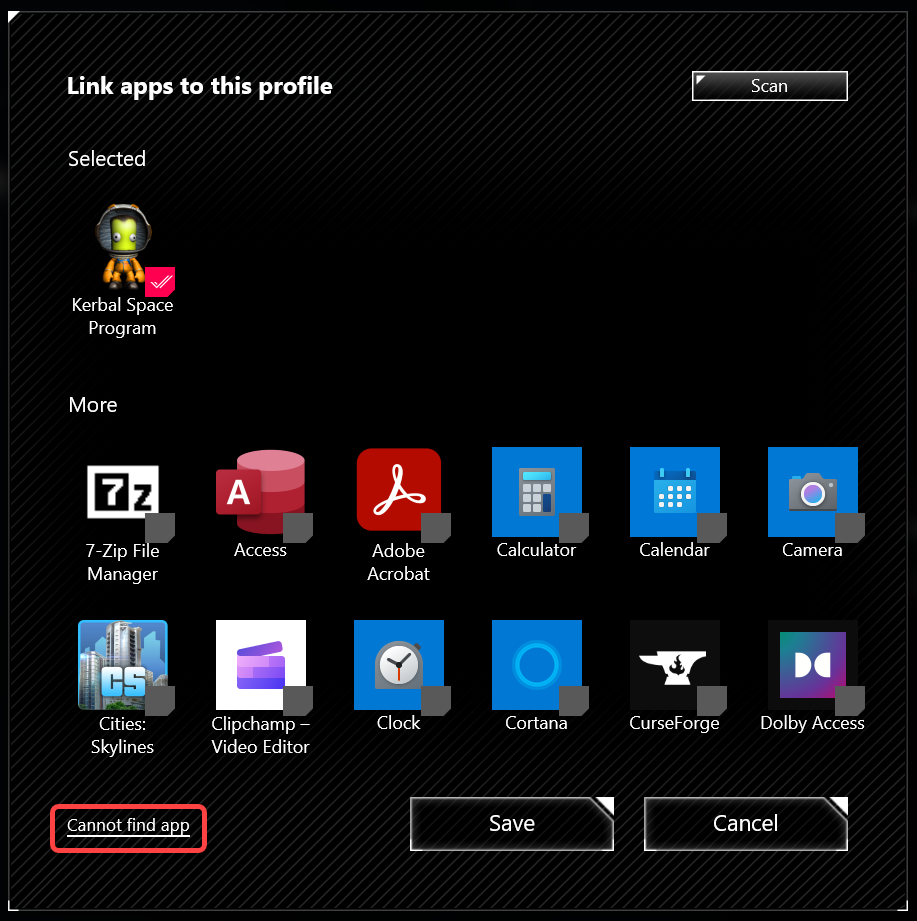
    • Scroll down for more selections, or click the Cannot find app link to browse for the application
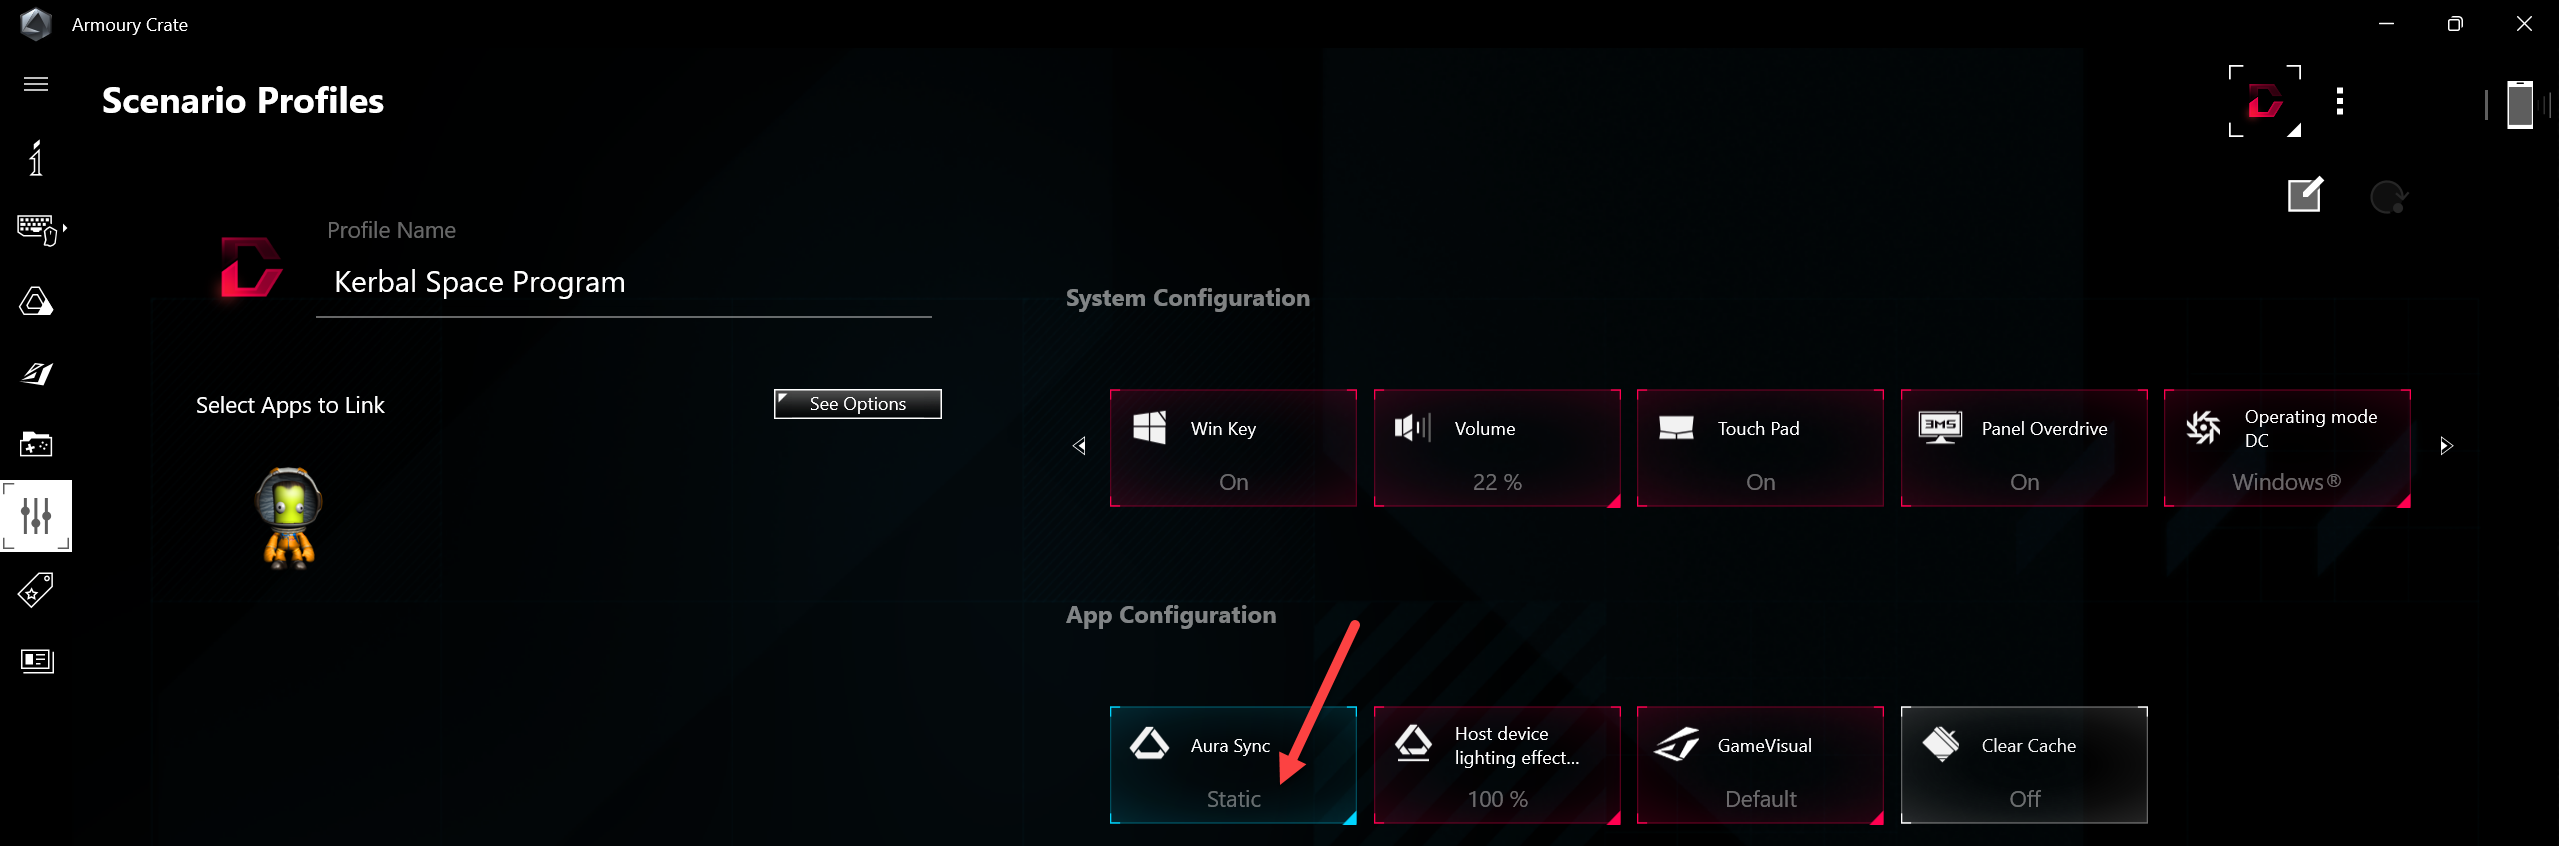
  • Click Aura Sync
  • Select the effect
  • Click the Save button in the lower right corner

Update the effect

  • While playing the game, you can switch back to the Aura Creator and update the effect
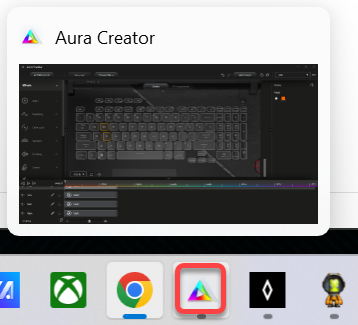
  • Click the Save & apply button to update the effect. The change will apply immediately.
Author

Laszlo Pinter

Follow Me
Other Articles
Previous

Getting to the Mun and back in Kerbal Space Program 2

Next

Turn off the boot up sound of the ASUS ROG Strix laptop

One Comment
  1. karamveer giri says:
    December 27, 2023 at 4:53 am

    I want to change Rog lights of my laptop

    Reply

Leave a Reply Cancel reply

Your email address will not be published. Required fields are marked *

Search

Last Changes

  • DevOps Engineering part 1. (Mac) - Make your Macintosh easier to use June 25, 2026
  • Japan travel tips June 22, 2026
  • How to stop the rain and snow in Cities: Skylines II June 20, 2026
  • Cities: Skylines II Developer Mode June 20, 2026
  • 'CSII_MANAGEDPATH' has incorrect path(s) when building Cities: Skylines II mod June 20, 2026

Tags

.NET .NETcore 3Dprinting ASP.NET Core AutodeskInventor AWS C# Chef cloud DevOps Docker EntityFramework Games Git Go iOS iPad iPhone iPod Java Kubernetes Linux MacOSX MSSQL MVC Node.js Packer PowerShell Python RDS RightScale Ruby security Splunk TeamCity Terraform TestKitchen Tomcat Ubuntu Vagrant VirtualBox VisualStudio Windows WordPress Xcode

Recent Comments

  • Zengei László on MyHeritage családfa exportálása és küldése emailben
  • Raúl Castillo on DynDns update error
  • MICHAEL on Windows Media Player 12 cannot find the album information
  • Nargis on Configure Epson ET-3850 scanning on Windows 11
  • Venczelné Zemen Erika on Delta S2302 termosztát programozása

–

  • Log in
  • Entries feed
  • Comments feed
  • WordPress.org
Copyright 2026 — Pinter Computing. All rights reserved.