
These are the steps to connect and test the microphone for Building Scrappy, the AI hardware robot
To test the microphone
- If the pins are not soldered to the microphone board, solder the two rows of pins. Make sure the components are at the bottom of the board, and the small hole with the microphone symbol is on the top!!!
- Connect the INMP441 mic outputs to the ESP32 board based on the instructions at Ears: INMP441 mic
Upload the firmware/tests/mic_test/mic_test.ino file to the controller
- Connect the USB C cable to the TTL (right side) connector of the ESP32 board
- Start the Arduino IDE
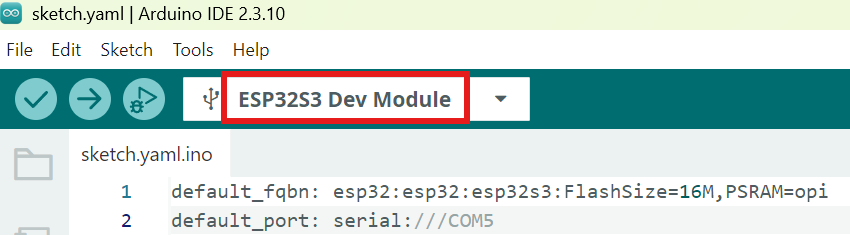
- Make sure the board is selected in the Arduino IDE
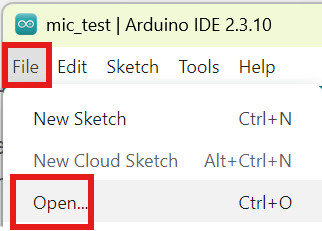
- Open the firmware/tests/mic_test/mic_test.ino file
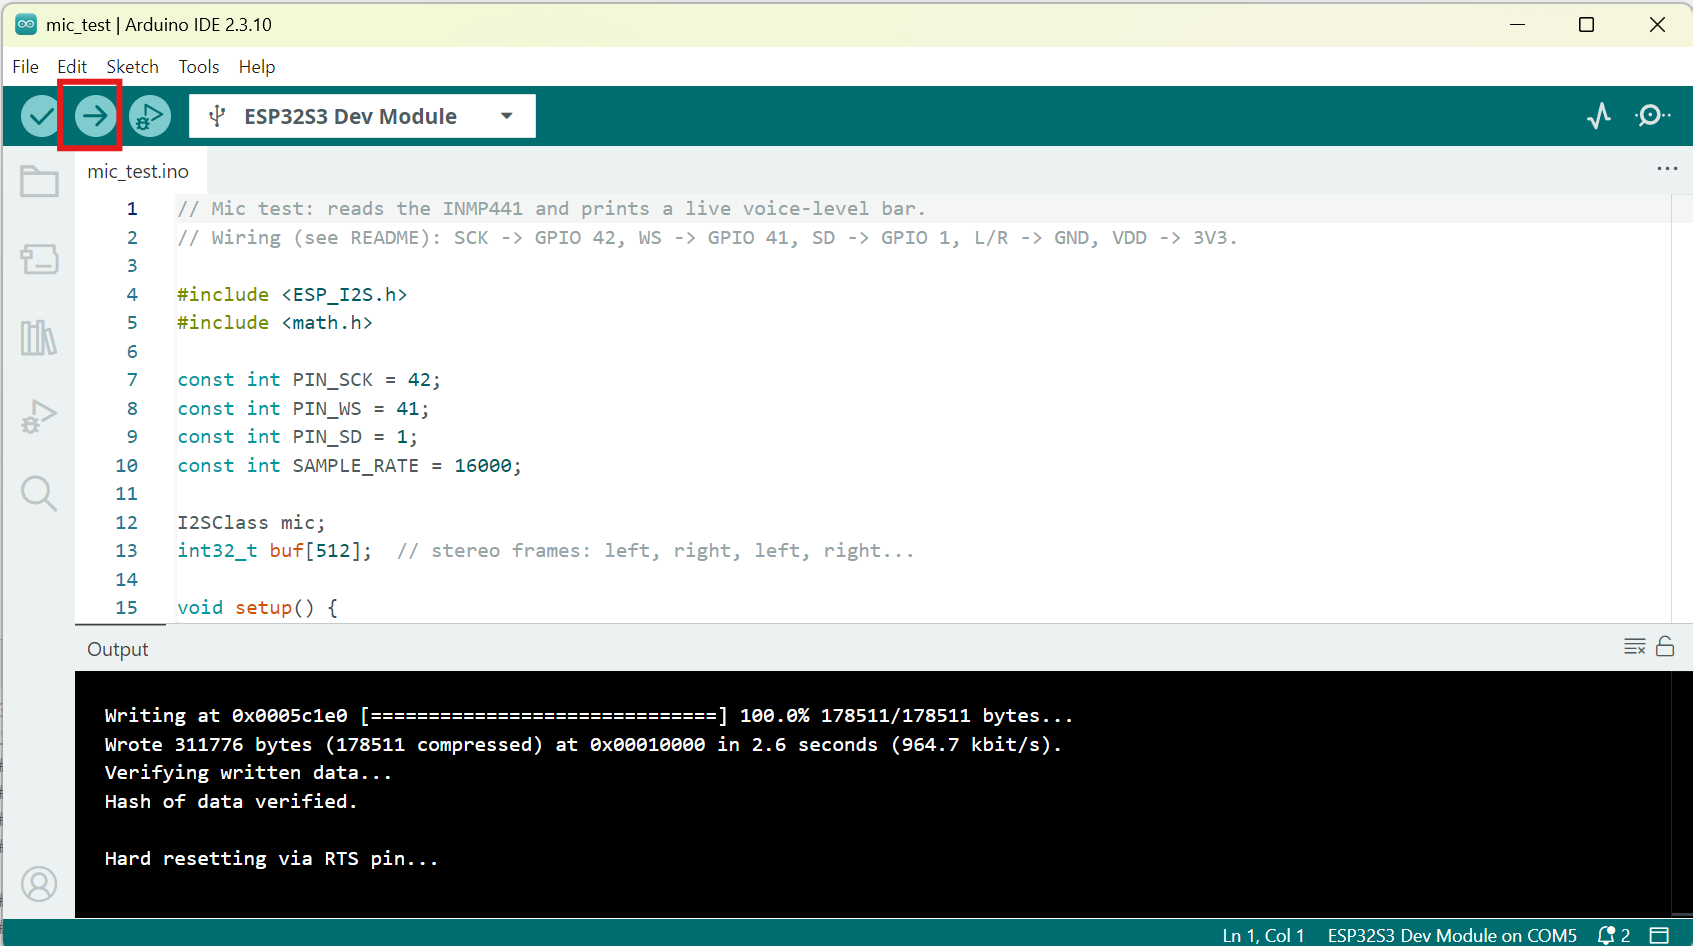
- Click the Upload button
Check the microphone operation
- In the Arduino IDE open the Serial Monitor
- Set the speed to 115,200 baud
- When you talk, the output should show the signal changes as bars of #######

