Enable shared folders on the virtual machine
To be able to use shared folders between the host ( your workstation ) and the Windows virtual machine.
- Start the Windows virtual machine in VirtualBox,
- Select the virtual machine window on your workstation,
- In the Devices menu of VirtualBox select Insert Guest Additions CD image…

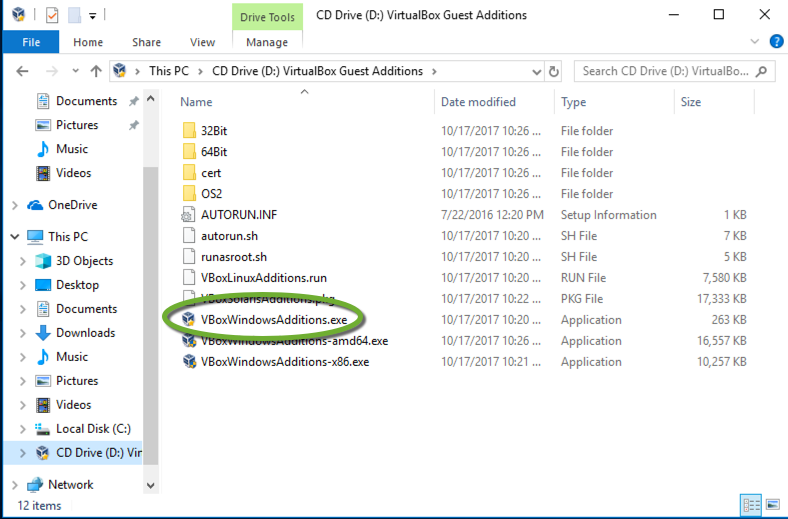
- In the virtual machine start Windows Explorer,
- Open the VirtualBox Guest Additions CD,

- Start VBoxWindowsAdditions.exe,
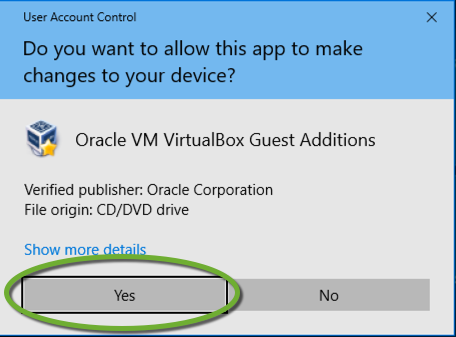
- On the User Account Control popup click Yes,
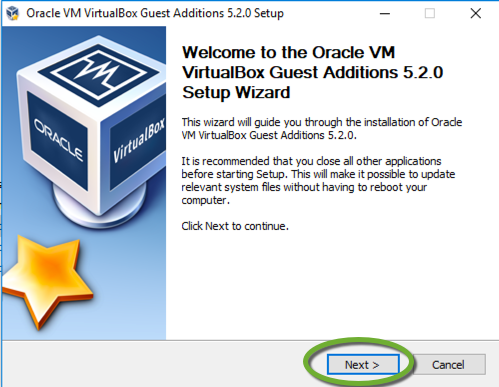
- Click Next on the setup page,
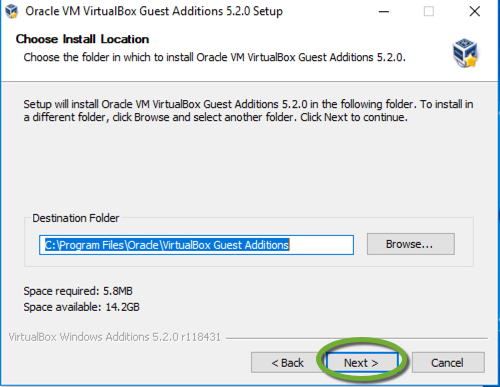
- Click Next on the path selection page,
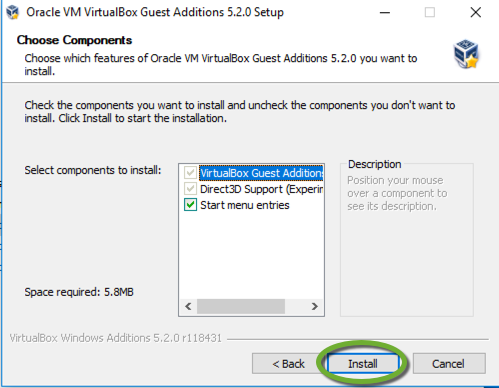
- Click the Install button,
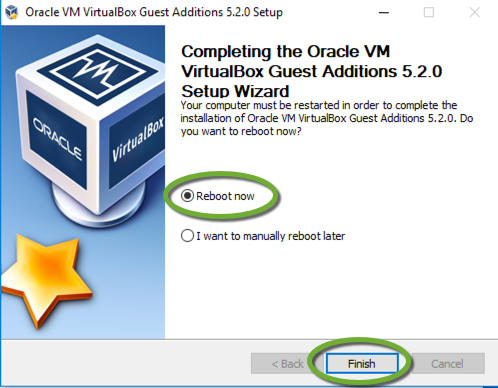
- Save all your documents on the virtual machine, and allow the reboot of the virtual machine for the changes to take effect.
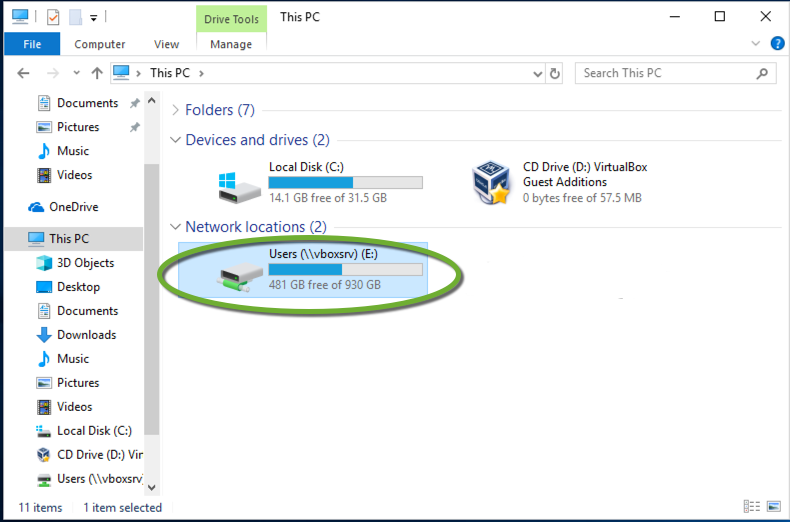
The shared folders will be available in the virtual machine’s Windows Explorer under Network locations as the E: drive
Important
Refresh
When an application copies or deletes files and folders in the displayed shared folder, click the Refresh button to see the new state of the directory. Windows usually does not refresh the view of the shared folder.

Command window
On a Windows 10 guest machine, the Git Bash and Command Prompt windows cannot see the mapped shared folders. To execute commands in shared folders, use the PowerShell window. For more see Git Bash and Command Prompt cannot see the VirtualBox shared folder on Windows 10 guest