Import a height map
Generate the height map
To import a height map into the Cities: Skylines 2 Map Editor we need to create a 4096×4096 pixel 16 bit grayscale height map.
To generate the height map and overlay map image of an area of the Earth, we can use the following sites:
- Generating height maps with skydark.pl
- Generating height maps with justgeektechs.com
- Host the Cities: Skylines map generator locally
Create the directories
Heightmaps
The editor selects the heightmaps from the Heightmaps folder
- Create the “Heightmaps” folder for the height map files at “C:\Users\YOUR_USER_NAME\AppData\LocalLow\Colossal Order\Cities Skylines II”
Screenshots
The editor selects the Thumbnail and Preview images from the Screenshots folder
- Create the “Screenshots” folder for the thumbnail and preview files at “C:\Users\YOUR_USER_NAME\AppData\LocalLow\Colossal Order\Cities Skylines II”
Update the height map
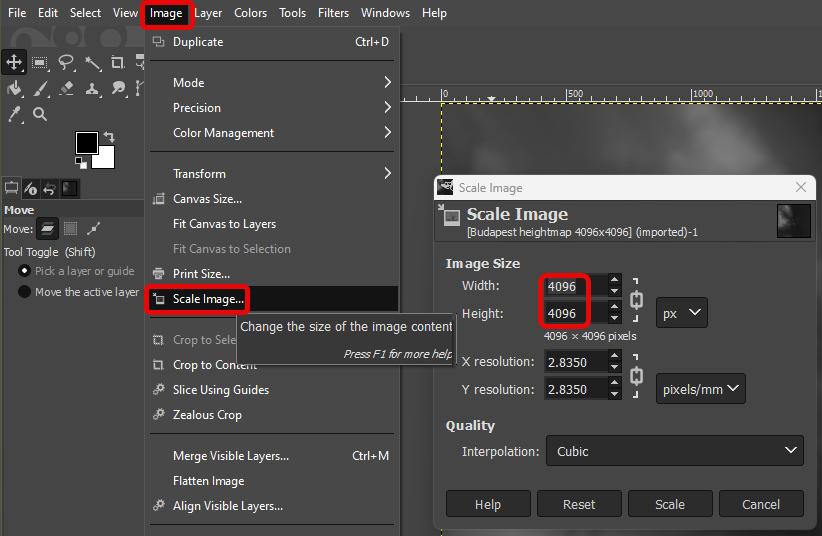
- Open the images in Gimp, a free open source image editor
- Resize the image to 4096×4096
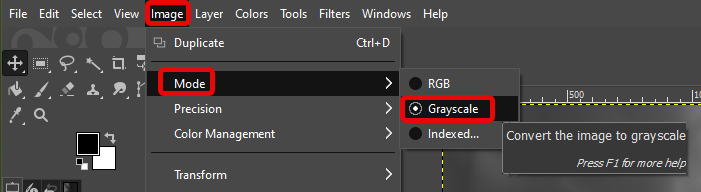
- Check the image mode, make sure it is set to grayscale
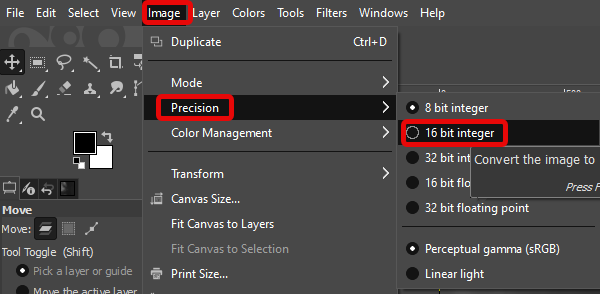
- Check the color precision, make sure it is set to 16 bit
Save the image in the new Heightmaps folder
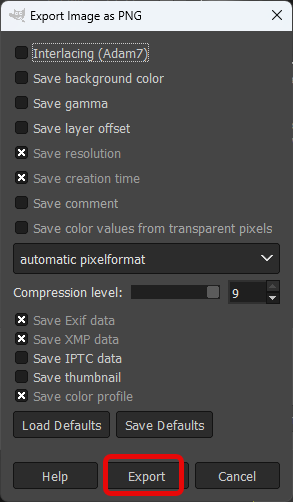
- Export the height map as .PNG
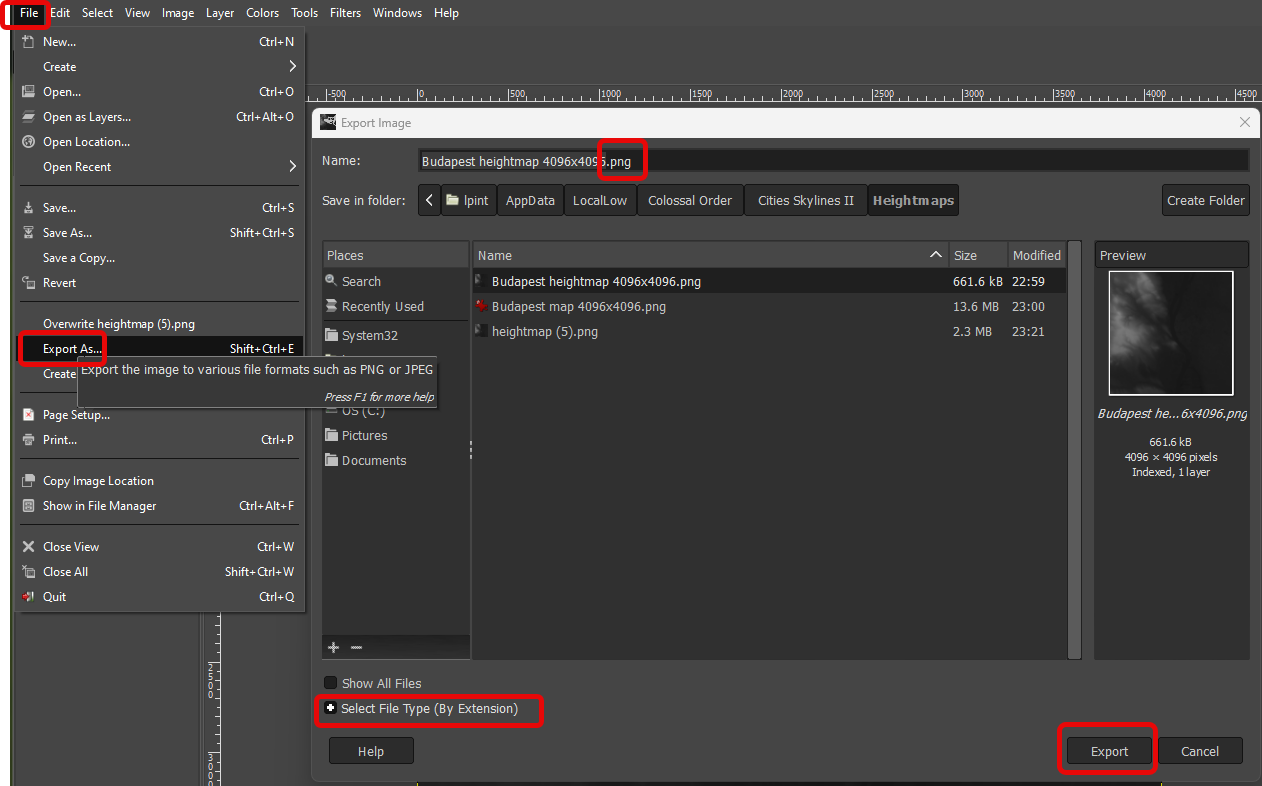
- Accept the defaults
Enable the image overlay
- To enable and use the Image Overlay, see Image overlay in Cities: Skylines 2.
- Place the overlay image into the Overlay folder for the Image Overlay mod. It is a 2560×2560 pixel image.
- To generate a high resolution overlay image, see Create a high resolution overlay image for Cities: Skylines II
Import the height map
Load the height map
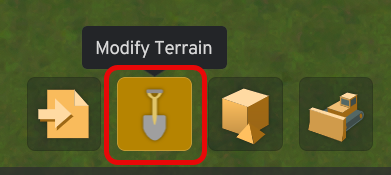
- Start Cities: Skylines 2 and open the editor
- At the bottom, select the Modify Terrain icon
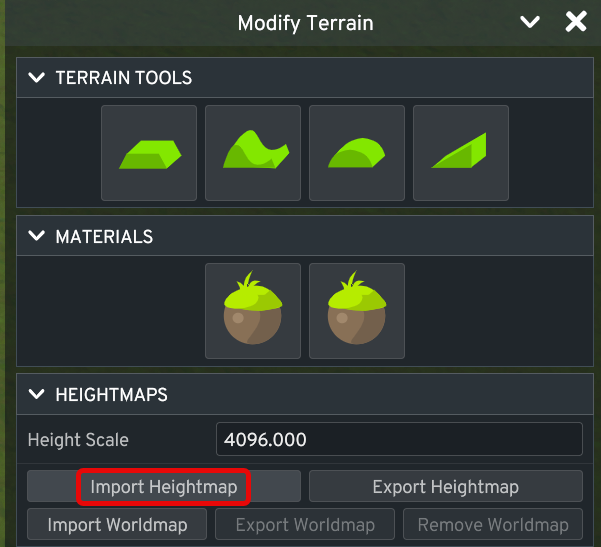
- Click the Import Heightmap button
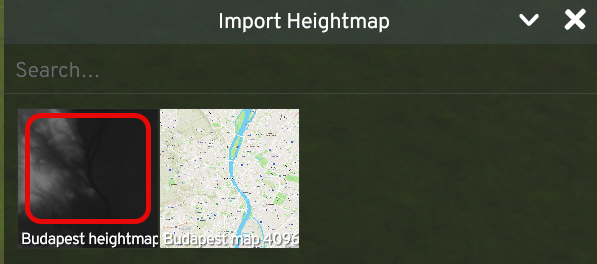
- Select the height map at the top, and click the Load button at the bottom

Add the outside transportation connections
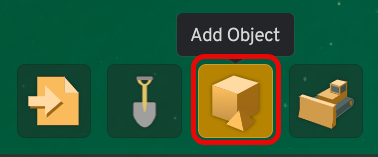
- At the bottom select Add object
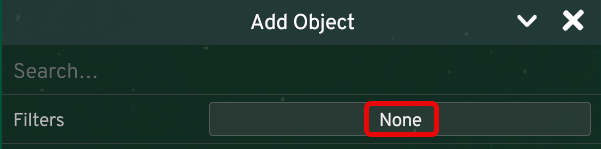
- In the upper right corner click None
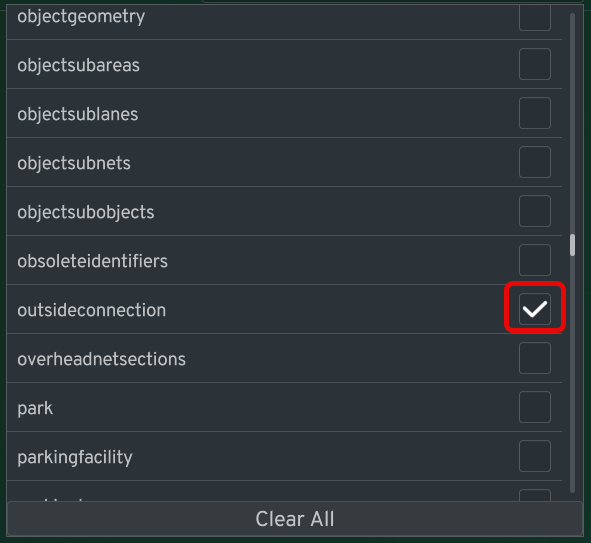
- Set the filter to only display the outside connections
- Click away the list to close it and display the list of outside connections
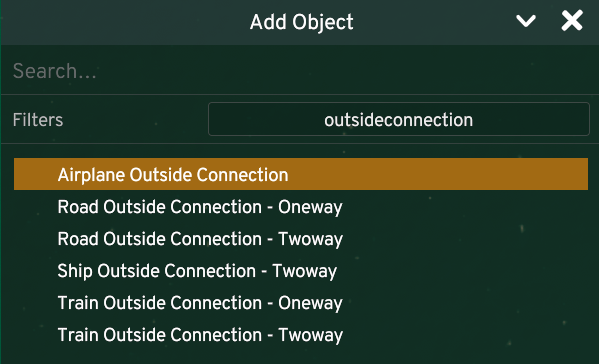
- Select the connection type
- Click on the map to place it
Add outside powerline and water connections
To add outside utility connections, we need to search for those.
- Type outside into the search box
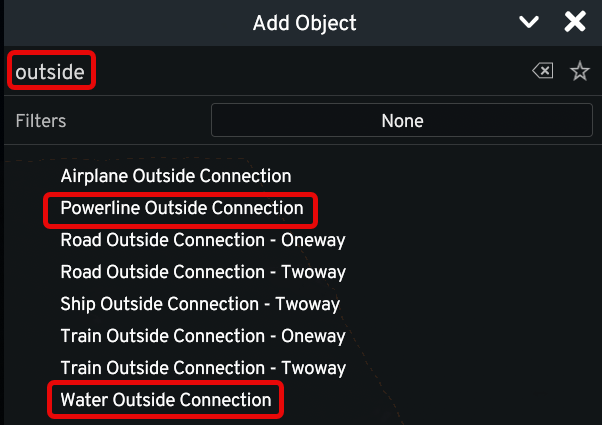
- Select the connection type to place it.
Save the map
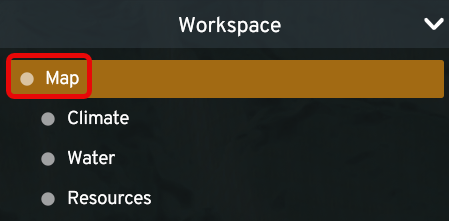
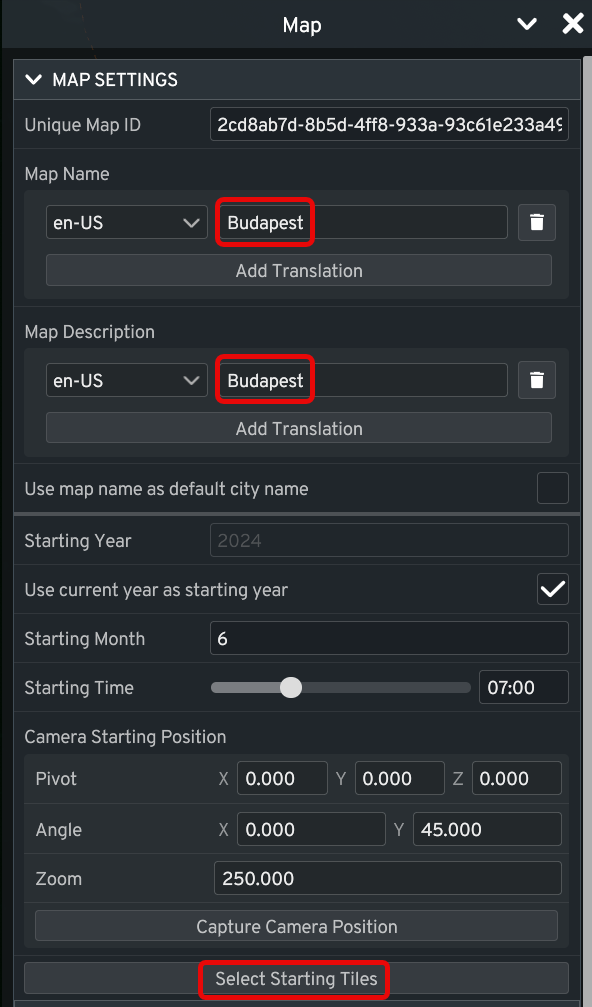
- In the upper left corner click Map
- Enter the map name, description, and select the starting tiles
- Scroll down to expand the Checklist
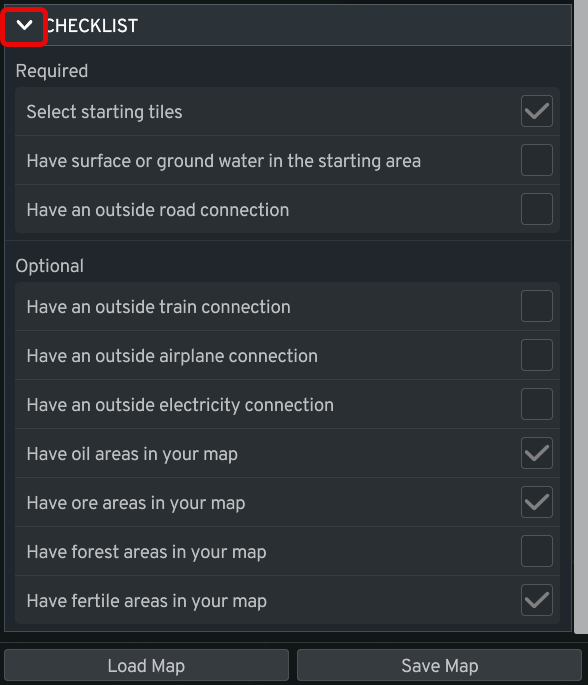
- Save the map by clicking the Save Map button
- Enter a file name and click the Save button
