Skip to content
Pinter Computing

Knowledge Base for IT Professionals, Teachers, and Astronauts

Pinter Computing

Knowledge Base for IT Professionals, Teachers, and Astronauts

  • Home
  • Programming
  • DevOps
  • Project Management
  • Software and Hardware
  • Miscellaneous
  • Egyebek
  • About
  • Experience
  • Education
  • Contact
  • Home
  • Programming
  • DevOps
  • Project Management
  • Software and Hardware
  • Miscellaneous
  • Egyebek
  • About
  • Experience
  • Education
  • Contact
Close

Search

Amazon AWSDevOpsRightScale

Upgrade a server on an AWS EC2 instance with minimum risk and downtime

By Laszlo Pinter
April 26, 2017 2 Min Read
0

When you need to upgrade an application on an AWS EC2 instance with minimum downtime, there are many options.

Upgrade an EC2 instance

  1. Stop the application, so users don’t make more changes,
  2. Create a backup of the database (snapshot of the RDS instance),
  3. Create a backup of the server (backup image of the EC2 instance),
  4. Upgrade the application on the server,
  5. Start the application,
  6. Test the new version of the application.

In case the upgrade fails, or the post-upgrade test fails

  1. Stop the application,
  2. If you use RightScale to launch servers:
    1. stop the RightLink service on the failed server to prevent RightScale auto terminating the restored server
      (When RightScale finds a new identical server instance, it automatically shuts it down to avoid multiple instances with the same identifier.)
    2. Terminate the failed server
  3. Stop the failed server,
  4. Restore the database from the pre-upgrade backup with a new name,
  5. Restore the server instance from the pre-upgrade backup,
  6. Start the restored server,
  7. Change the database address in the application’s config file to point to the restored database,
  8. Start the application,
  9. Test the restored version of the application.

To make the backup image of the AWS EC2 instance

  1. Open the AWS console and navigate to EC2, Running instances
  2. Find the server instance you want to backup
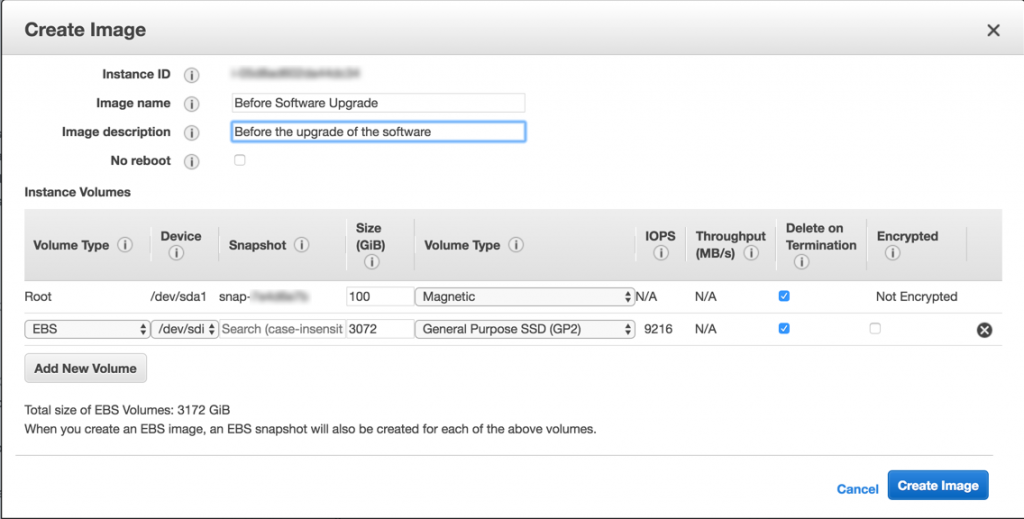
  3. Right-click the row of the instance and select Image, Create Image

  4. Name the image and click the Create Image button
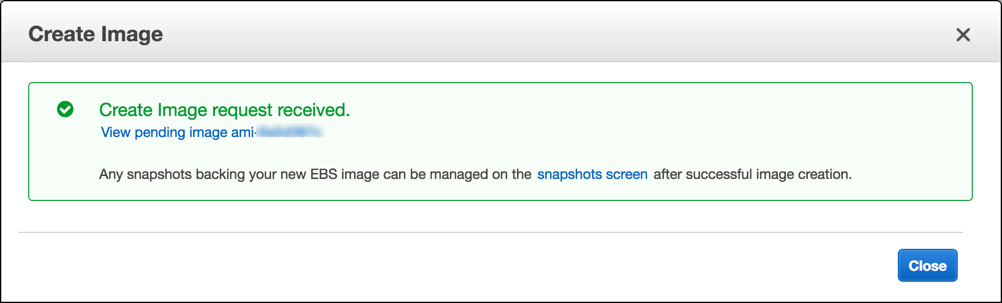
  5. Save the image Id from the popup

Tags:

cloudDevOpsLinuxRightScaleWindows
Author

Laszlo Pinter

Follow Me
Other Articles
Previous

Test your RightScale script without creating unnecessary revisions

Next

Error waiting for instance (i-…) to become ready: unexpected state ‘terminated’, wanted target ‘running’

No Comment! Be the first one.

Leave a Reply Cancel reply

Your email address will not be published. Required fields are marked *

Search

Last Changes

  • Japan travel tips June 22, 2026
  • Argument of type '(number | null)[]' is not assignable to parameter of type '(err: Error, result: QueryResult) => void' June 20, 2026
  • Cities: Skylines II Developer Mode June 20, 2026
  • How to stop the rain and snow in Cities: Skylines II June 20, 2026
  • 'CSII_MANAGEDPATH' has incorrect path(s) when building Cities: Skylines II mod June 20, 2026

Tags

.NET .NETcore 3Dprinting ASP.NET Core AutodeskInventor AWS C# Chef cloud DevOps Docker EntityFramework Games Git Go iOS iPad iPhone iPod Java Kubernetes Linux MacOSX MSSQL MVC Node.js Packer PowerShell Python RDS RightScale Ruby security Splunk TeamCity Terraform TestKitchen Tomcat Ubuntu Vagrant VirtualBox VisualStudio Windows WordPress Xcode

Recent Comments

  • Zengei László on MyHeritage családfa exportálása és küldése emailben
  • Raúl Castillo on DynDns update error
  • MICHAEL on Windows Media Player 12 cannot find the album information
  • Nargis on Configure Epson ET-3850 scanning on Windows 11
  • Venczelné Zemen Erika on Delta S2302 termosztát programozása

–

  • Log in
  • Entries feed
  • Comments feed
  • WordPress.org
Copyright 2026 — Pinter Computing. All rights reserved.