Copilot Coding Agent can work entirely online without you knowing anything about software development. To use it
- Open the repository in GitHub
- Create an Issue

- Write the instructions in the descriptions field
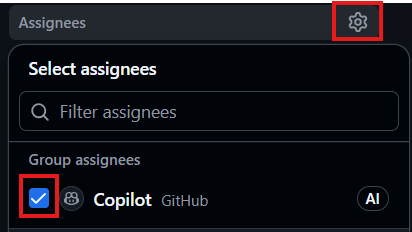
- Assign it to Copilot
The agent will create a new branch and based on your description it will make code modifications.
- To see the progress click the View session button

Once the agent completed the task, it will request a review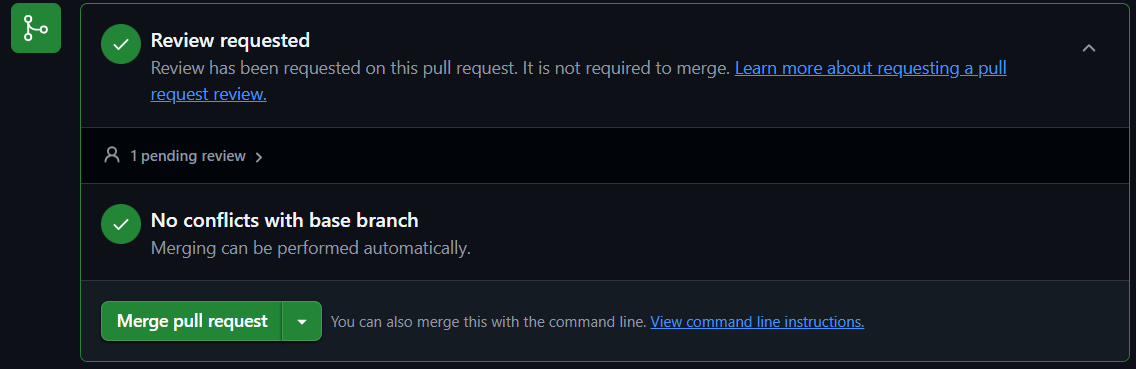
- On the top of the screen you will see the message:
Copilot requested your review on this pull request.
Click the Add your review button
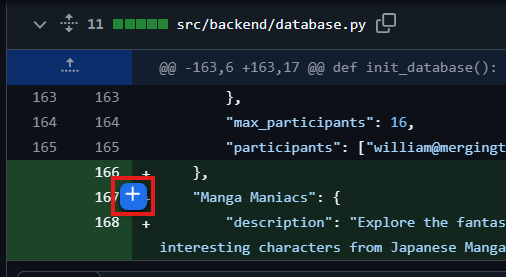
- To enter line specific comments or instructions, hover above the plus sign and select the blue plus sign to open the Write panel.
- You can type any message into the review field to share your thoughts with other humans, Copilot will ignore those. To give additional instructions to Copilot, start the message with @copilot
- To start the review, click the Start a review button

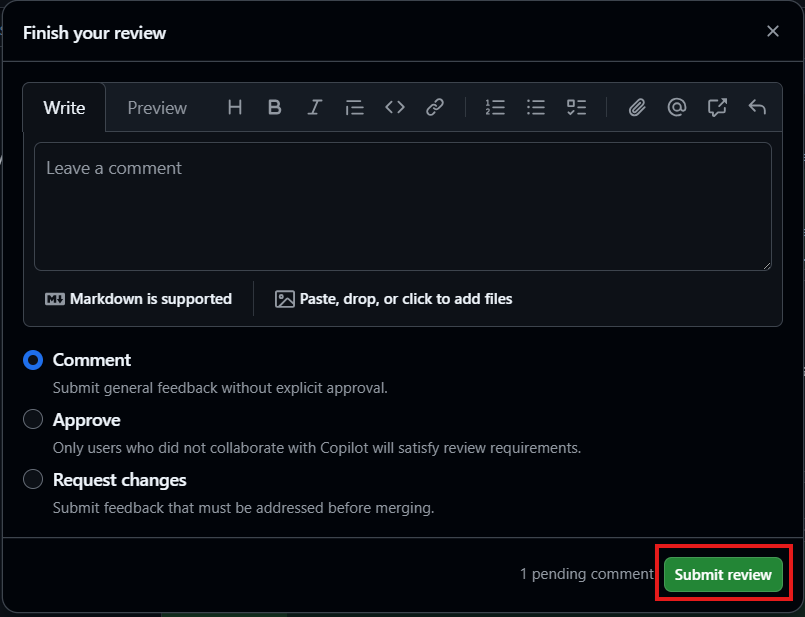
- To finish the review click the Finish your review button

- You can write additional instructions if necessary and click the Submit review button
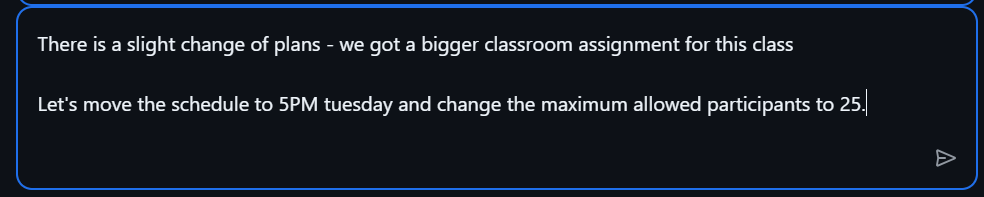
- While the agent is working, you can give additional instructions in the bottom chat window
- To go back from the session to the pull request, click the View pull request button at the top of the page

- At the top of the screen click the Add your review button
- Click the Review changes button

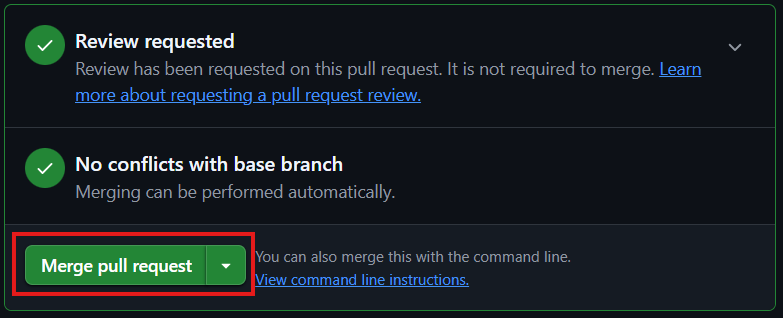
- If you are satisfied with the result scroll down to the bottom of the page and click the Merge pull request button
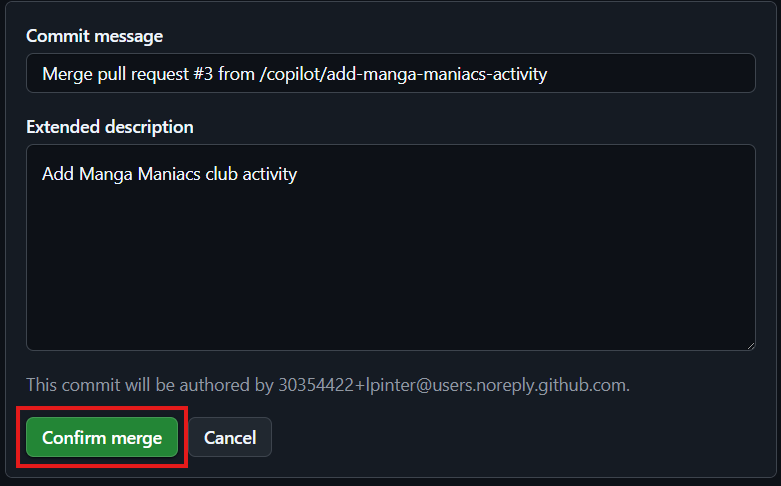
- Click the Confirm merge button
- Click the Delete branch button

Preparing the GitHub Copilot Coding Agent environment
To make sure the GitHub Copilot Coding Agent understands your application you give instructions with
- Project overview, including it’s purpose, goals, and any relevant background information.
- Program architecture, standards and conventions that should be followed,
- Useful commands or scripts for common tasks
To save the instructions
Create a new branch
- On the code tab click the branches icon

- In the upper right corner click the New branch button

- Name the branch
prepare-environment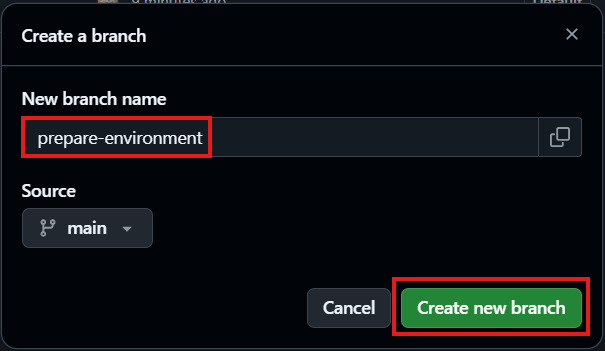
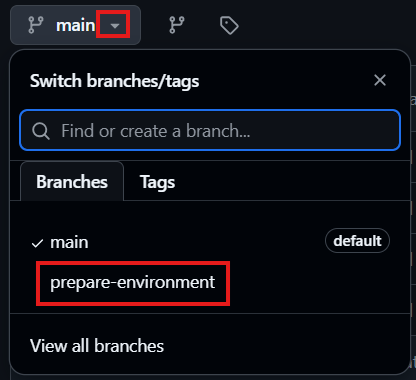
- Go back to the Code tab and click the down arrow on the current branch field and select the new branch
- Navigate to the
.githubdirectory - If the
copilot-instructions.mdfile does not exist in the upper right corner click the Add file button
- Click the
copilot-instructions.mdfile to open it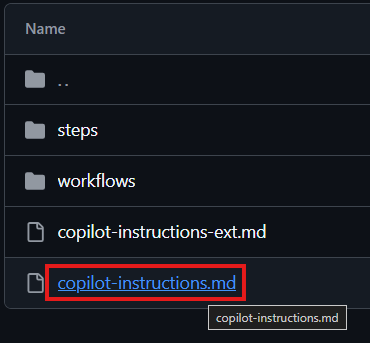
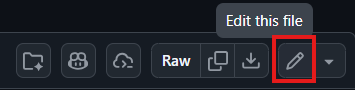
- In the upper right corner of the edit window click the Edit button
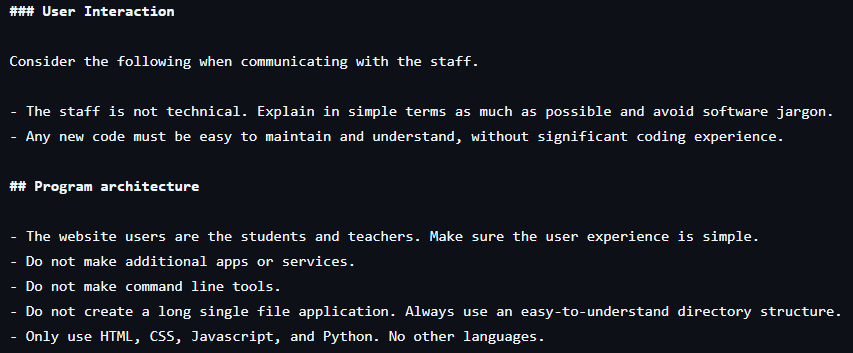
- You can add links to refer to other documents

- And other instructions
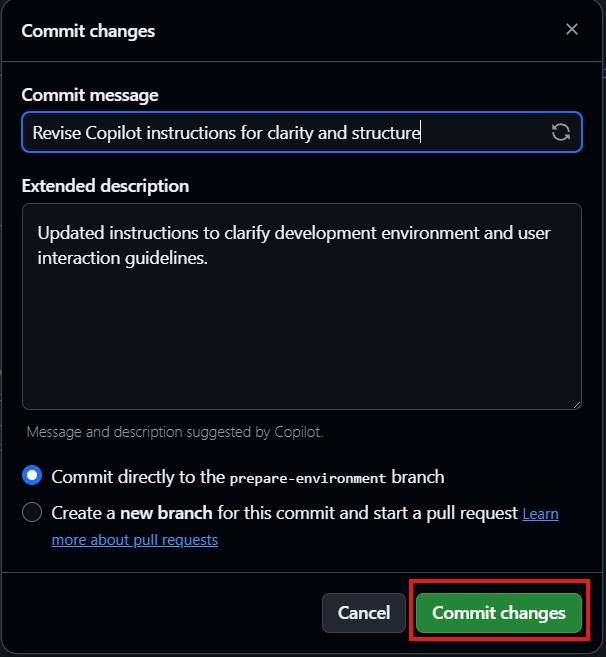
- When finished click the Commit changes button in the upper right corner

- Click the Commit changes button on the new panel
- The copilot-instructions-ext.md file contains more recommendations with much more details.
Prepare the GitHub Copilot Coding Agent environment
Specify the required tools in the copilot-setup-steps.yml file
- Stay in the prepare-environment branch
- Navigate to the
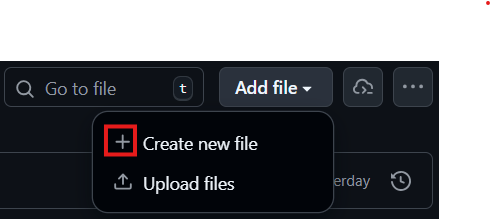
.github/workflows/directory - In the upper right corner click the Add file button
- Select Create new file
- The following example pre-installs Python and MongoDB in the Copilot environment
name: "Copilot Setup Steps"

on: workflow_dispatch
jobs:
  # This is the required job name. If different, Copilot will ignore it.
  copilot-setup-steps:
    runs-on: ubuntu-latest

  # Starts a MongoDB service for Copilot to use during its session.
    services:
     mongo:
       image: mongo:7
       ports:
         - 27017:27017

    # Grant Copilot early access to read the repository content.
    permissions:
      contents: read

    steps:
      - name: Checkout code
        uses: actions/checkout@v5

      - name: Set up Python
        uses: actions/setup-python@v6
        with:
          python-version: "3.13"
          cache: "pip"

      - name: Install Python dependencies
        run: |
          python -m pip install --upgrade pip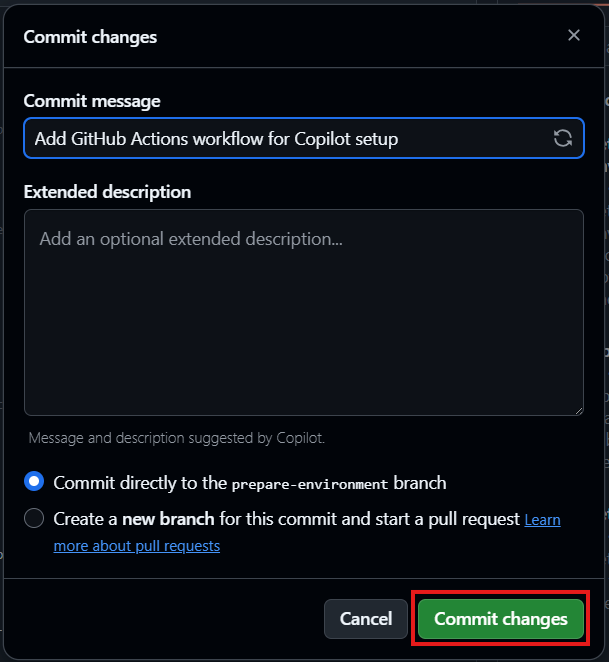
pip install -r src/requirements.txt- Enter the file name
copilot-setup-steps.ymland click the Commit changes button
- On the next window click the Commit changes button again
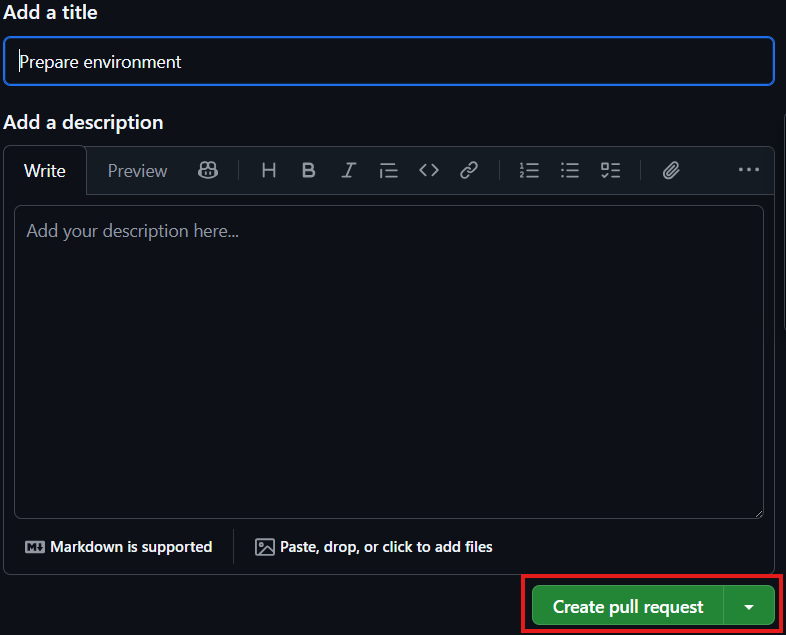
- On the Pull requests tab click the Compare & pull request button
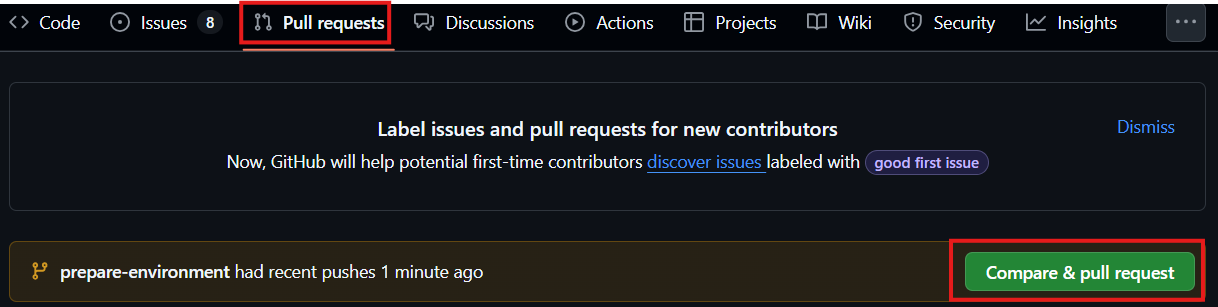
- Click the Create pull request button
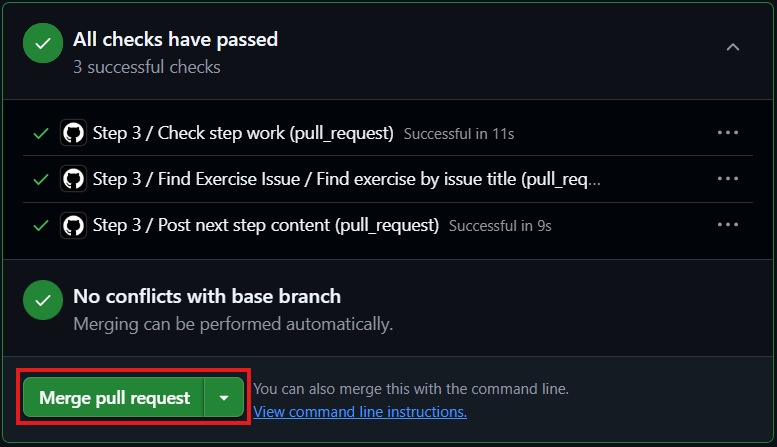
- Wait, and let the agent check the changes before you stat the merge
- Click the Merge pull request button
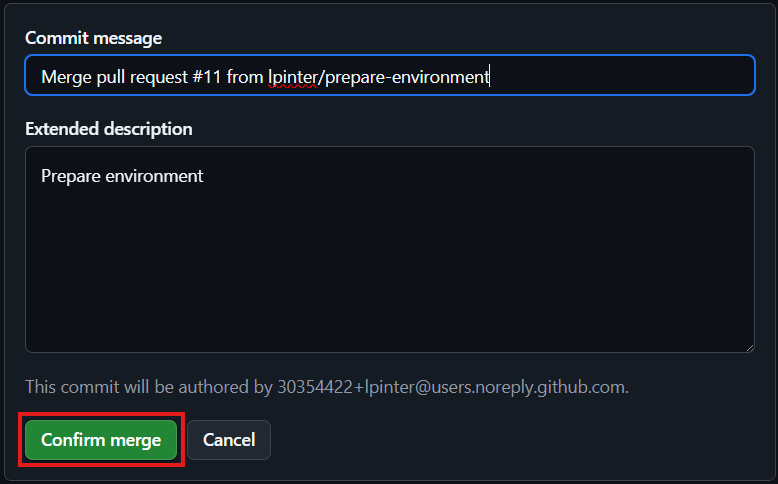
- Click the Confirm merge button
- Click the Delete branch button

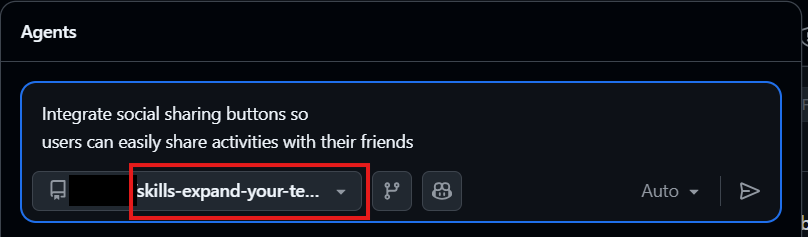
Manage multiple tasks with the Agents Panel
- To open the Agents Panel, in the upper right corner of the page click the Open agents panel button

- Make sure the current repository is selected
- When you press enter the task is submitted. The window stays open to monitor the progress and to enter for more instructions.
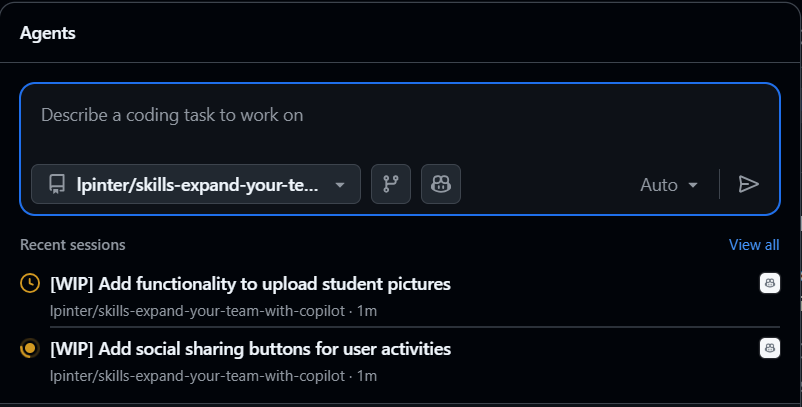
- Click the task to see the session logs
To open the Agents panel in full screen mode navigate to https://github.com/copilot/agents
If you assign multiple parallel tasks to the agent, make sure the code changes don’t overlap, otherwise merge conflicts will appear.