Track must not end in tunnels

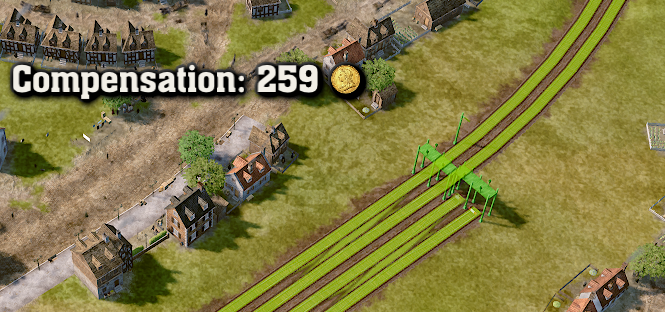
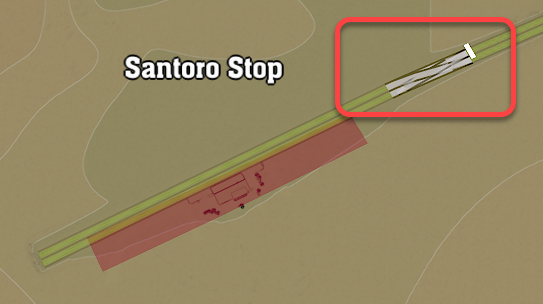
A natural or manmade obstacle prevents track building.
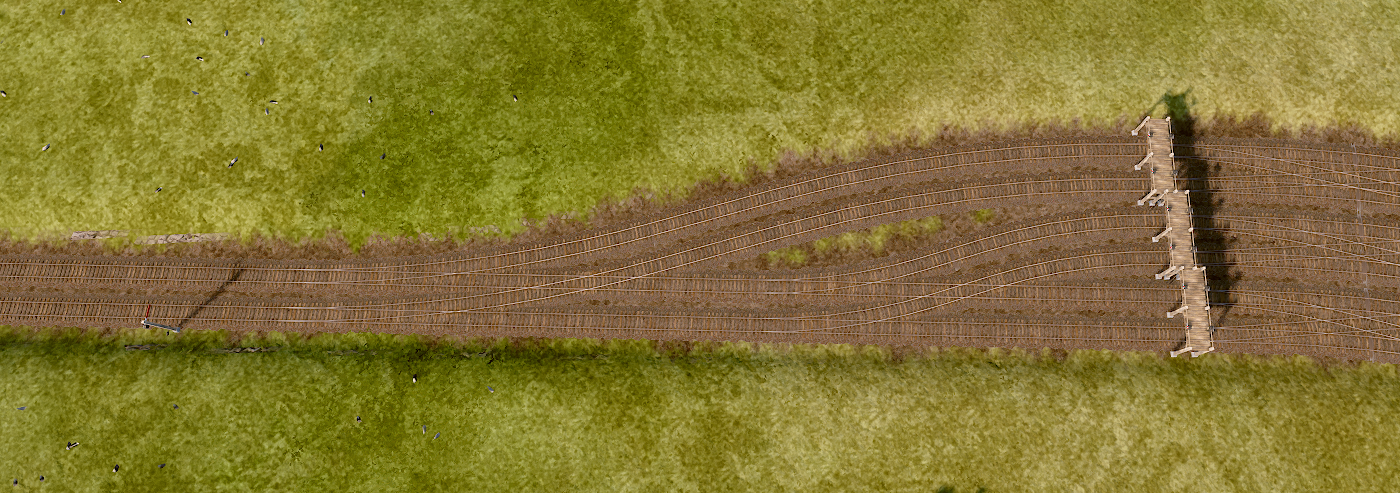
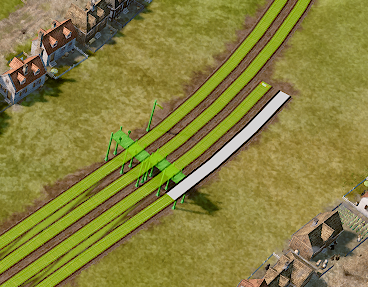
To clear the landscape for the tracks
- Place an extra temporary track at the edge of the work area
- Build the tracks
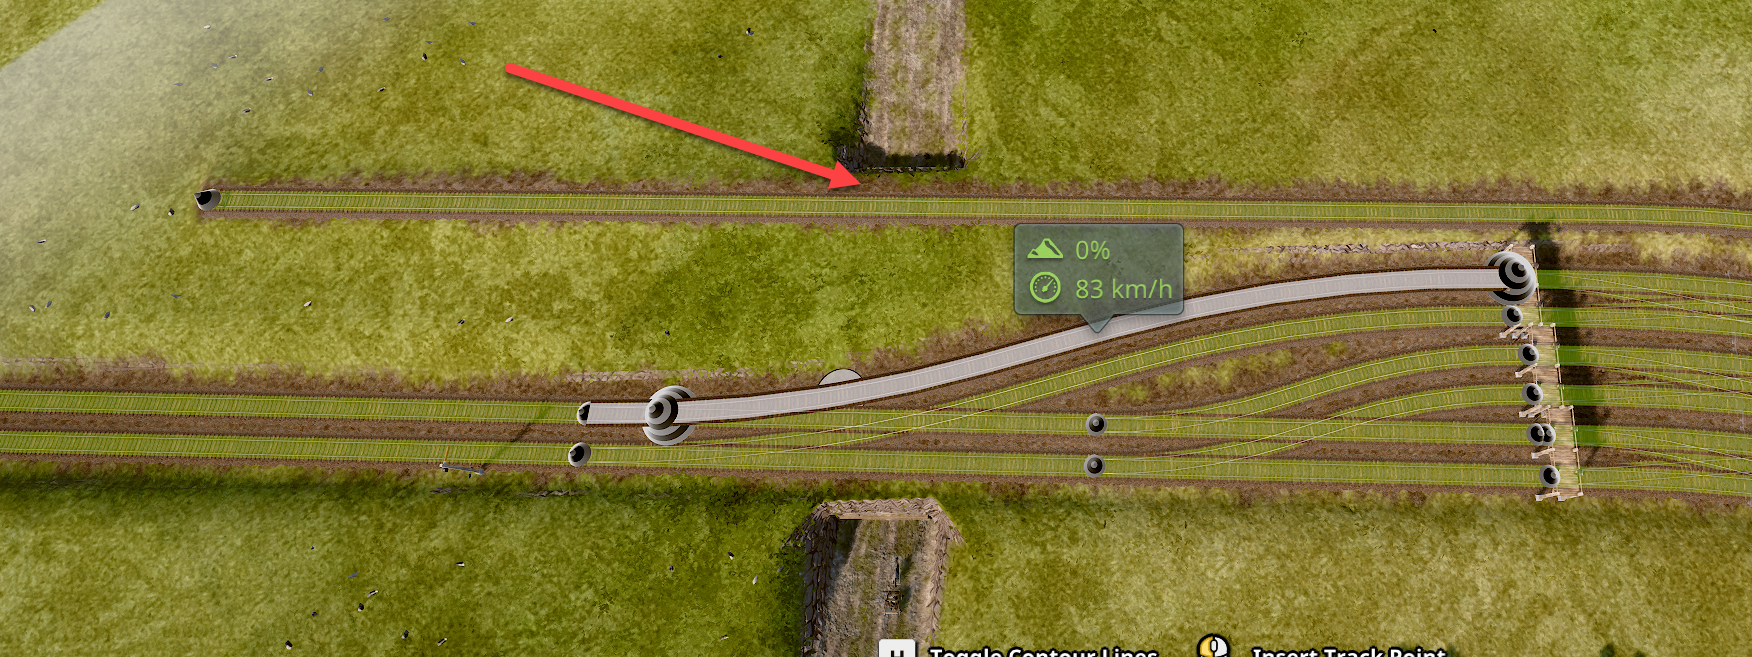
- Delete the temporary track
Knowledge Base for IT Professionals, Teachers and Astronauts

A natural or manmade obstacle prevents track building.
To clear the landscape for the tracks


sh: npm-run-all: command not found
npm install -g npm-run-allsh: cross-env: command not found
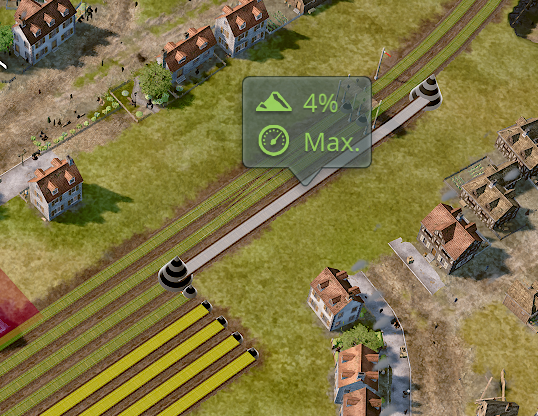
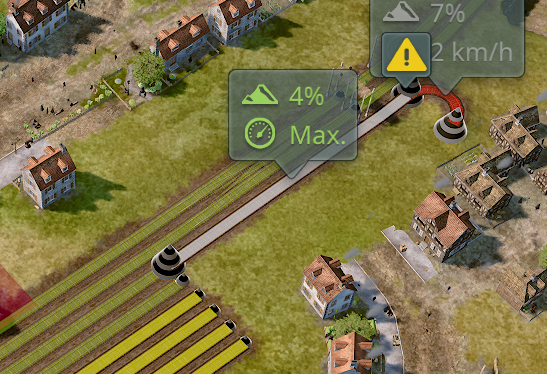
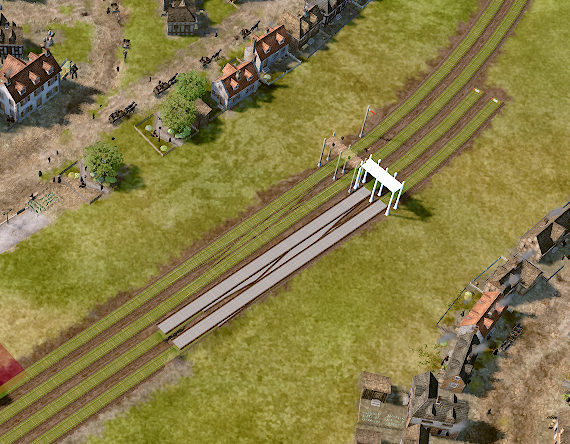
npm install -g cross-envTo connect a branch line to a main line at a railway station in Railway Empire 2, create a station with four platforms. In the example below the mainline is on the left side on tracks #1 and #2, the branch line arrives to tracks #3 and #4 at the bottom from the right.
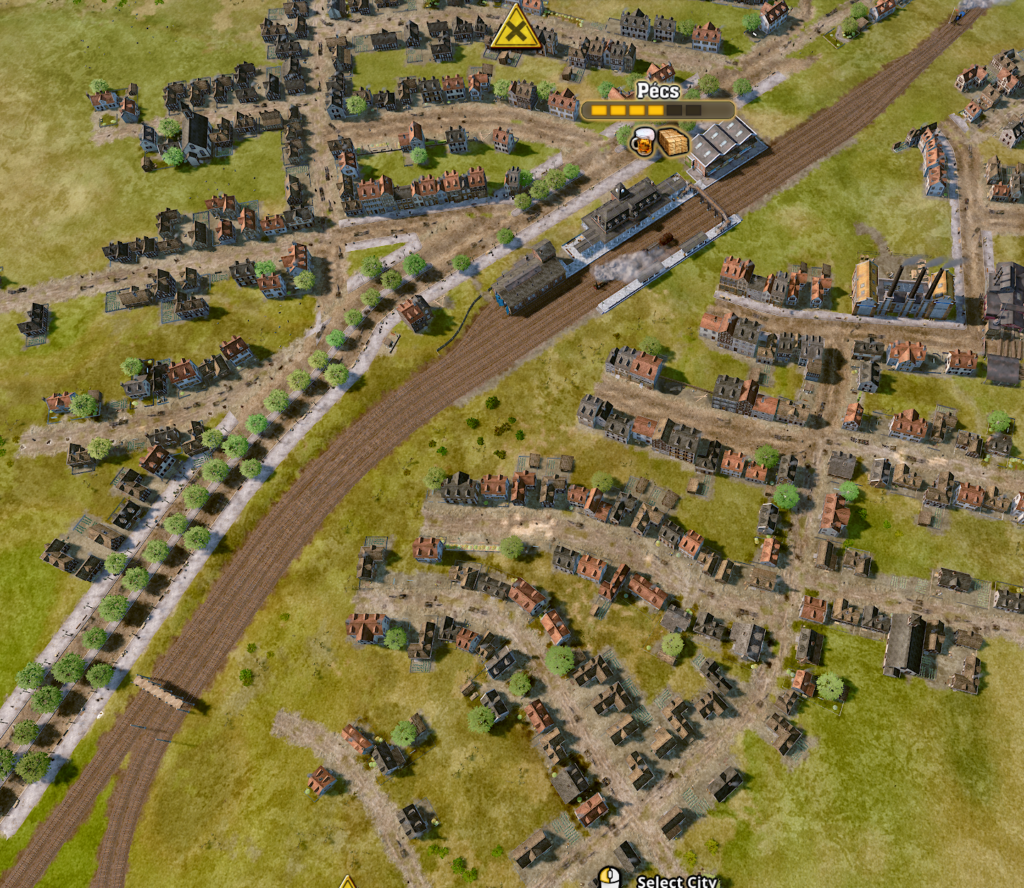
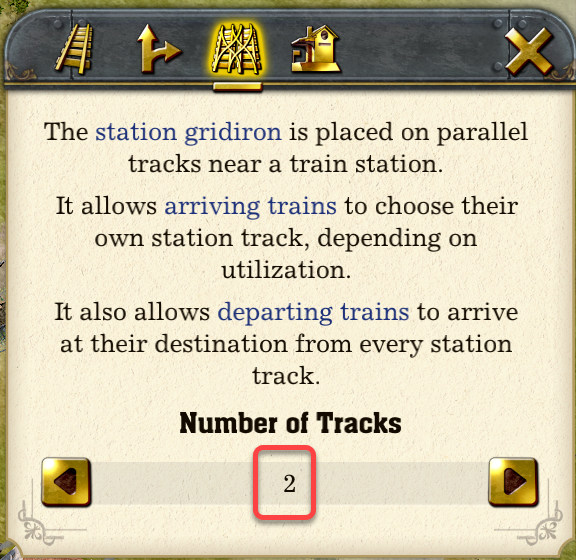
To allow any train to reach any track, we will place a four track gridiron where the branch line arrives.
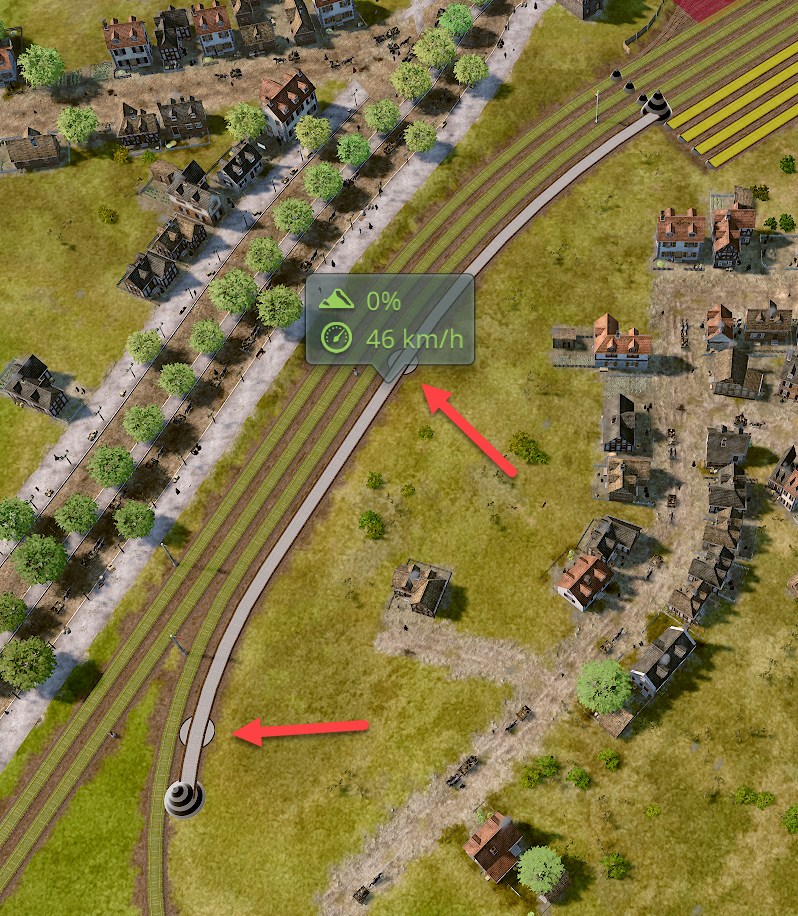
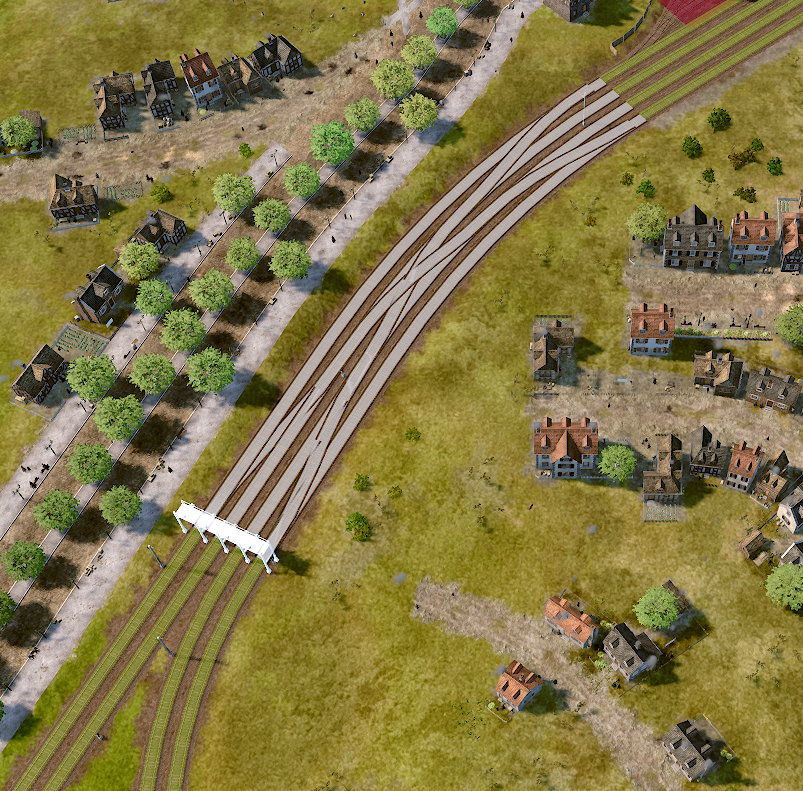
At the top we will connect tracks #3 and #4 to the main line, so the branch line trains can continue on the main line, and main line trains on the branch line.
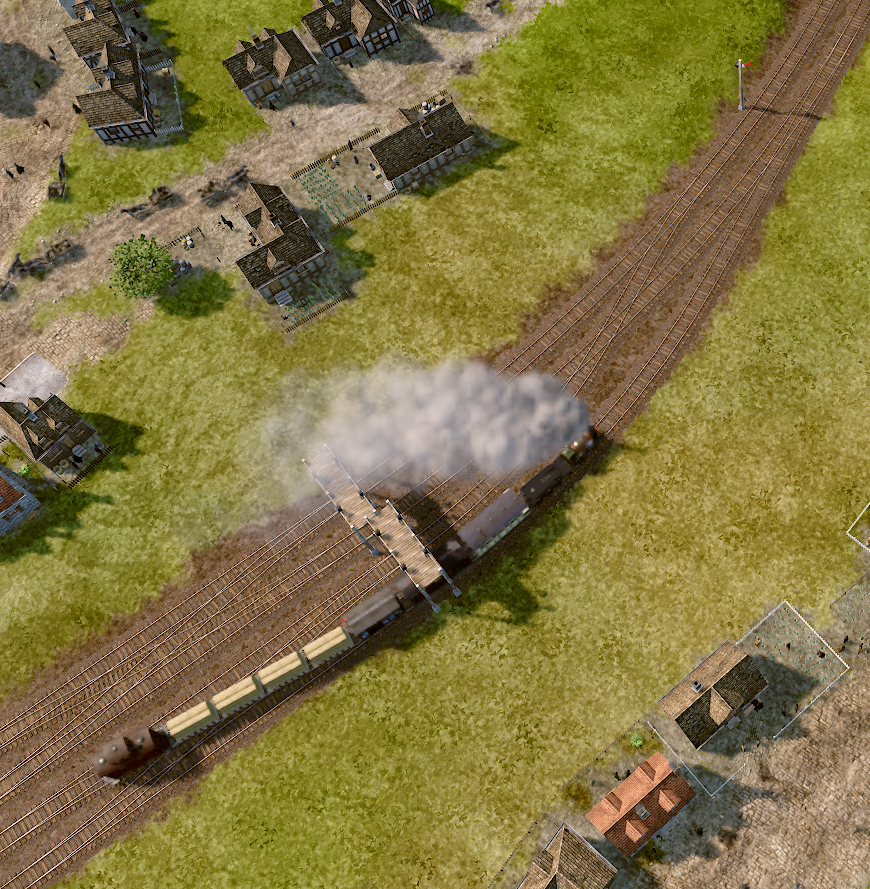
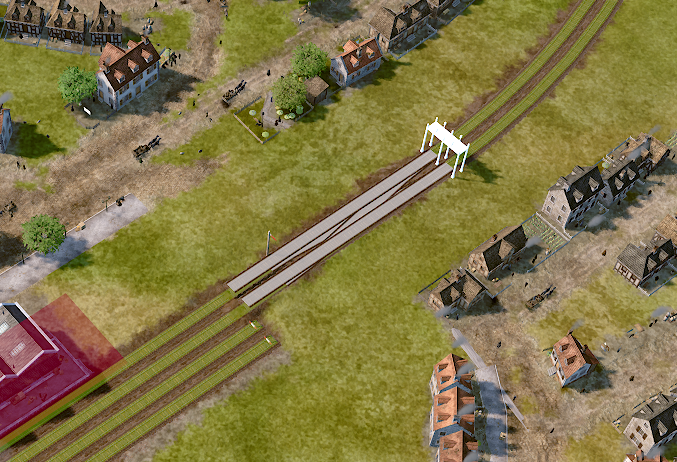
We will place two separate 2 tracks gridirons, one on tracks #1 and #2, and another on tracks #3 and #4. A four track gridiron would also work, but it requites twice as long parallel tracks.
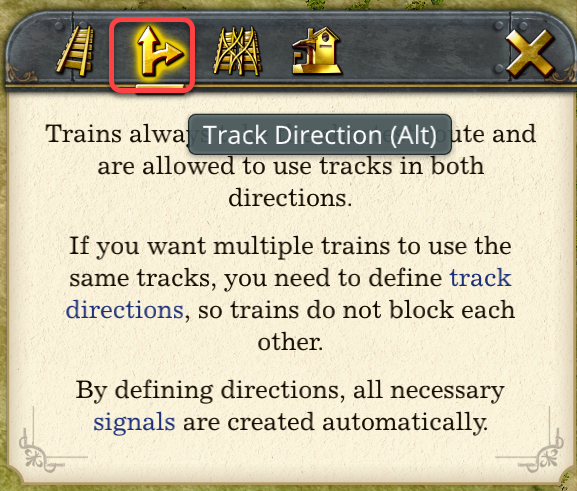
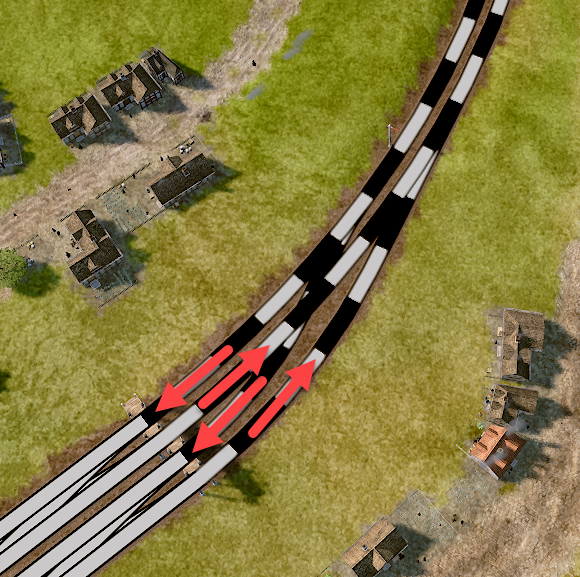
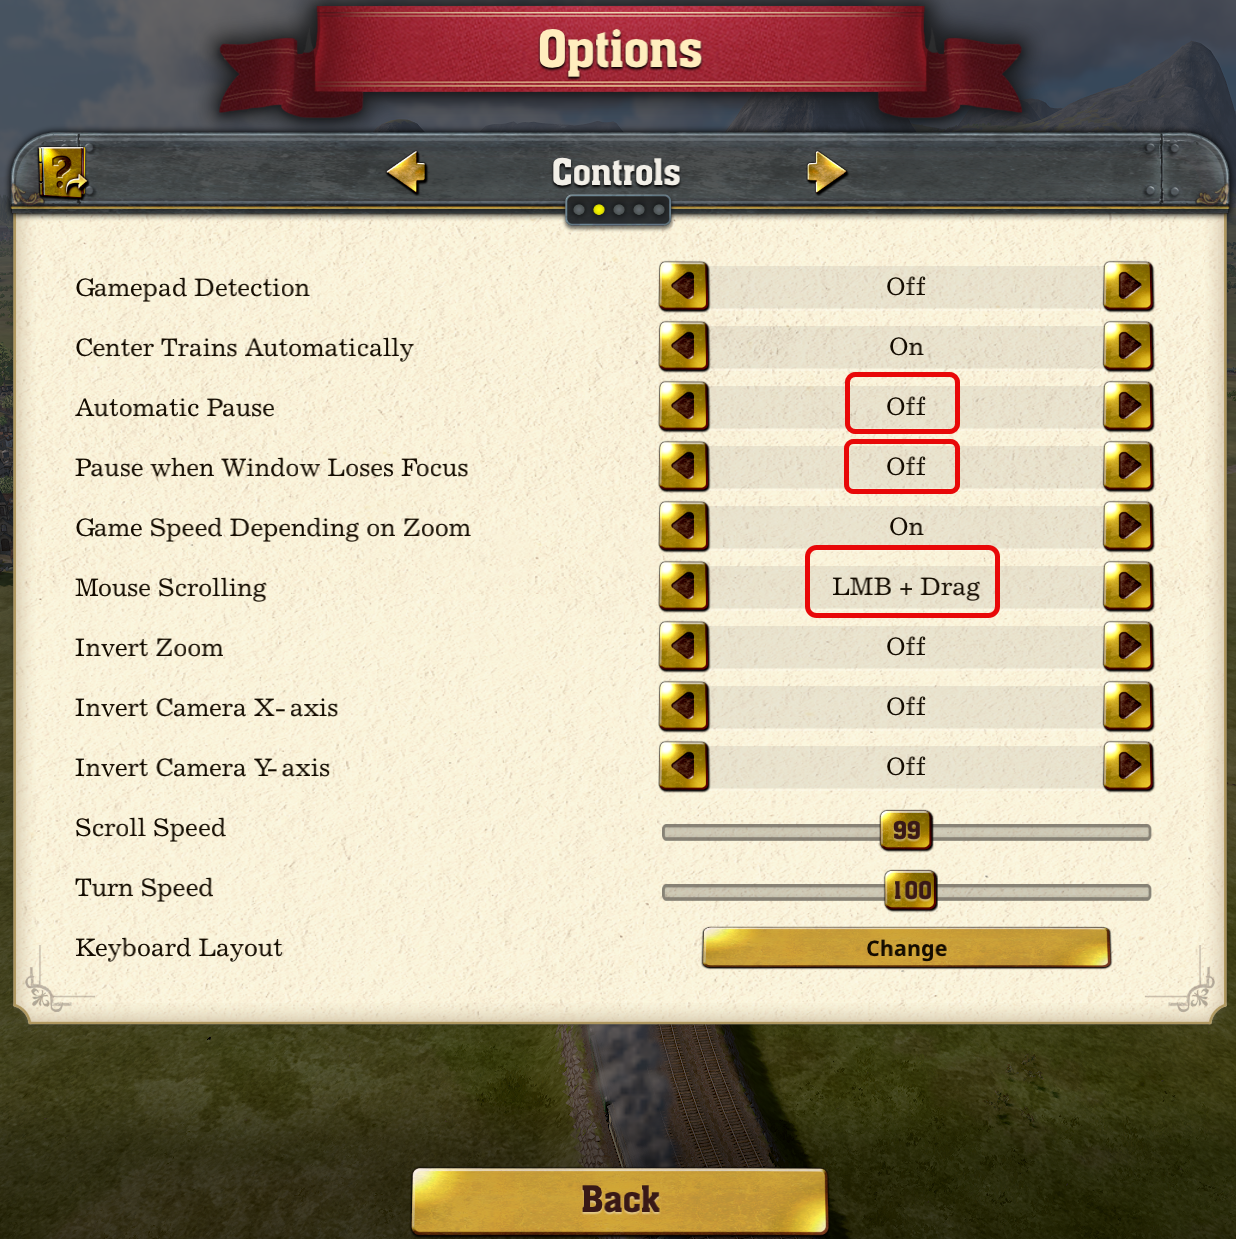
– Automatic Pause stops the game when we open the track building panel. This prevents traffic jams, but stops the game and progress unnecessarily.
– When the window loses focus the game and progress stops.
– Edge scrolling is very fast and sensitive in Railroad Empire 2. To disable automatic edge scrolling.
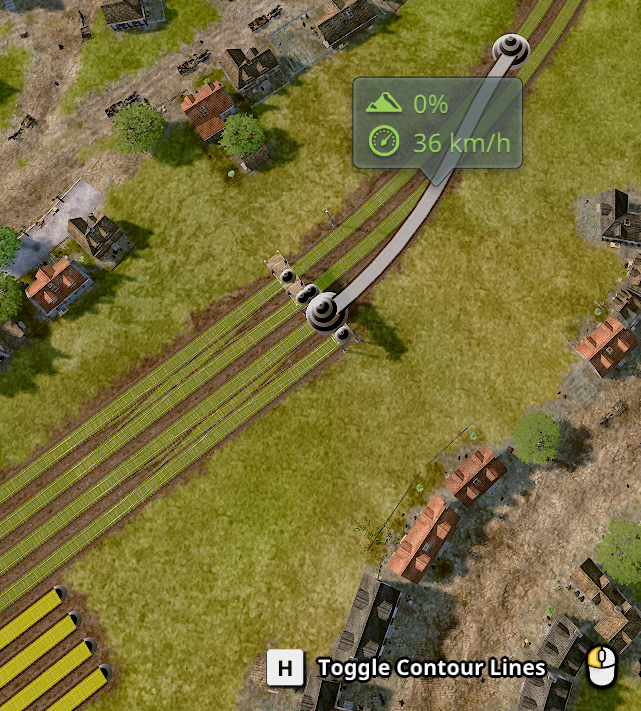
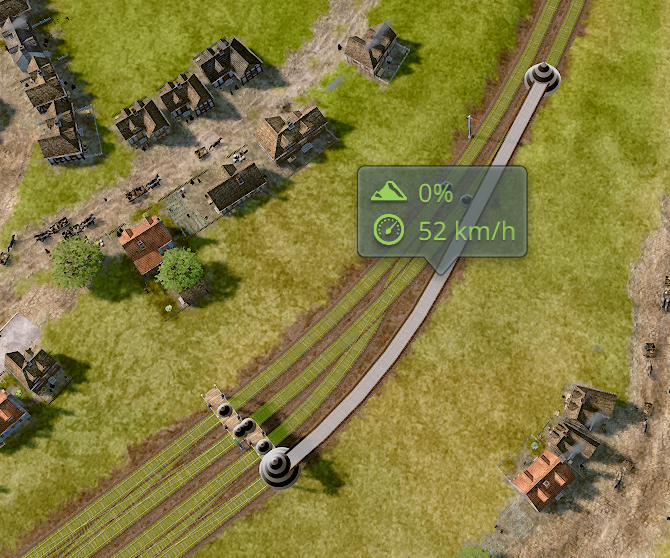
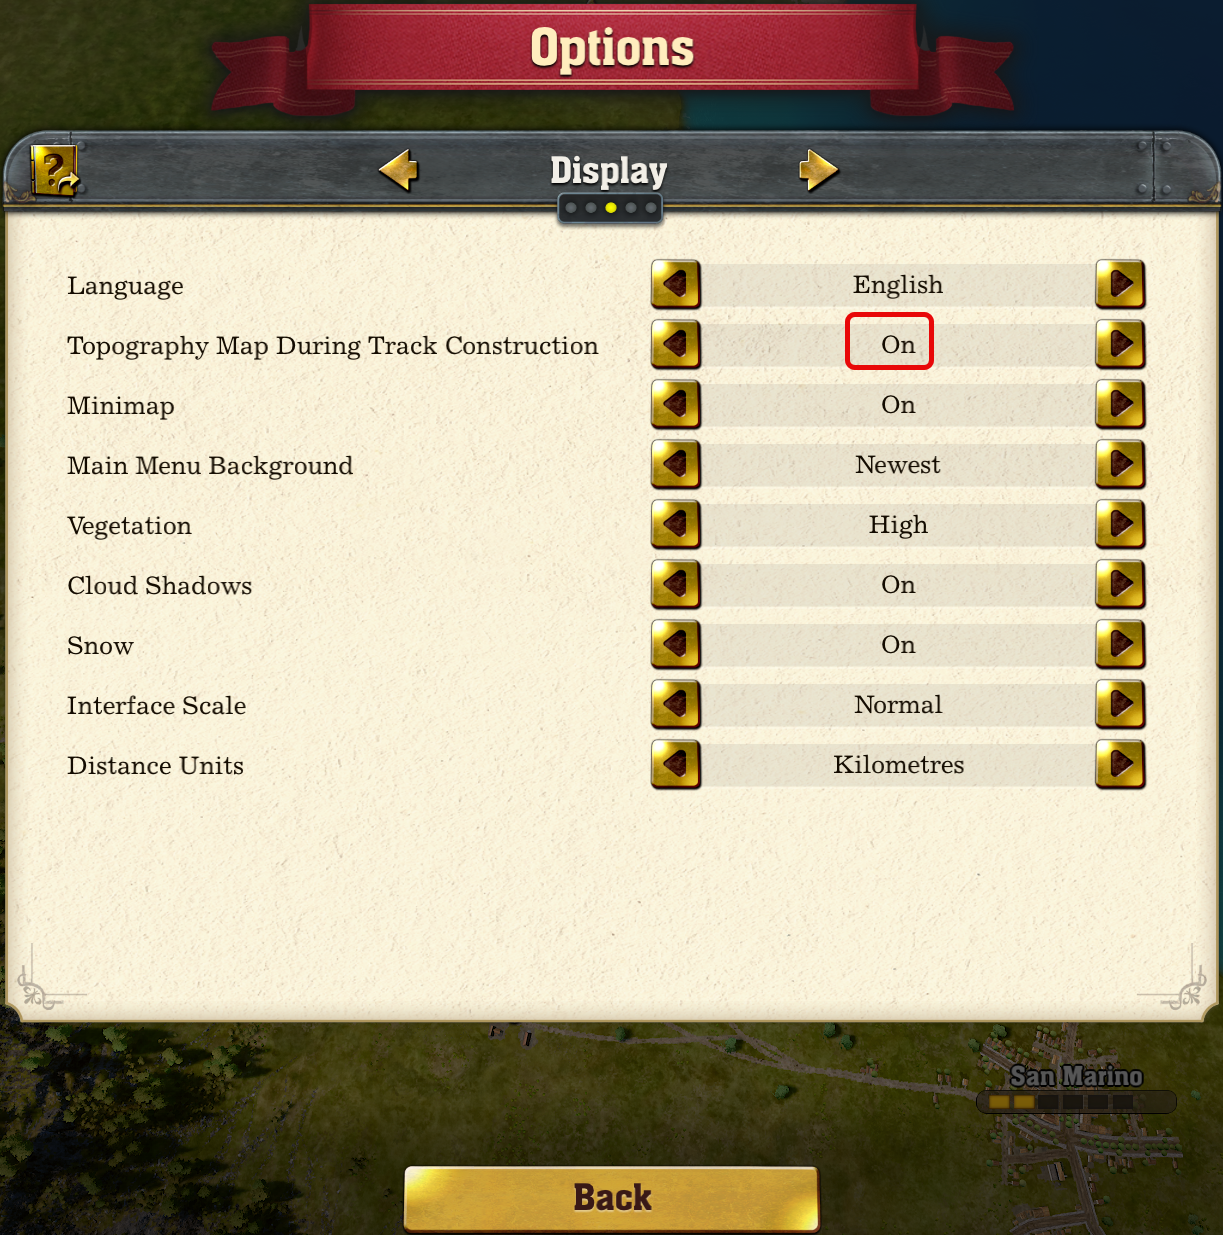
– It is helpful to see the topography during track construction.
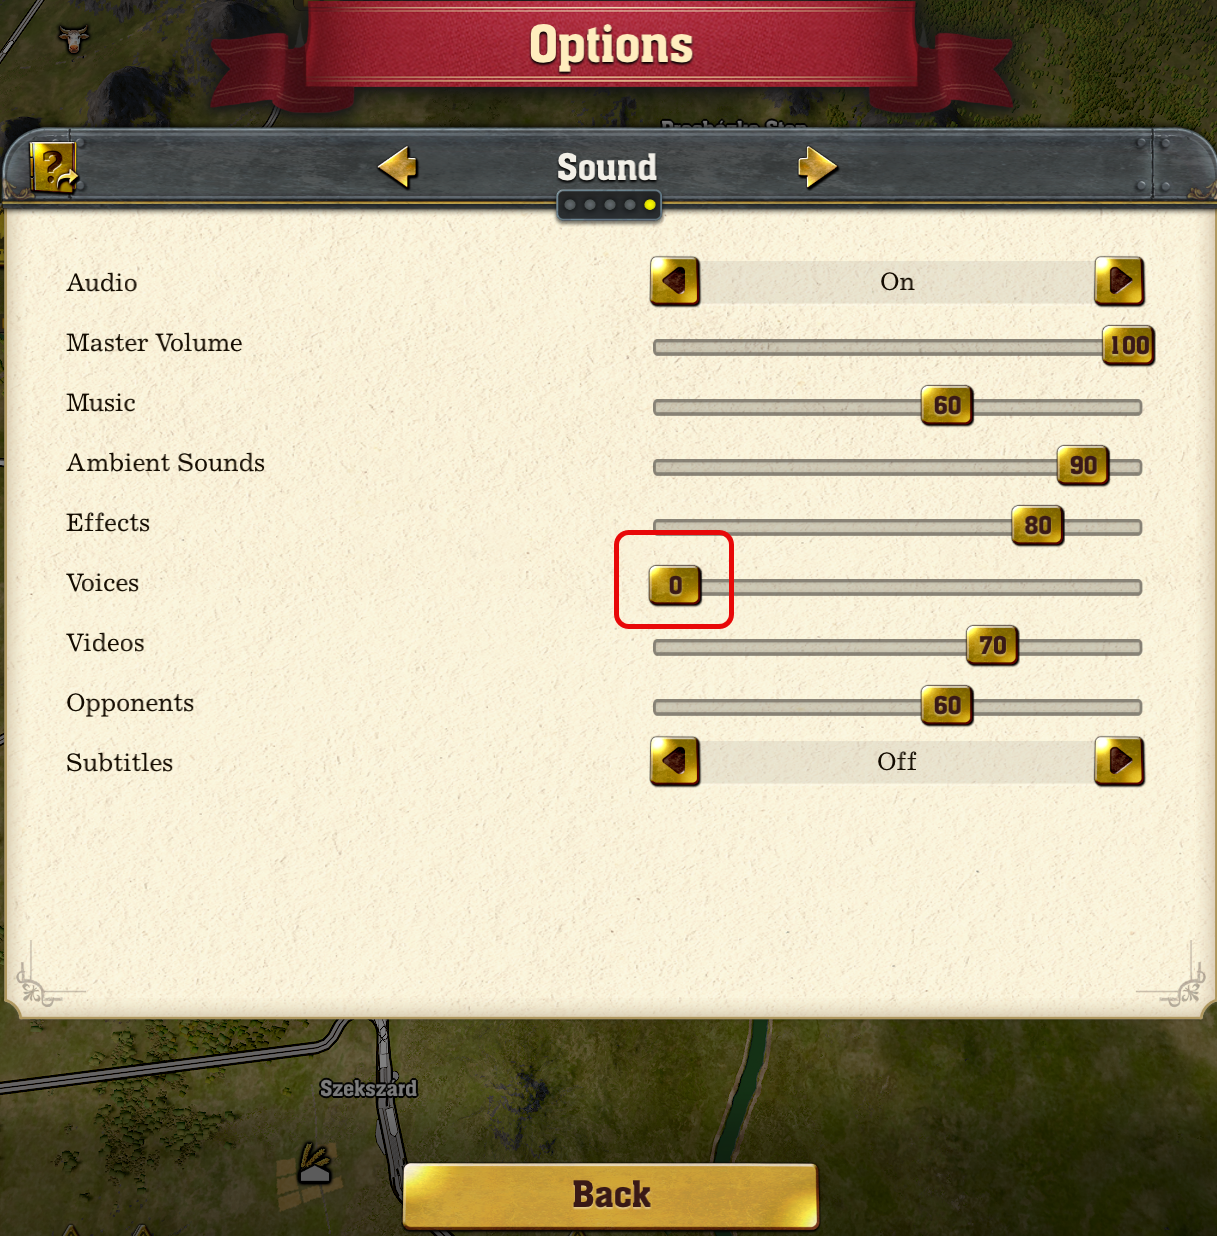
– After a while opponents regularly repeat the same insults, at least we can silence them.
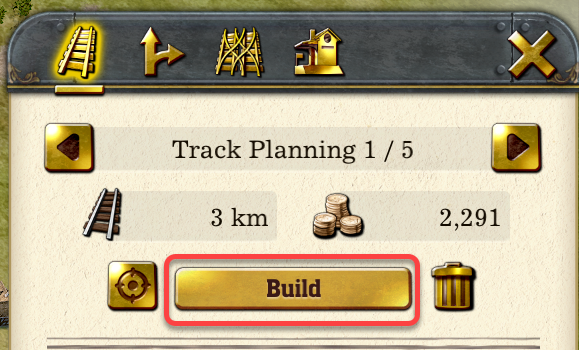
By default the game automatically pauses and stays in pause mode when you open the track construction panel. In this state even the tutorial stops responding. We can turn off Automatic Pause on the Controls tab of Options (see Configuration above).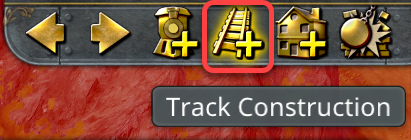


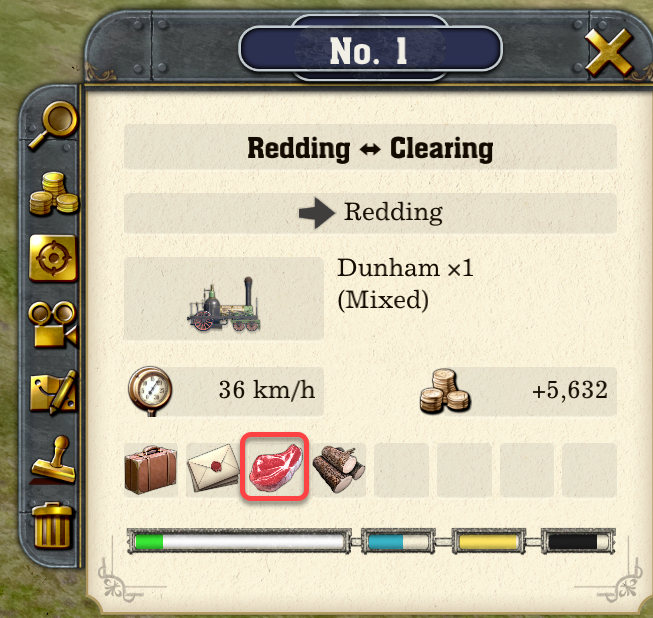
An industry in the city grows if the demand is at least 60% satisfied.
Your main city needs a type of goods

Another city supposed to produce and send it, but for the industry to activate the population has to reach a minimum level

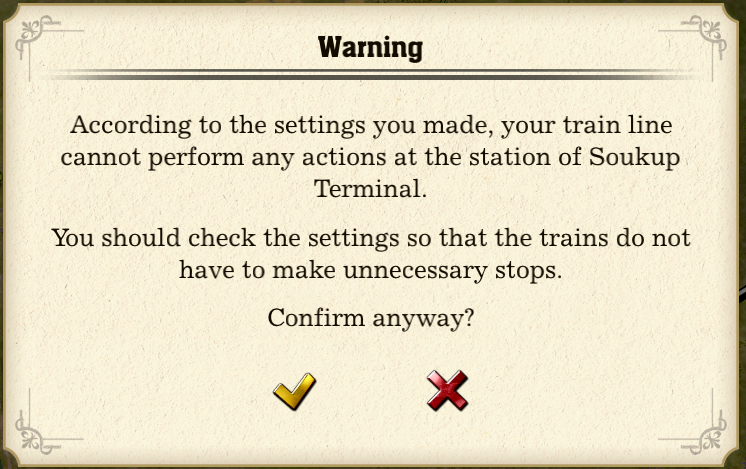
When you try to add a new station to a line, and the directly connected cities do not need the type of good it supplies, the message appears:
According to the settings you made, your train line cannot perform any actions at the station of …
You should check the settings so that the trains do not have to make unnecessary stops.
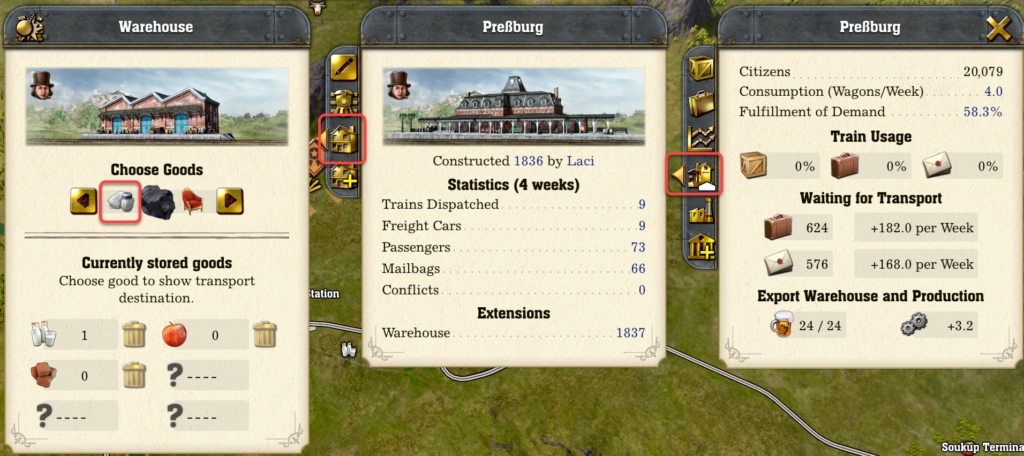
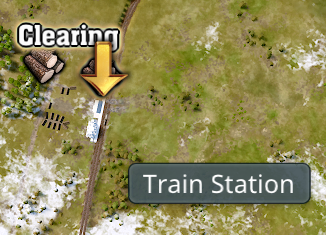
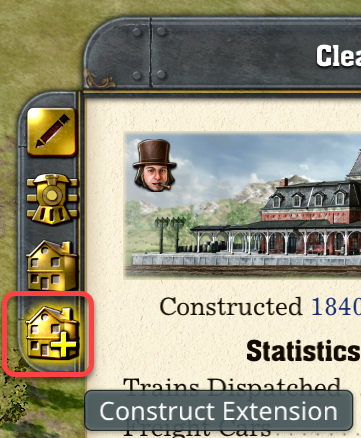
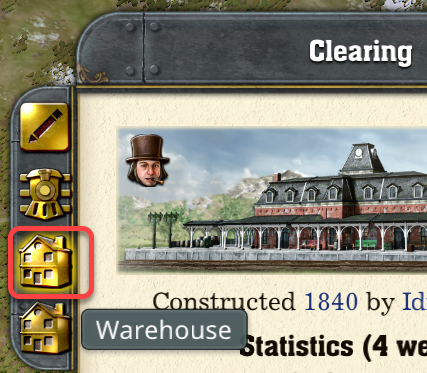
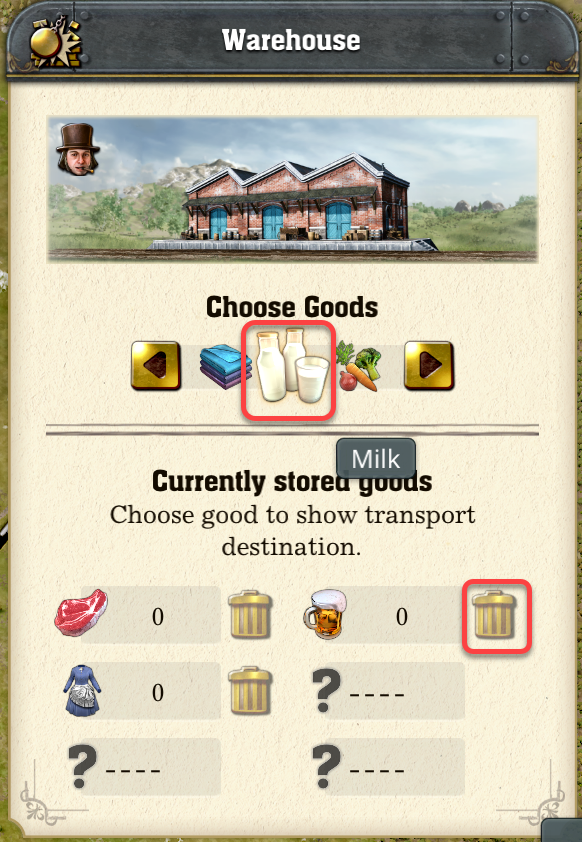
To help to distribute the goods to other cities, create a warehouse at a station which has another lines, and add the types to the warehouse on that station:
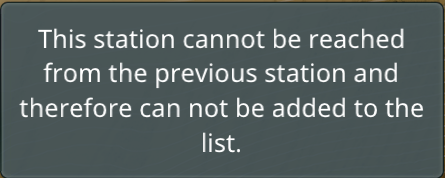
This station cannot be reached from the previous station and therefore can not be added to the list.
The trains cannot switch between tracks to make the round trip between the stations.
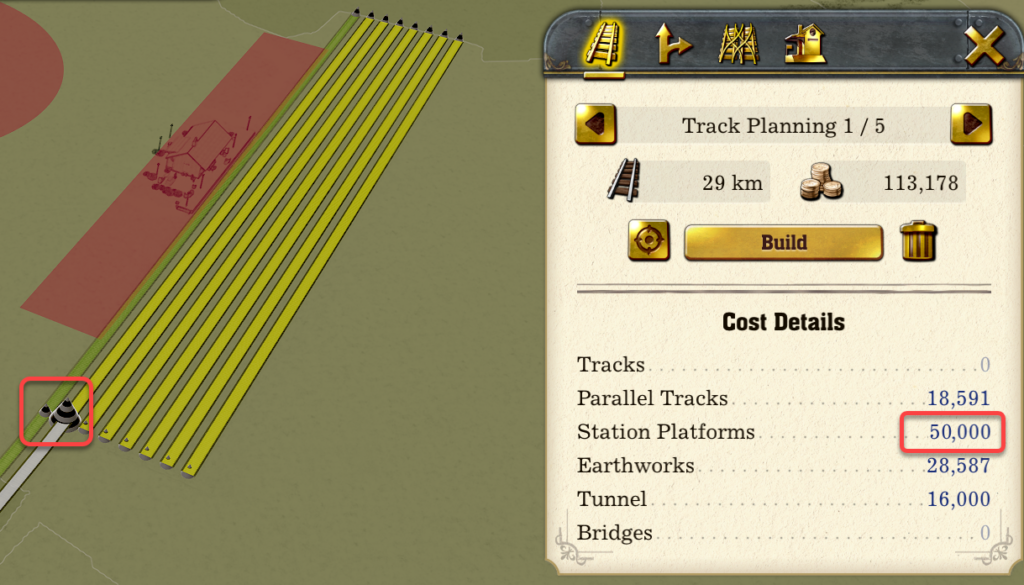
When you connect the first track to the station the track you use determines the size and cost of the platforms. For rural stations use the first two tracks closest to the building to minimize the cost.
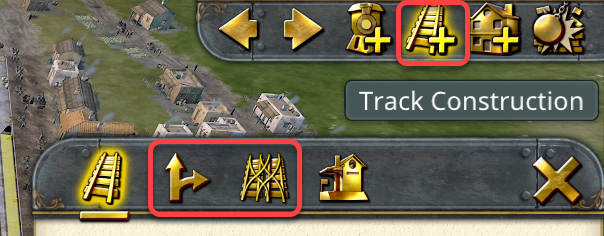
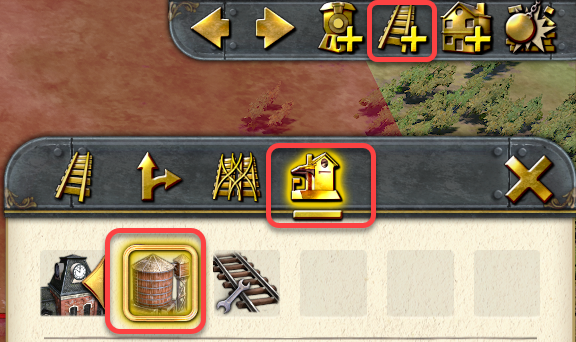
To transfer freight between lines in cities and rural stations those have to have a warehouse. The transfer happens if there is no direct rail, and the way by rail is at most twice as long as the direct way by road.
Warning: The warehouse does not supply the place where it is placed. Its only purpose is to supply the connected cities, so the hosting city will not get from the stock. Use the warehouse only for goods which are not needed in that city, or set up a separate freight station to supply the city with lines from the suppliers.
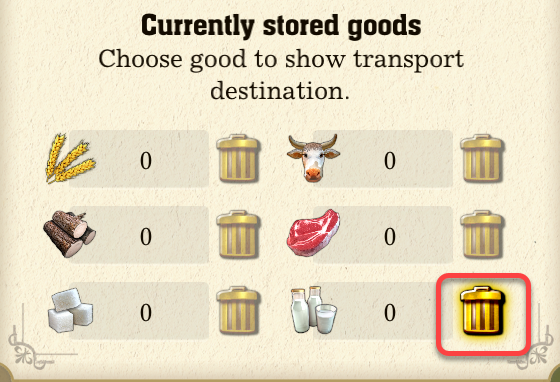
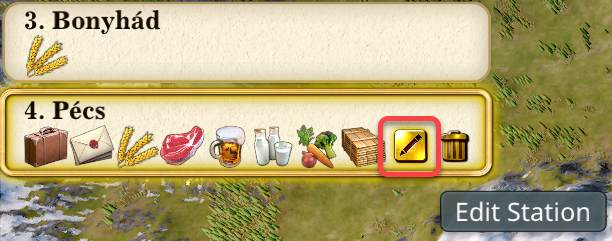
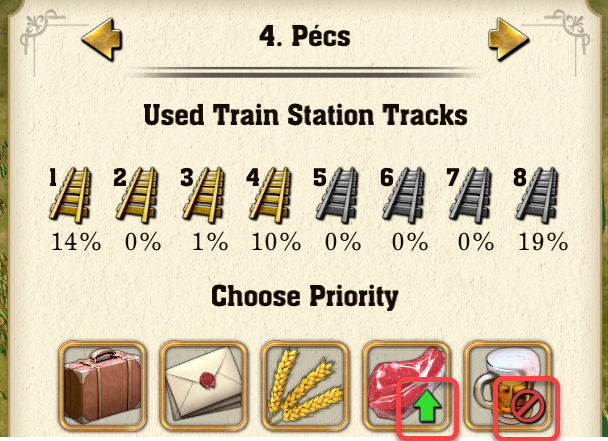

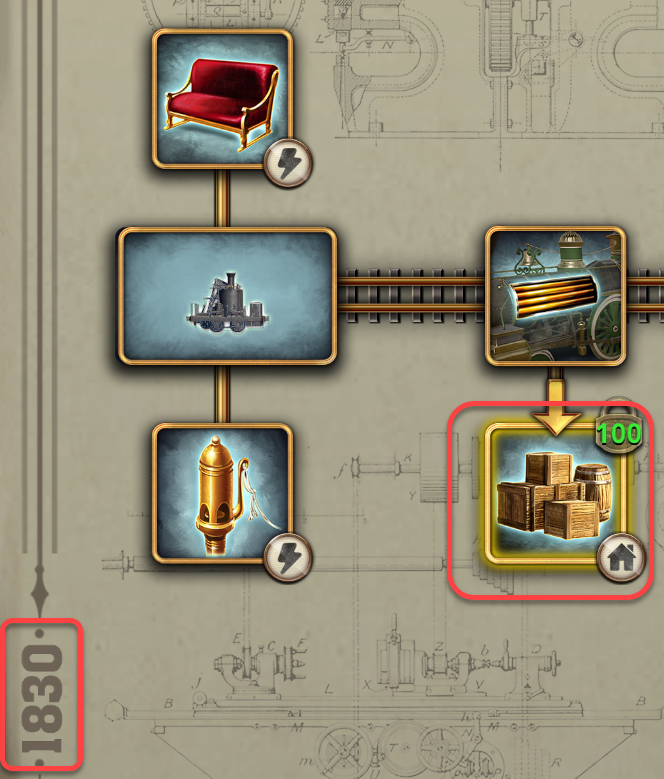
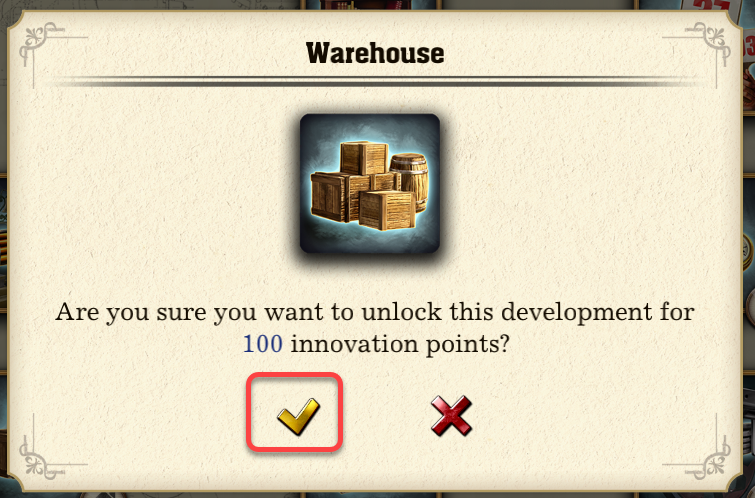
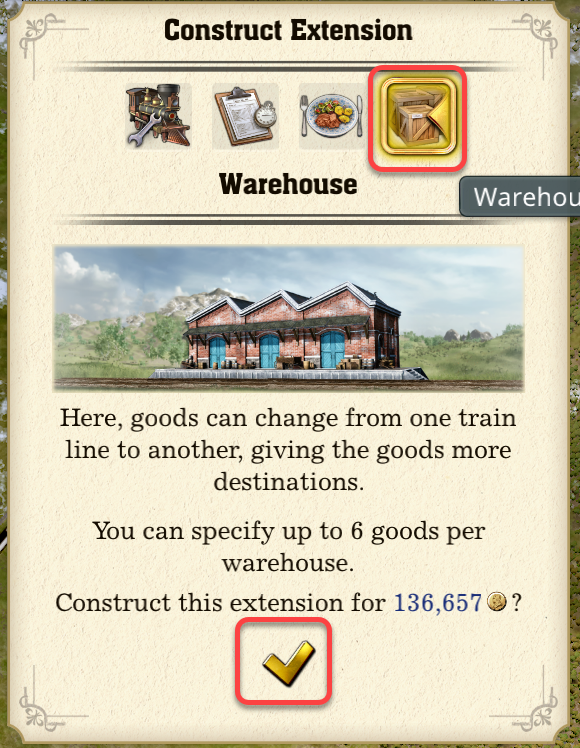
Warning: the selected good types will not supply the place hosting the warehouse, only places with connected rail lines!

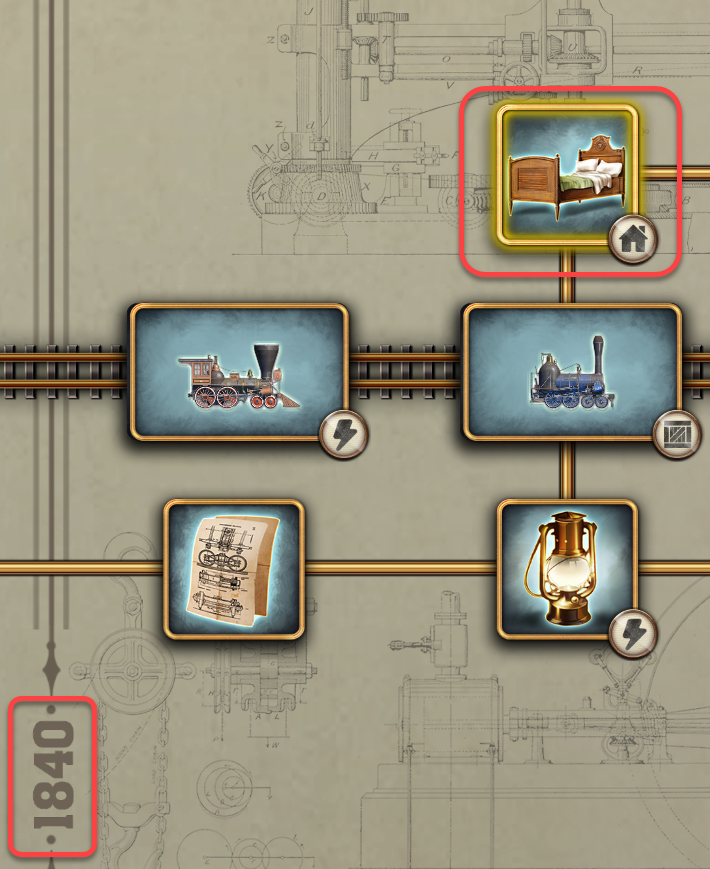
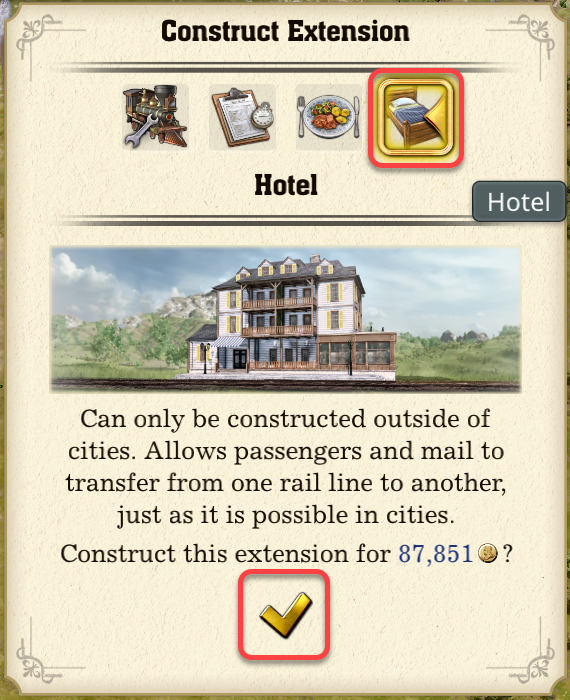
Passengers and mail can transfer between lines in cities, but rural stations have to have a hotel. The transfer happens if there is no direct rail, and the way by rail is at most twice as long as the direct way by road.



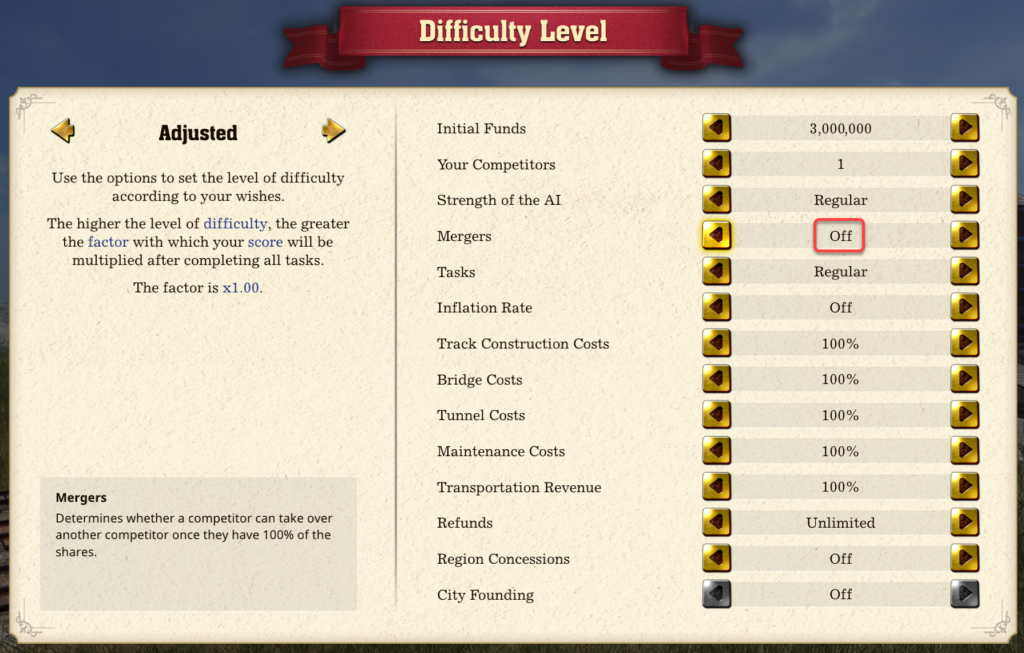
If another company acquires 100% of your stocks, the game is over. To remove this possibility disable mergers.
When in one area more than 50 employees work for you, start to optimize your staff.

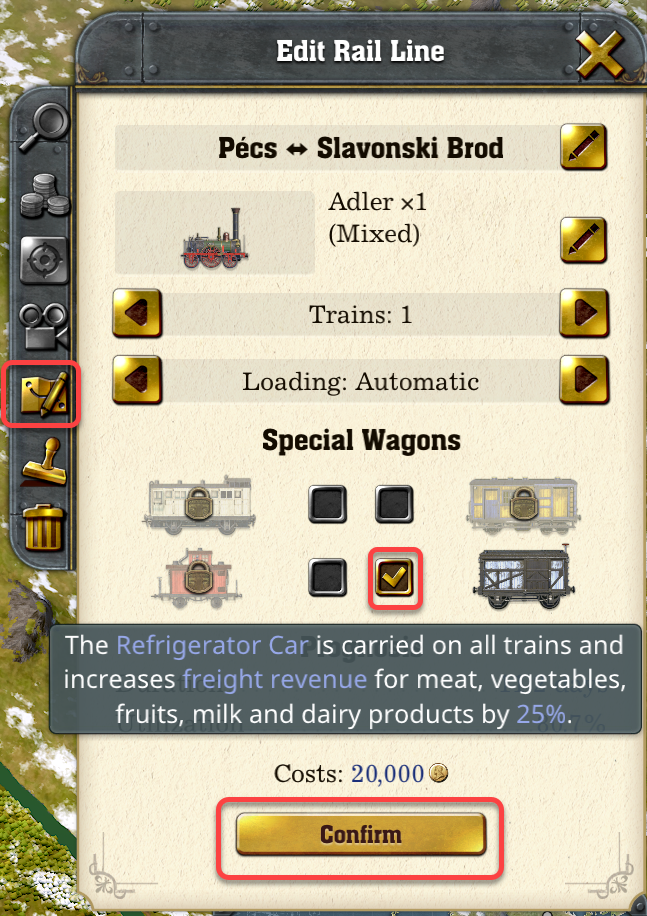
If you place refrigerator cars on the line the revenue of meat, vegetables, fruits, milk and dairy products increases by 25%.
When a Lucid Chart image is embedded in a web page, the Lucid viewer allows the accidental scrolling and zooming of the image. Currently, there is no option to disable these features.
There is a simple way to prevent accidental interaction with the Lucid Chart viewer. We can place a transparent layer on top of the image to isolate it.
This syntax is for Remix React.js, which uses {{ }} around the style elements, but it should be easy to reformat it for regular CSS
<div style={{width: '960px', height: '720px', margin: 'auto', position: 'relative'}}>
  <img src="transparent-1_1.png" style={{width: '100%', height: '100%', position: 'absolute'}}/>
  <iframe allowFullScreen frameBorder="0" style={{width: '100%', height: '100%'}} src="https://lucid.app/documents/embedded/MY_GUID" id="MY_ID">
  </iframe>
</div>When the Stable Diffusion AI image generator creates pictures, it sometimes flags ordinary outputs as Not Safe For Work (NSFW). If you use the software at home on your personal computer you may disable the NSFW filter.
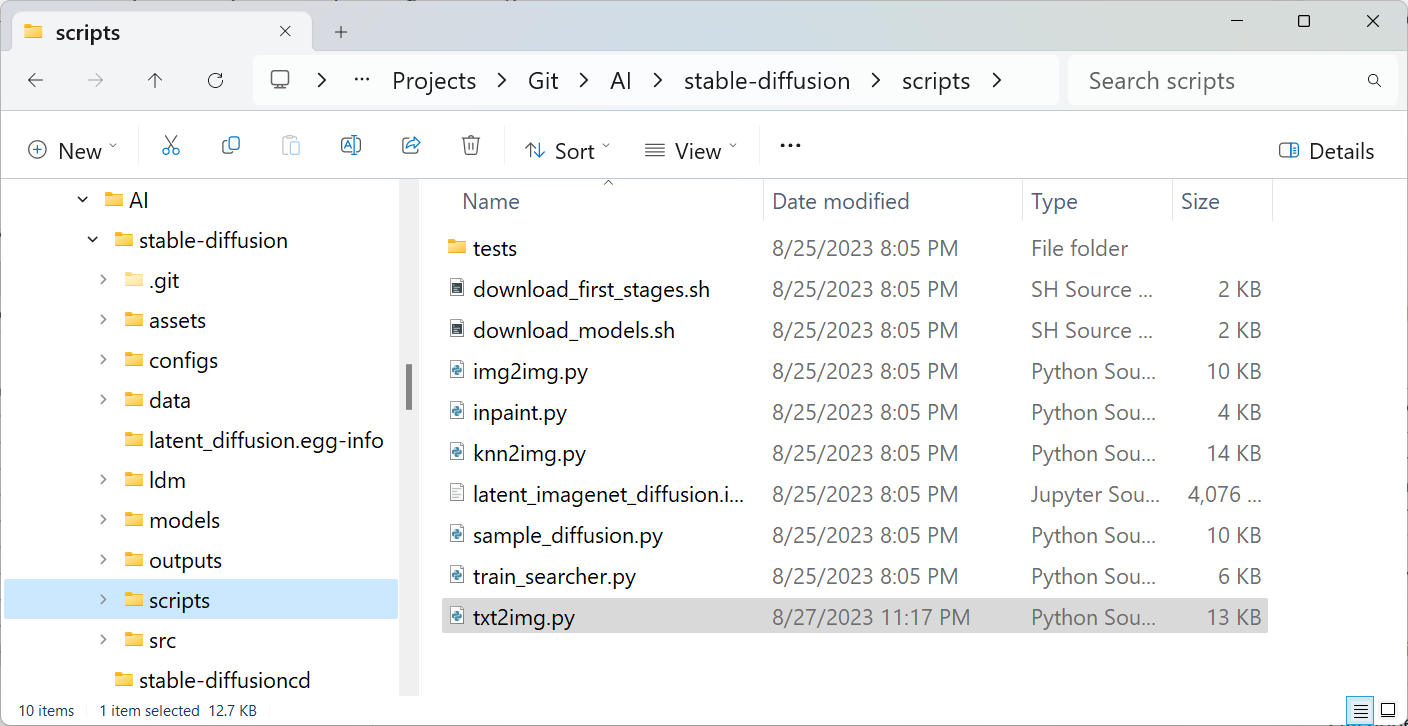
When you clone the Stable Diffusion GitHub repository, the txt2img.py file should appear in the scripts directory. If it is not there, clone the repository again from https://github.com/CompVis/stable-diffusion.git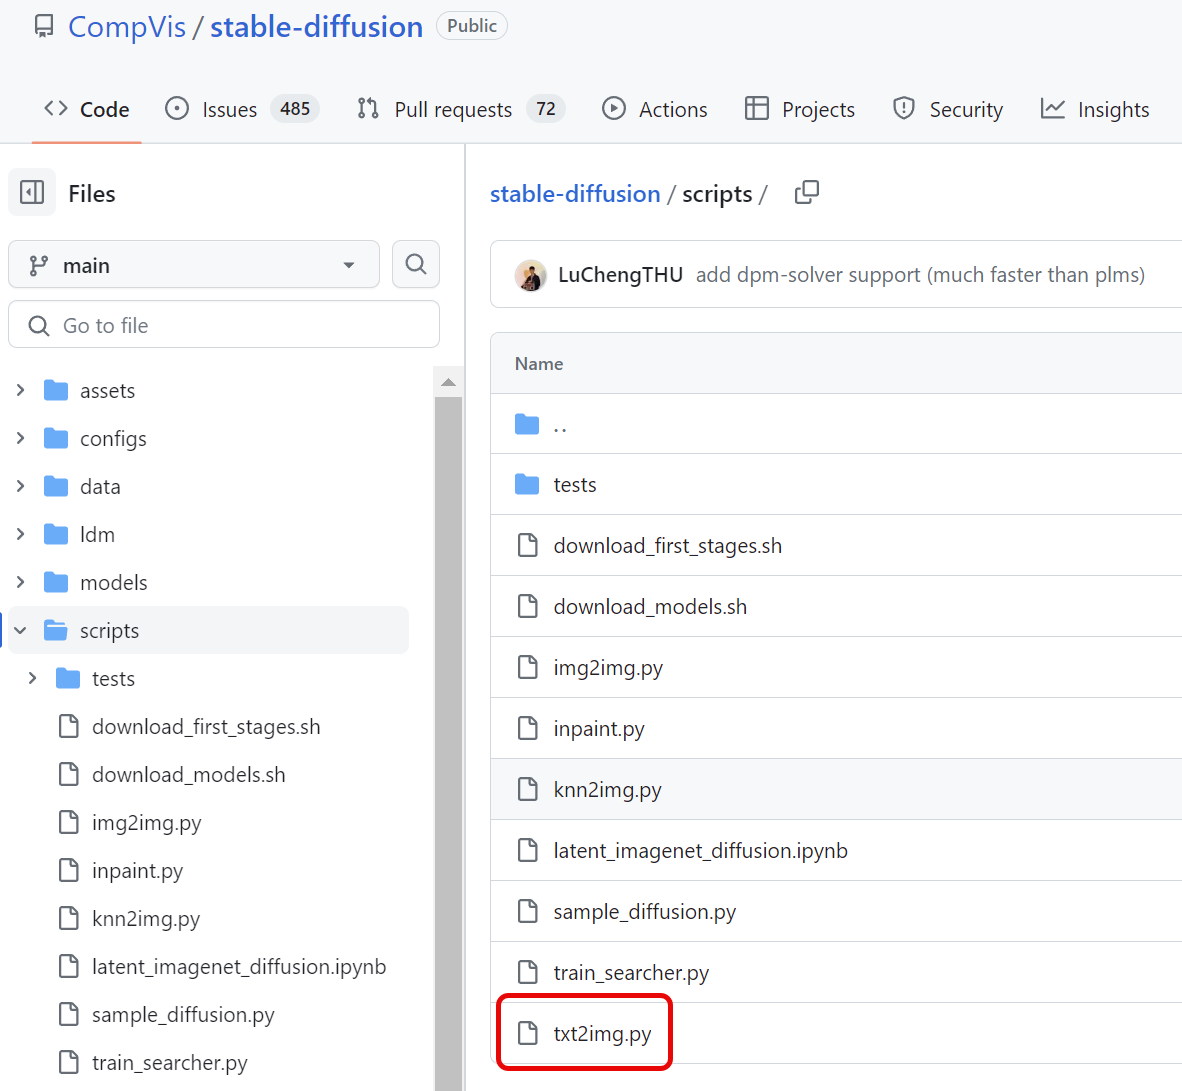
def check_safety(x_image):    return x_image, ' '
safety_checker_input = ...When Stable Diffusion throws the following error
ImportError: cannot import name ‘CLIPTextModelWithProjection’ from ‘transformers’
- transformers==4.31.0conda env update -f environment.yaml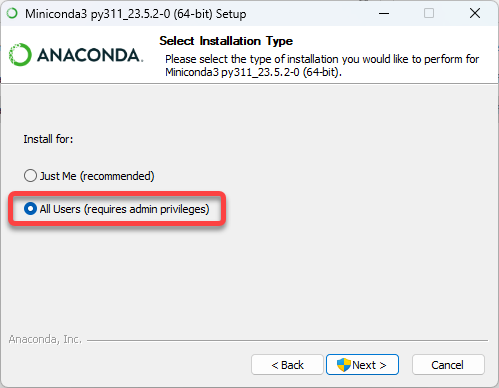
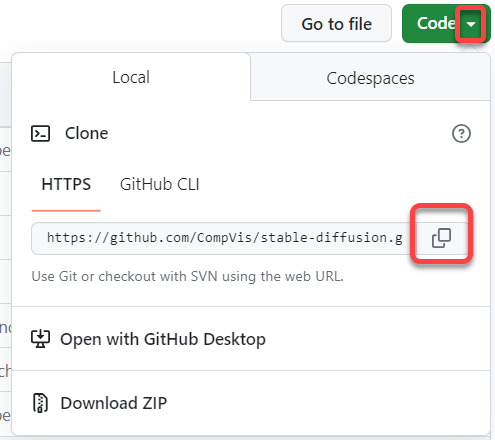
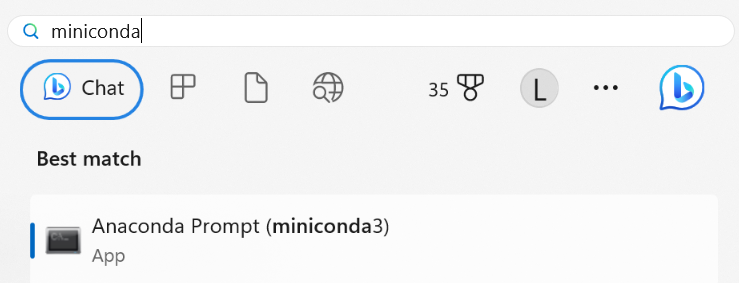
conda env create -f environment.yaml
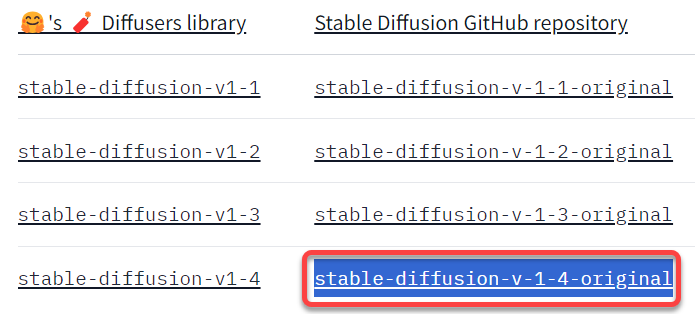
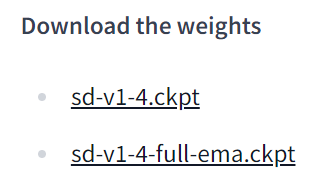
conda activate ldmmkdir models\ldm\stable-diffusion-v1cd models\ldm\stable-diffusion-v1copy C:\Users\MY_USER_NAME\Downloads\sd-v1-4-full-ema.ckpt model.ckptconda activate ldmWe will call a Python script with the –prompt argument and type the English description of the image
python scripts/txt2img.py --prompt "a close-up portrait of a cat by pablo picasso, vivid, abstract art, colorful, vibrant" --plms --n_iter 5 --n_samples 1The image will be created in the stable-diffusion\outputs\txt2img-samples\samples directory
To get help on using Stable Diffusion executepython scripts/txt2img.py --help
For more information see https://www.howtogeek.com/830179/how-to-run-stable-diffusion-on-your-pc-to-generate-ai-images/
Remix has an HTML first, simple data access philosophy. Most Remix web applications work without JavScript code in the browser. It is possible to create a complete dynamic data driven Remix web application with only server side JavaScript code with pure HTML in the browser.
This back to the roots approach makes Remix applications easy to understand, extend, and troubleshoot. A single TypeScript file contains the database access (backend) and the browser side (frontend) code. The data transfer API setup between the server and the browser is handled entirely by the Remix framework, only a few lines of code is needed to access the data in the browser.
The loader() function reads the data from the database and exposes it in JSON format to the browser. We can even expose environment variables to the browser, but make not to send secret values, as those are accessible to the user.
In the browser side code we use “|| {}” to avoid TypeError: Cannot destructure property ‘incidents’ of ‘useLoaderData(…)’ as it is null.
// /app/routes/_index.tsx file

import { useLoaderData } from '@remix-run/react';
import { LoaderArgs, json } from "@remix-run/node";

// --------------------------------------

// The server side code
export async function loader({ request }: LoaderArgs) {

  ...
  const data = await GET_THE_DATA_FROM_THE_DATABASE();
  ...
  // Expose the data to the browser
  return json({ environment: process.env.ENVIRONMENT, data: data });

}

// --------------------------------------

// The browser side code
export default function Index() {

  const { environment, data } = useLoaderData<typeof loader>() || {} ;

  return (
    <>
      Environment: {environment.environment}
    </>
  )

}The official instructions are at Remix Quickstart
To start the development of a new Remix React.js web application
npx create-remix@latest MY_PROJECT_NAME
Need to install the following packages:
create-remix@1.19.3
Ok to proceed? (y)What type of app do you want to create?Where do you want to deploy?TypeScript or JavaScript?Do you want me to run npm install?React/Remix applications are compiled before deployment, during compilation output files are placed in the public directory. Always use relative paths when you refer to files:
For imports, the “app” directory is the root, indicated with the tilde (~). Do not specify the extension in the import line, as .ts and .tsx files will be compiled to .js.
import { logError } from './logHelper';
import { Ticket, Customer } from '~/models/types';
For images, the “public” directory is the root
<img src="header.png" style={{width: '100%'}} />npm run devThere are multiple ways to reference style sheets in React, we will combine them to be able to use a global style sheet for the overall look and feel of the site and load additional page specific sheets.
mkdir app/styles/* /app/styles/global.css file */
* {
box-sizing: border-box;
padding: 0;
margin: 0;
}
html,
body {
max-width: 100vw;
font-family: Roboto, Helvetica, Arial, sans-serif;
}
a {
color: inherit;
text-decoration: none;
}
/* =========================================================== */
/* BEGIN Loading indicator fade in */
.fade-in-image {
background-color: white;
animation: fadeIn 5s;
-webkit-animation: fadeIn 5s;
-moz-animation: fadeIn 5s;
-o-animation: fadeIn 5s;
-ms-animation: fadeIn 5s;
}
@media (prefers-color-scheme: dark) {
.fade-in-image {
filter: invert(100%);
}
.fade-in-image h1 {
color: black;
}
}
@keyframes fadeIn {
0% { opacity: 0; }
100% { opacity: 1; }
}
@-moz-keyframes fadeIn {
0% { opacity: 0; }
100% { opacity: 1; }
}
@-webkit-keyframes fadeIn {
0% { opacity: 0; }
100% { opacity: 1; }
}
@-o-keyframes fadeIn {
0% { opacity: 0; }
100% { opacity: 1; }
}
@-ms-keyframes fadeIn {
0% { opacity: 0; }
100% { opacity: 1; }
}
/* END Loading indicator fade in */
/* =========================================================== */
/* BEGIN Menu */
.navlink {
margin: 7px;
margin-left: 20px;
float: left;
color: #f0f0f0;
}
#navbar a.pending {
color: gray;
}
#navbar a.active {
color: white;
font-weight: bold;
}
/* END Menu */
/* =========================================================== */
/* BEGIN Page content */
.pagecontent {
margin-left: 20px;
margin-right: 20px;
}
/* END Page content */// /app/root.tsx file
import {
Links,
LiveReload,
Meta,
Outlet,
Scripts,
ScrollRestoration,
} from "@remix-run/react";
// ========================================
// Import the global style sheet
import styles from "~/styles/global.css";
// Import the LinksFunction
import type { LinksFunction } from "@remix-run/node";
// Expose the imported stylesheet to the <Links /> module
export const links: LinksFunction = () => {
return [
{
rel: "stylesheet",
href: styles,
},
];
};
// ========================================
// The <Links /> component will create the <link ... HTML instruction in the <head> of all pages to load the style sheet
export default function App() {
return (
<html lang="en">
<head>
<meta charSet="utf-8" />
<title>MY APPLICATION NAME</title>
<meta name="description" content="MY APPLCIATION DESCRIPTION" />
<link rel="icon" href="/favicon.ico" />
<meta name="viewport" content="width=device-width,initial-scale=1" />
<Meta />
<Links />
</head>
<body>
<Outlet />
<ScrollRestoration />
<Scripts />
<LiveReload />
</body>
</html>
);
}
To be able to navigate between pages we will create a menu system. To code it only once and use it in every page, we will create the Header component in its own file, and call it from every page of the application. In this example we will use Material UI and React components. After the </AppBar> instruction we will also add a loading indicator which automatically fades in when the page load takes a longer time.
npm install @mui/material @emotion/react @emotion/styled// /app/routes/_header.tsx file
// Remix imports
import { NavLink, useNavigation } from '@remix-run/react';
// Material UI imports
import AppBar from '@mui/material/AppBar';
// Cascading menu
import * as React from 'react';
import Button from '@mui/material/Button';
import Menu from '@mui/material/Menu';
import MenuItem from '@mui/material/MenuItem';
// Export the function to make it available to other modules
export default function Header(environment:any) {
// ----------------------------------------------------
// Loading indicator
const navigation = useNavigation();
const isLoading = Boolean(navigation.state === 'loading');
// ----------------------------------------------------
// Cascading menu
const [anchorEl, setAnchorEl] = React.useState<null | HTMLElement>(null);
const open = Boolean(anchorEl);
const handleClick = (event: React.MouseEvent<HTMLButtonElement>) => {
setAnchorEl(event.currentTarget);
};
const handleClose = () => {
setAnchorEl(null);
};
// ----------------------------------------------------
return (
<>
<div style={{width: '100%', backgroundColor: '#6ba4ab'}}>
<a
href="./"
rel="noreferrer"
>
<img src="MY_HEADER_IMAGE.png" style={{width: '100%'}} />
</a>
</div>
<AppBar id="navbar" position="static" style={{ display: 'inline-block', backgroundColor: '#6ba4ab'}} >
<div className="navlink">
<NavLink
to="/" end
className={({ isActive, isPending }) =>
isPending ? "pending" : isActive ? "active" : ""
}
>
Home
</NavLink>
</div>
{environment.environment != 'production' ?
<div className="navlink" style={{margin: '0', marginTop: '6px', marginLeft: '12px'}}>
<Button
id="diagrams-button"
aria-controls={open ? 'basic-menu' : undefined}
aria-haspopup="true"
aria-expanded={open ? 'true' : undefined}
onClick={handleClick}
sx={{color: '#f0f0f0', textTransform: 'none', fontFamily: 'Roboto, Helvetica, Arial, sans-serif', fontSize: '1rem', lineHeight: '1', letterSpacing: '0em'}}
>
MY CASCADING MENU ITEMS
</Button>
<Menu
id="basic-menu"
anchorEl={anchorEl}
open={open}
onClose={handleClose}
MenuListProps={{
'aria-labelledby': 'basic-button',
}}
sx={{}}
>
<MenuItem onClick={handleClose}>
<NavLink
to="/physical-supply-chain"
className={({ isActive, isPending }) =>
isPending ? "pending" : isActive ? "active" : ""
}
>
MY CASCADING MENU ITEM NAME
</NavLink>
</MenuItem>
</Menu>
</div>
:
null
}
<div className="navlink">
<NavLink
to="/about"
className={({ isActive, isPending }) =>
isPending ? "pending" : isActive ? "active" : ""
}
>
About this site
</NavLink>
</div>
</AppBar>
{ isLoading ? <div className="fade-in-image" style={{position: 'absolute', zIndex: '100', width: '100vw', height: '100vw'}}><h1 style={{position: 'absolute', top: '20px', left: '100px'}}>Loading data ...</h1><img src="Loading_icon.gif"/></div>
:
null
}
</>
)
}
// /app/routes/_index.tsx file

import type { V2_MetaFunction } from "@remix-run/node";
import Header from "./_header";

export const meta: V2_MetaFunction = () => {
  return [
    { title: "New Remix App" },
    { name: "description", content: "Welcome to Remix!" },
  ];
};

export default function Index() {
  return (
    <div style={{ fontFamily: "system-ui, sans-serif", lineHeight: "1.8" }}>

      {/* Display the Header component */}
      <Header />

      <div className="pagecontent">
        Hello
      </div>

    </div>
  );
}In the next post we will display the version and the name of the envionment in the footer, so let’s create it with that in mind.
// /app/routes/_footer.tsx

// Pass the environment variable as
// <Footer environment={environment} />

// Export the function to make it available to other modules
export default function Footer(props:any) {

  // React uses camelCase for CSS properties
  return (
    <>
    <div className="footer" style={{marginLeft: '20px'}} >
      Version: 2023-09-07_01 {props.environment}
    </div>
  </>
  );
}PostgreSQL has three auto increment column types:
The pdAdmin 4 user interface unfortunately generates the wrong CREATE script for existing tables:
CREATE TABLE IF NOT EXISTS public.test (
    id integer NOT NULL DEFAULT nextval('test_id_seq'::regclass)
)
If we execute it, we get the error message:
ERROR: relation “test_id_seq” does not exist
LINE 3: id integer NOT NULL DEFAULT nextval(‘test_id_seq’::regcl…
The correct syntax which auto generates the sequence too, is:
CREATE TABLE public.test (
   id SERIAL PRIMARY KEY
);
For more information see Creating tables with PostgreSQL