Download the Microsoft Remote Desktop app from the App Store
Open the App Store
Search for “microsoft remote desktop”
Click the Microsoft Remote Desktop icon
Click the blue Get button
Click the green Install App button
Docker Desktop
Kubernetes cluster management
OpenLens
OpenLens is the open source (free) version of the Lens application. Muhammed Kalkan provides binary builds and installation instructions on his GitHub page at ttps://github.com/MuhammedKalkan/OpenLens
The simplest is to install OpenLens with Brew using his builds:
The Amazon Web Services command line interface installation will set up your workstation to launch instances in AWS from Test Kitchen. If you know you will work with AWS, see DevOps Engineering part 3. – Working with AWS for the AWS CLI installation.
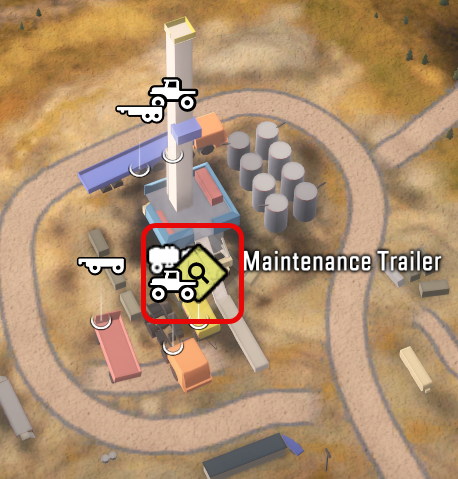
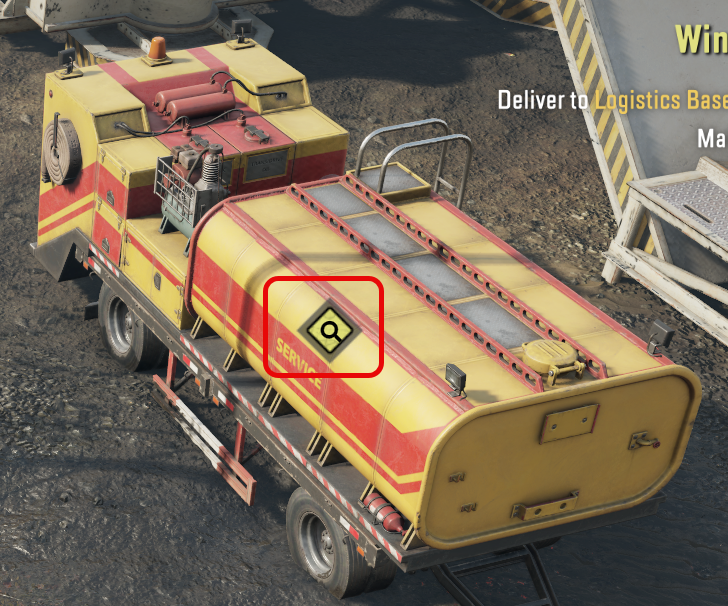
You can always refuel your truck at the Fuel Stations, but there are fuel trailers on the maps where you can also fill up the tank of your truck.
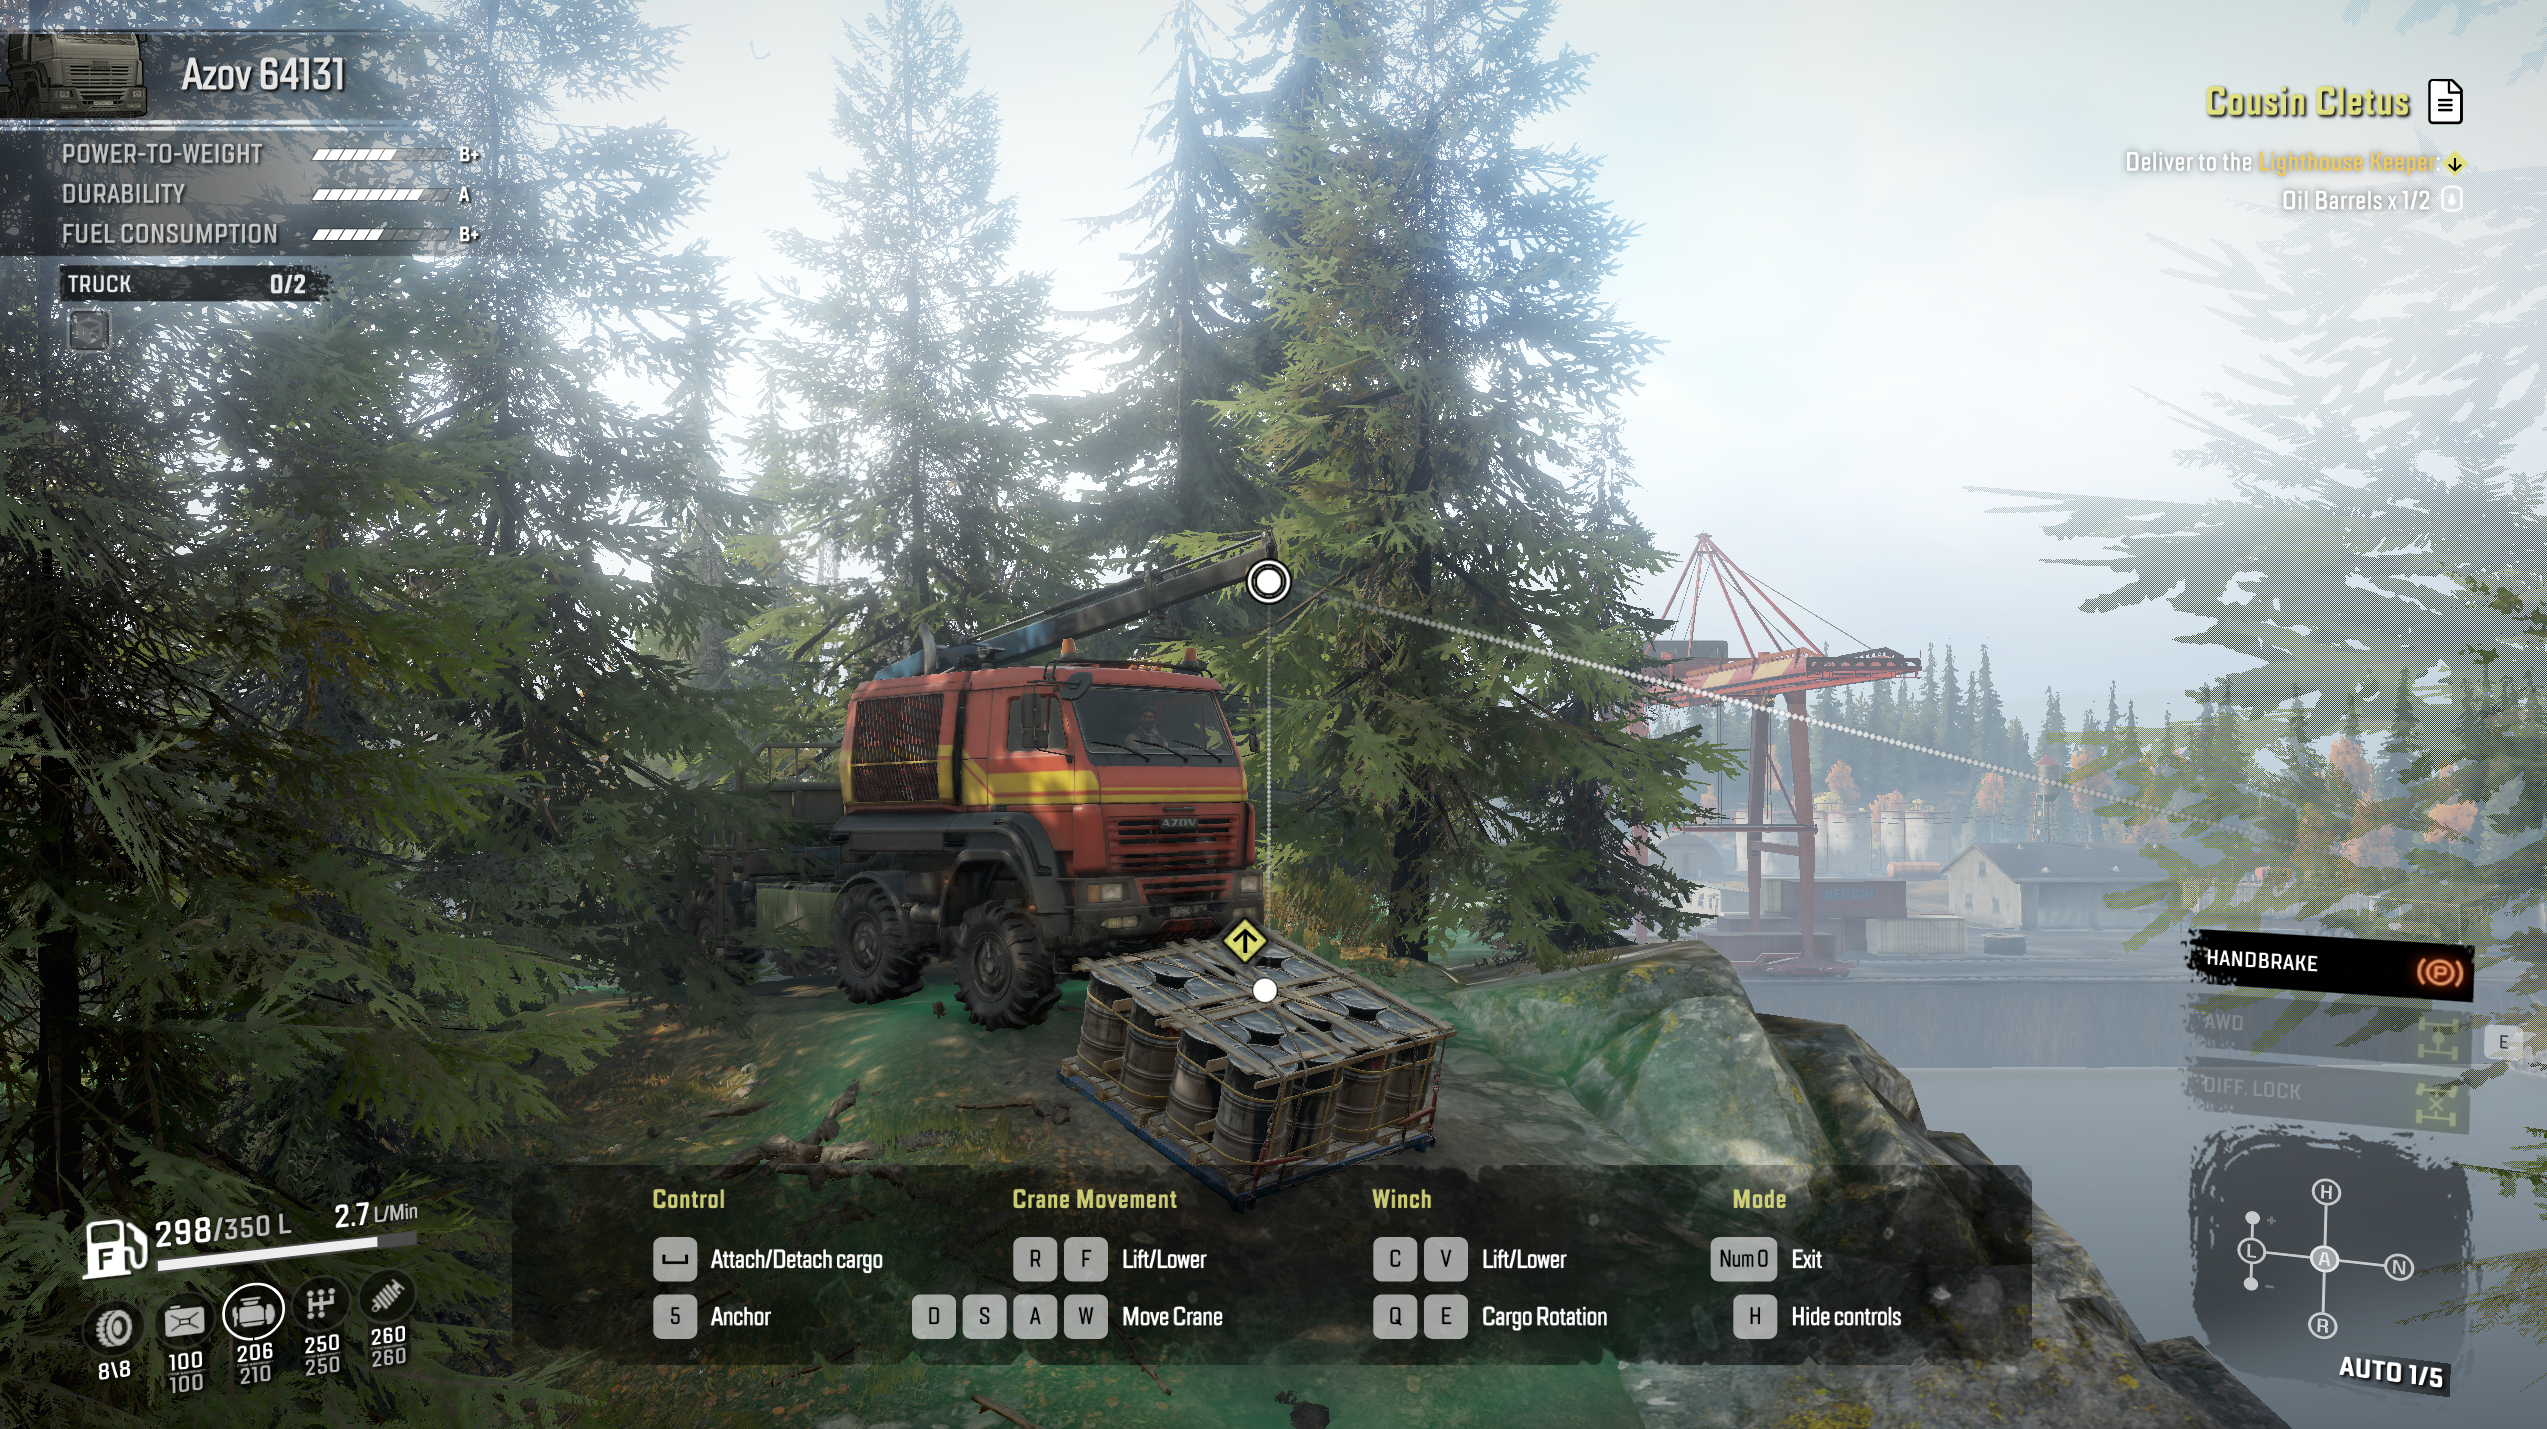
Park your truck close to the fuel trailer, so the fuel tank of the truck is close to it. If the truck has a long bed, like the Azov 64131 with a sideboard bed and a crane installed, the tank is too far from the trailer to detect it when you back to the trailer. Approach the trailer with the side or the cab of the truck.
In the menu select Refuel.
Set the trailer as the source, and the truck as the target.
There is an unfinished oil pipeline north of the garage. The unfinished pipe on the road blocks the easy access to the north side of the map. To open the road
Open the Contracts list
The Black Bird company is looking for help with Pipeline Construction. Complete it and the road opens.
Location
Has
Needs
Service Site
Drilling spare parts
Task
What
From
To
Notes
Lost pipe
Large Pipe x1 (4 units long)
– In the water north of the Drilling Site (crane needed) or – West Factory or – Port
Drilling site
A truck with a crane can pick it up north of the drilling site. No crane is needed at the port or the West Factory. Make sure the bed or trailer can hold a 4-unit long cargo because the pipe has to be “packed” to be available for unloading.
We will use the crontab command to schedule a daily backup of important files on our Macintosh.
Open a terminal window
If you only need access to your personal files continue to the next step
To be able to access protected files too, switch to sudo with sudo -i and enter your password.
Execute the command crontab -e
The VI editor opens, enter the scheduling command. This example runs every day at 11:00 pm, changes to the backup_scripts directory, executes the daily_backup.sh script and saves the cron logs in the /tmp directory 0 23 * * * cd ~/Git/_Work/BACKUPS/backup_scripts && ./daily_backup.sh 2>&1 >> /tmp/cron.log
Time Machine backs up all necessary files to restore your computer in case of a disaster. Hidden directories are backed up, but you need root (sudo) permission to access some of them. The Time Machine restore process cannot restore protected files and directories one-by-one, only when you restore the entire machine backup.
This table shows the locations of some important files and directories on the Time Machine drive:
Item
Location
Location on the Time Machine drive
cron jobs
/var -> private/var/at/tabs
Backups.backupdb/MY_COMPUTER_NAME/MY_BACKUP_DATE/Macintosh HD – Data/private/var/at/tabs
/Volumes/Time Machine 1 Passport/Backups.backupdb/MY_COMPUTER_NAME/MY_BACKUP_DATE/Macintosh HD – Data/Users/MY_USER_NAME/Library/Application Support/Google/Chrome/Default
To view files in hidden directories with access restrictions on the Time Machine
Connect the Time Machine drive to your computer
In Finder navigate to the parent of the protected directory
Right-click the parent directory, and select Services, New Terminal at Folder
In the terminal execute pwd to get the current working directory
In the terminal execute sudo -i and enter your admin password
Copy the output of the pwd command to the clipboard
Change the directory by executing the command cd "/Volumes... " ( enclose the path in double quotes as it contains spaces )
Change into the protected directory to access the files
To restore files to the computer
When we access protected files on the Time Machine we use the “root” account to access them. If we copy the file to the computer the owner becomes “root” and the applications running under our regular account cannot access them.
To make the files accessible to the regular account we need to change the file permissions after copying them to the computer.
Restore Google Chrome bookmarks from Time Machine backup
Start Google chrome and save one bookmark to create the Bookmarks file with the correct ownership.
Start a terminal ( terminal #1 ) and open the time machine backup with “sudo” rights ( see table above ) to get the backup file location
Start another terminal ( terminal #2 ) and open the folder on the computer with “sudo” rights ( see table above )
In terminal #2 execute the command to copy and overwrite the Bookmarks file cp "/Volumes/Time Machine 1 Passport/Backups.backupdb/MY_COMPUTER_NAME/MY_BACKUP_DATE/Macintosh HD - Data/Users/MY_USER_NAME/Library/Application Support/Google/Chrome/Default/Bookmarks" . ( Double quotes are needed, as the path contains spaces, and don’t forget the dot at the end of the command )
Close Google Chrome and start it again to re-read the Bookmarks file.
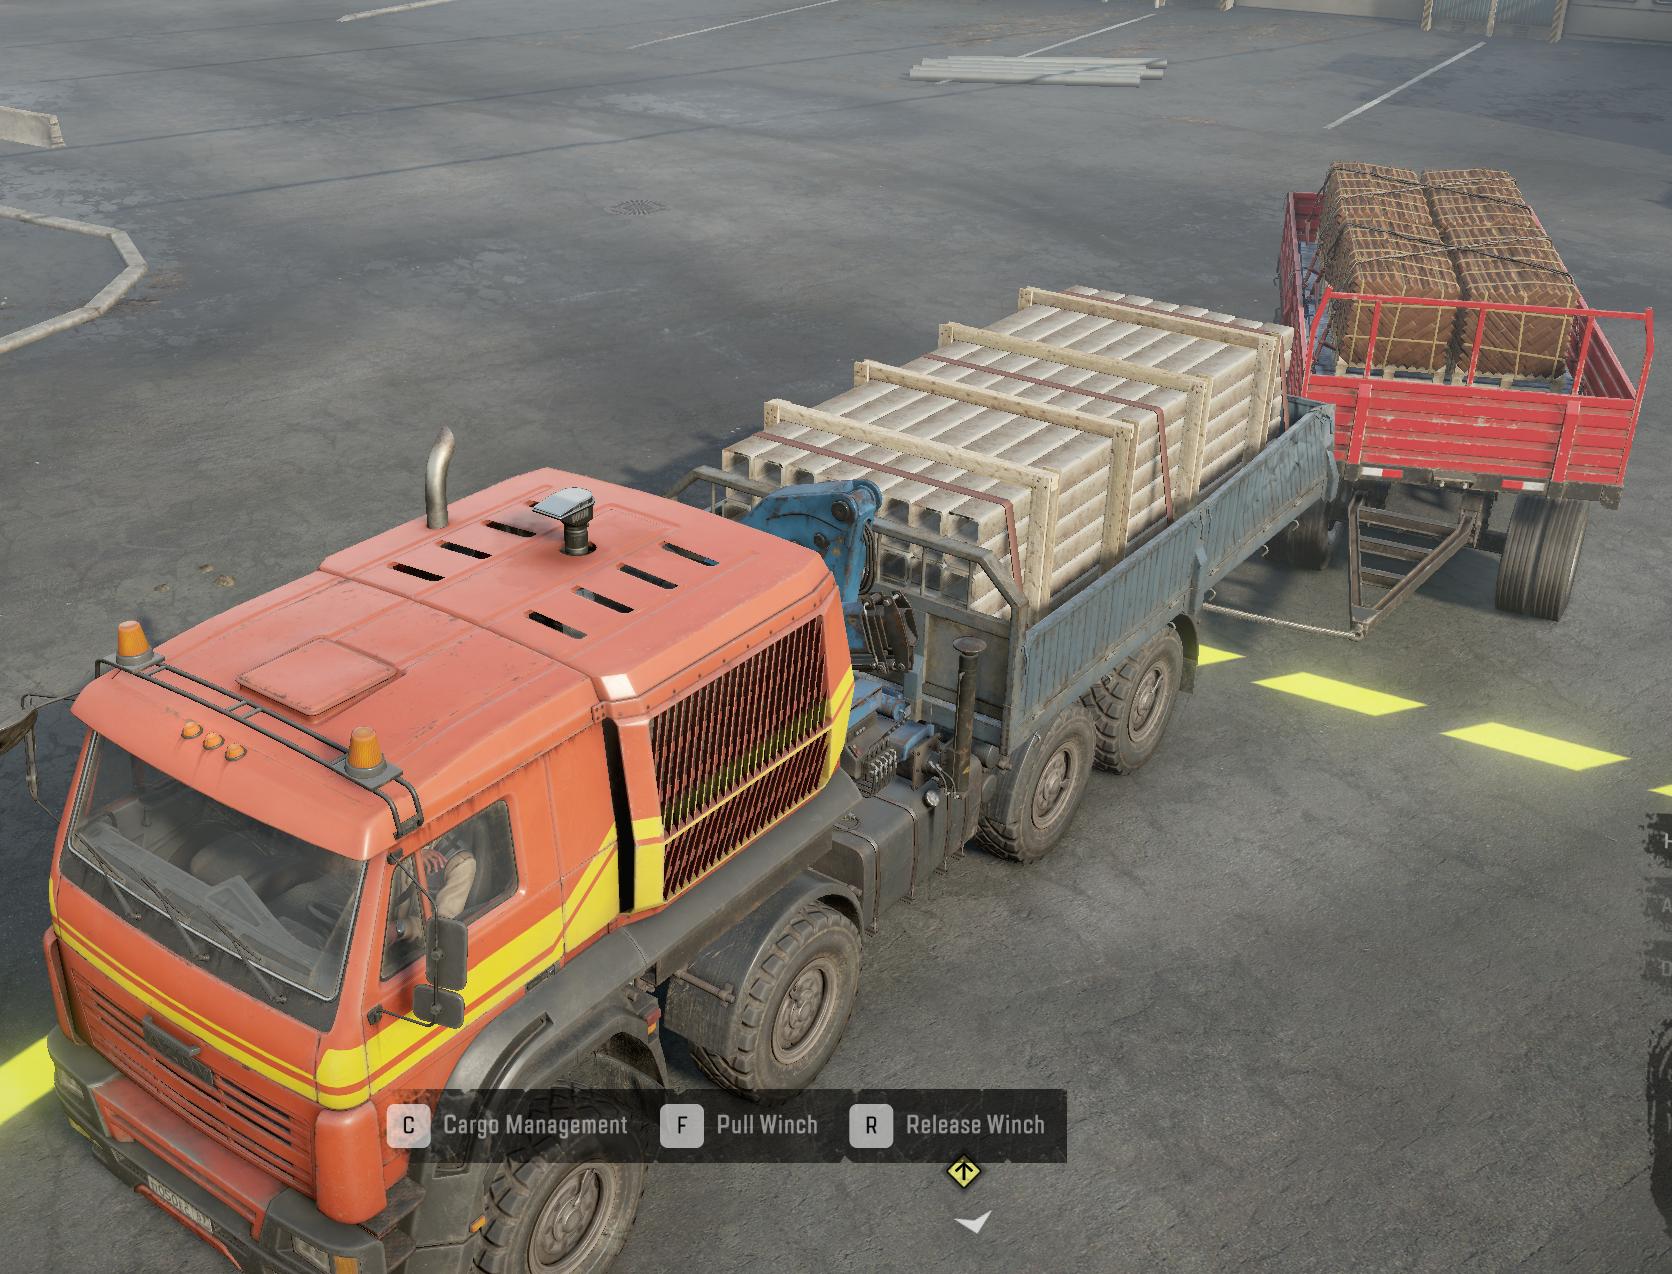
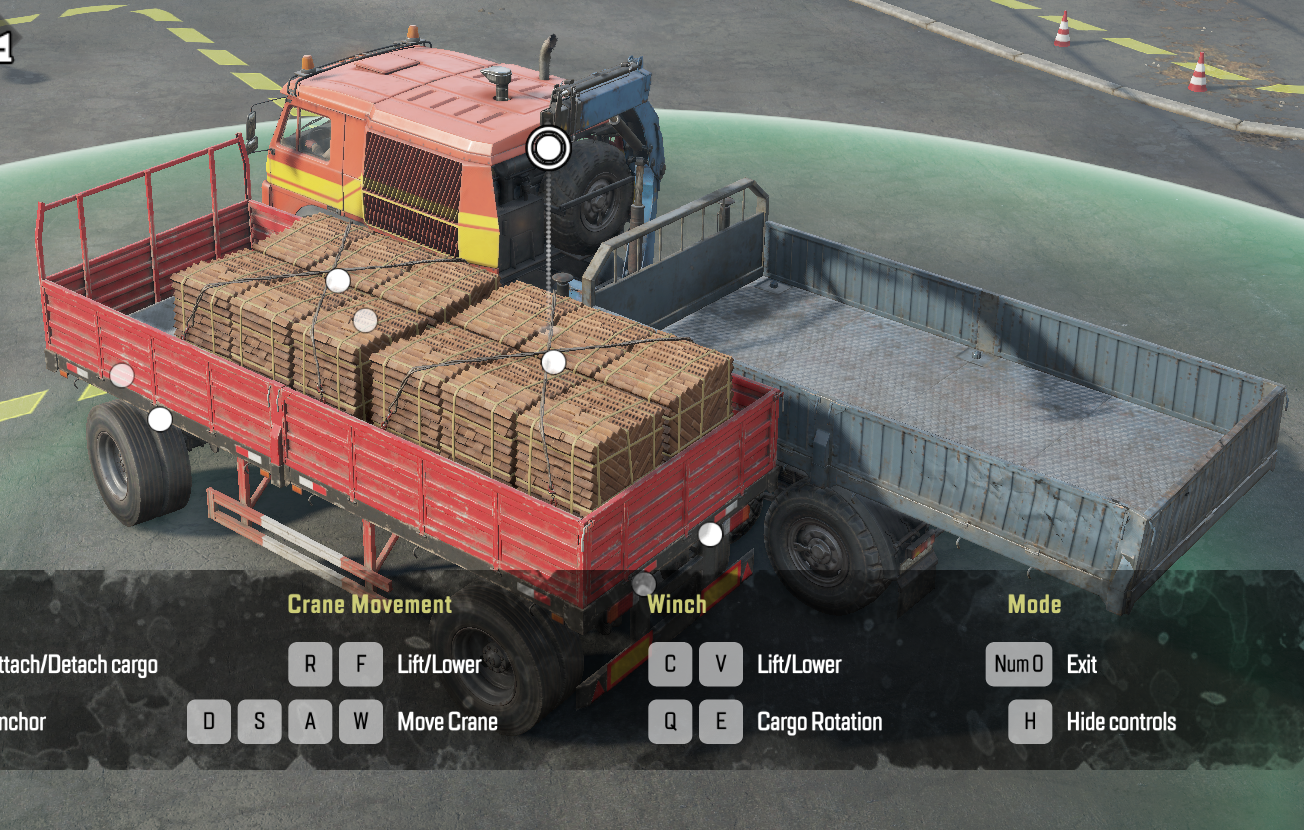
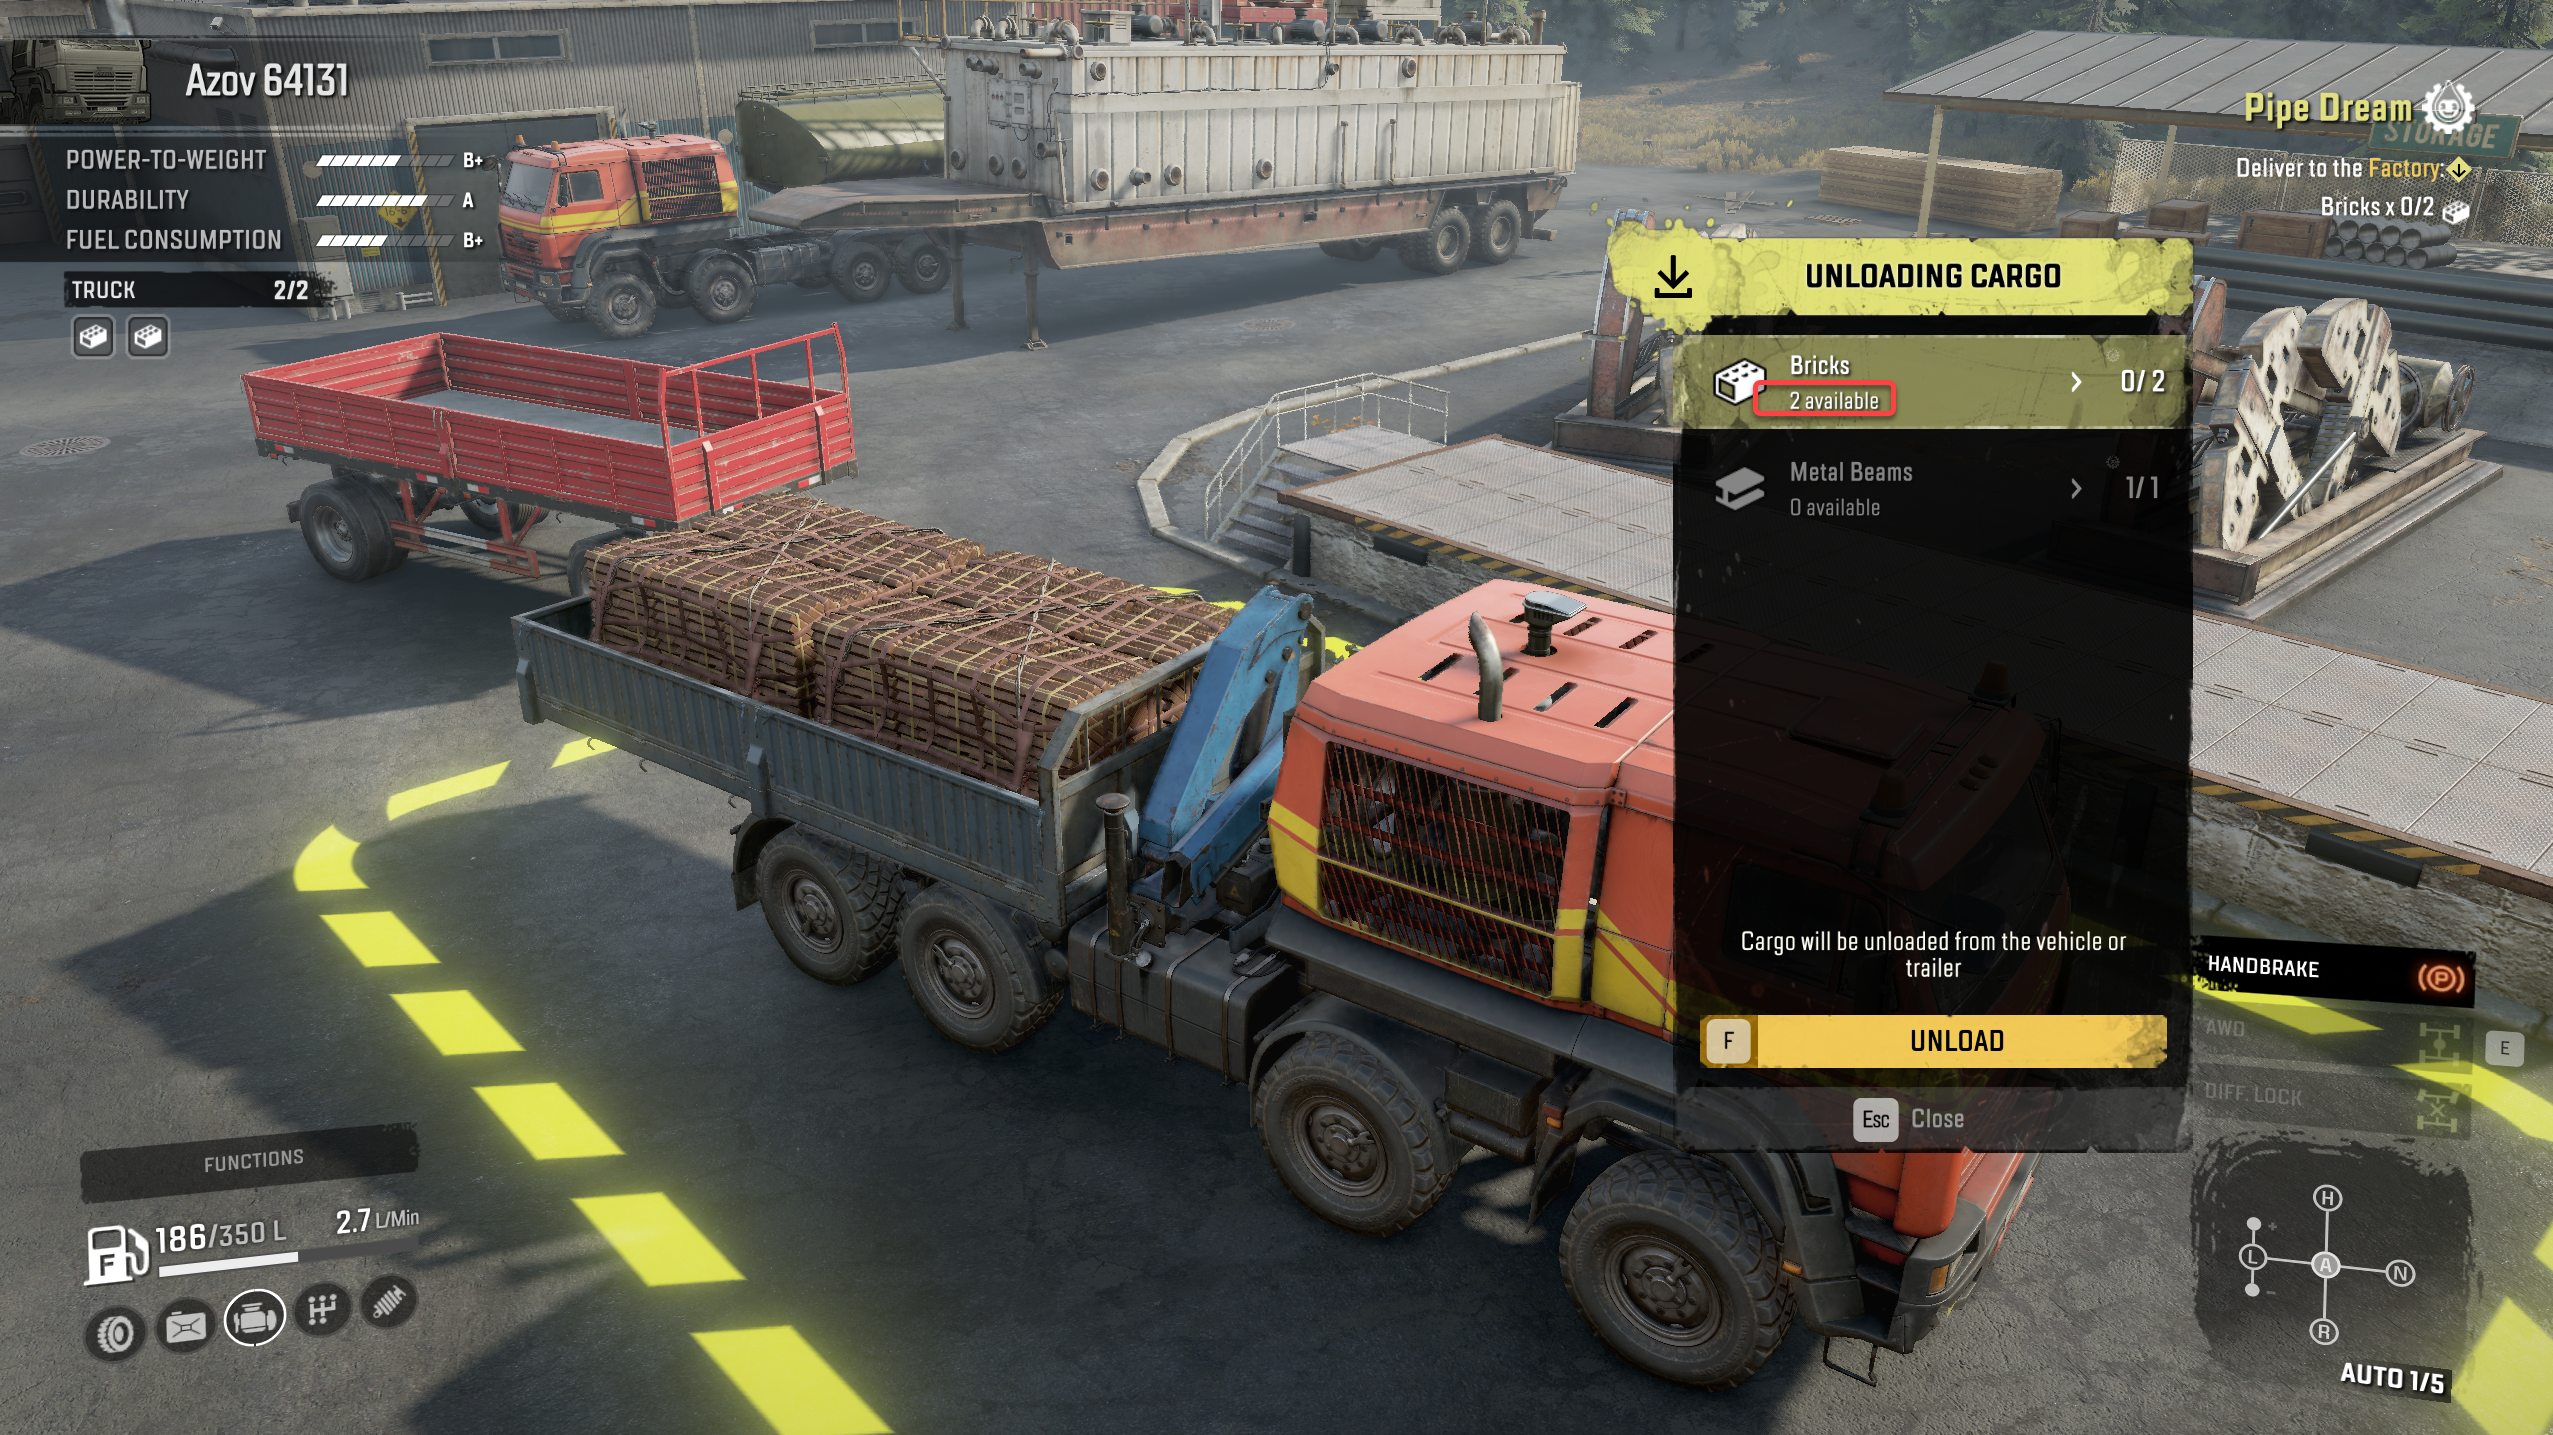
When you load your own truck with a crane in Snowrunner, make sure you ”pack the cargo”.
It is important to secure it for transport, but most importantly when you deliver it to the drop off location, if the cargo is unpacked, the cargo action shows “0 available”.
Solution
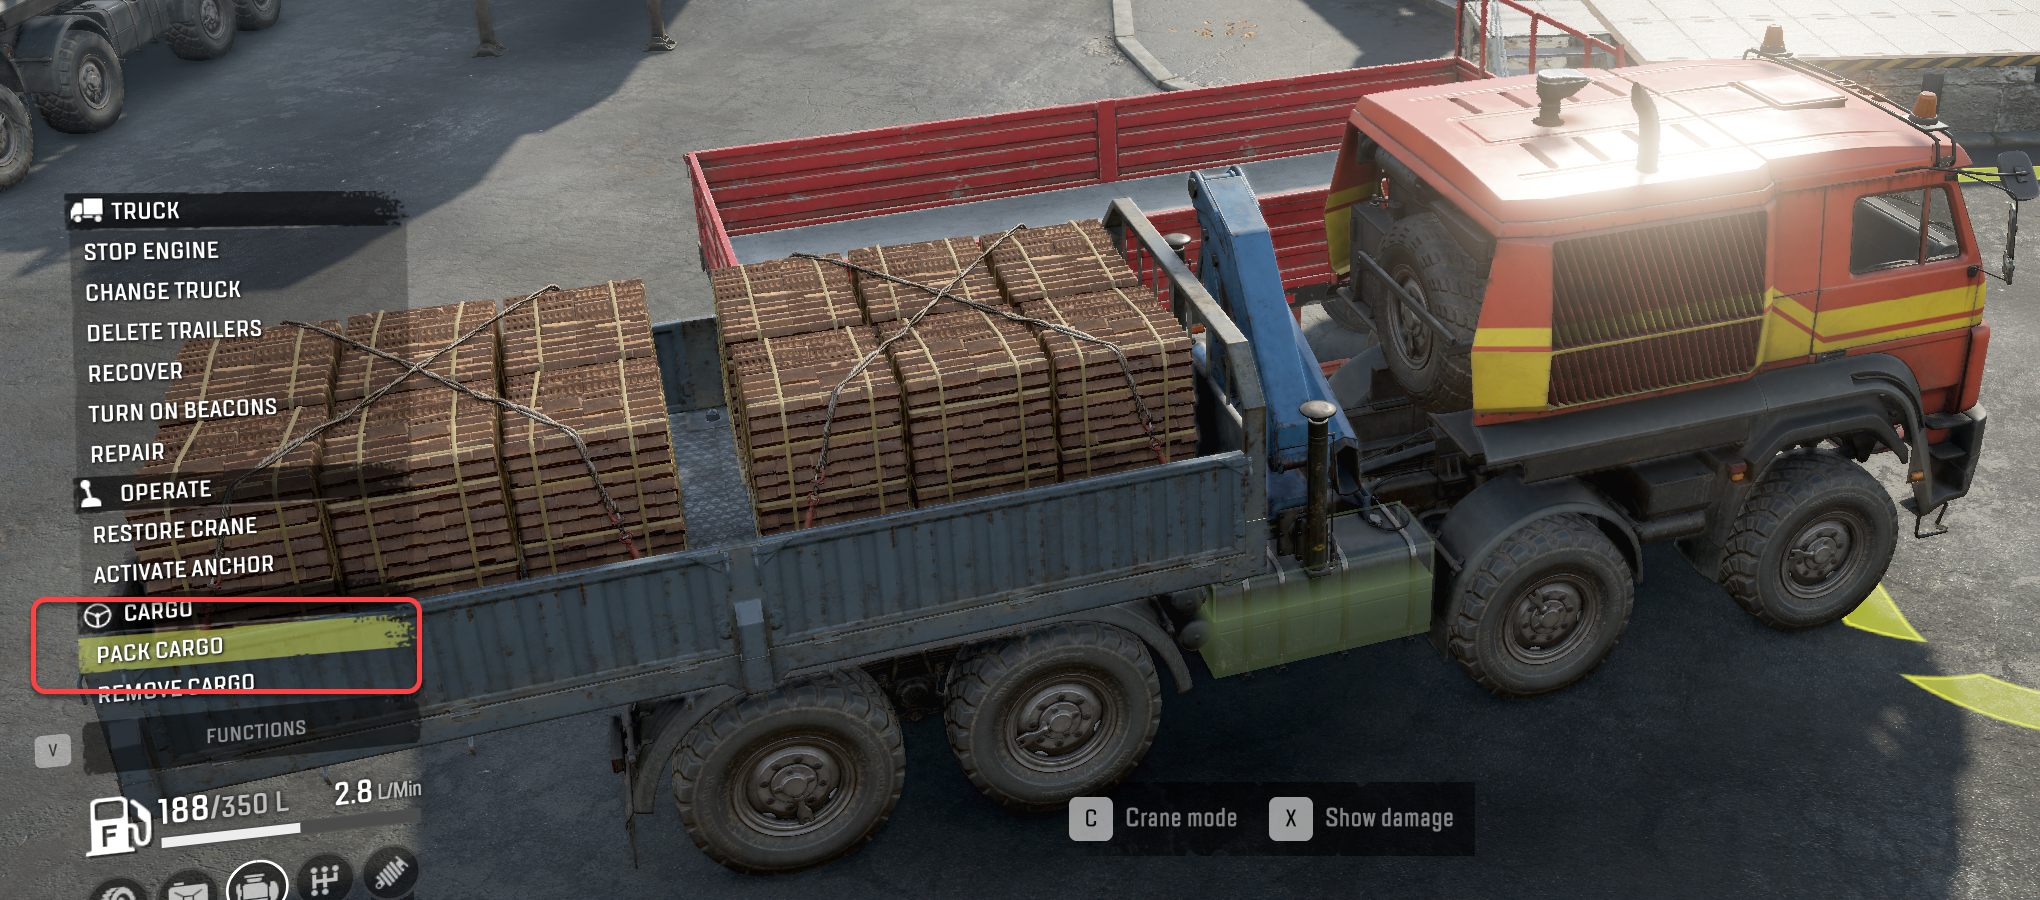
In the action menu select ”pack cargo” and enter the ”cargo action” again.